|
5 December 2018
There seem to have been quite a few kits passing
across this workbench in 2018. These two were high on the 'to do'
list for their unusual appearance. The first one, below, is a
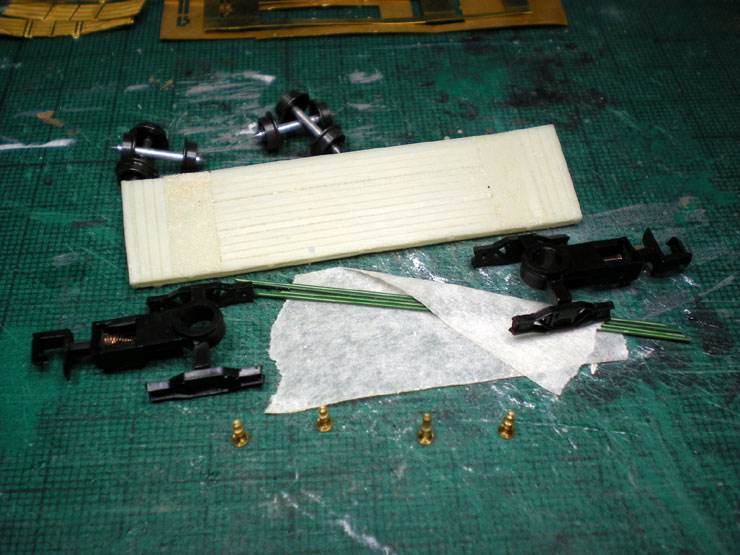
Gramodels warflat wagon, code WN13. The kit comes with a resin body,
plus bogies, couplers, wheels, brass buffers, and truss rods.
The resin body was slightly warped, so it had to be
flattened out by pouring hot water over it and holding it flat,
upside-down, until it had cooled.
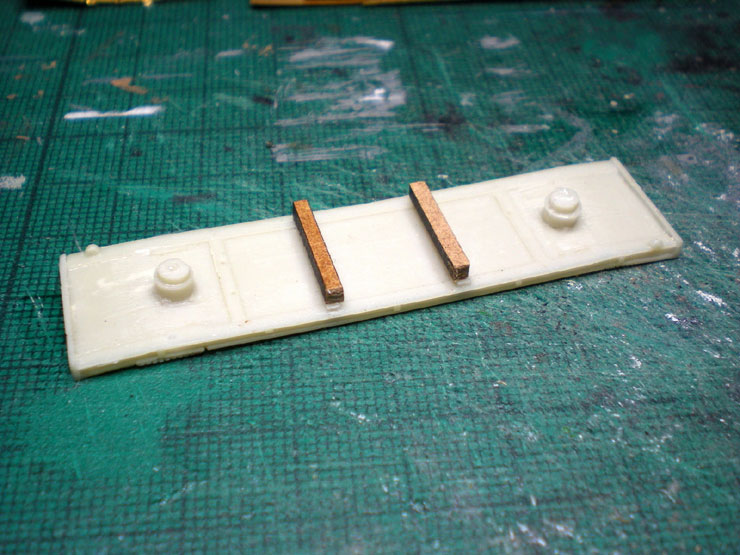
Some of the packaging from the Mill Lane Sidings rolling stock
cartridges shown here in the post for
11
June 2017 was used to create support bars for the truss rods.
I'm not sure why these weren't included in the kit as they can
clearly be seen in the few photos of this type of wagon that I could
find online.
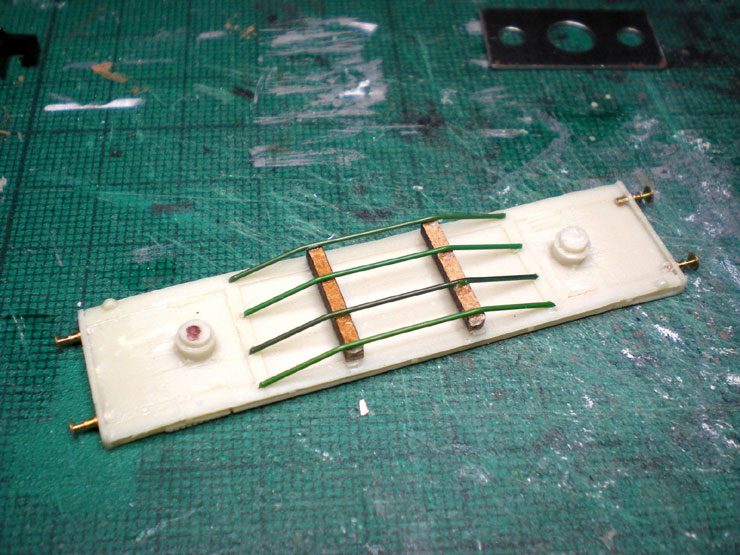
The truss rods were cut to size, bent, and superglued in place.
Doing this removed any remaining warping in the resin body. The
brass buffers were added at the same time.
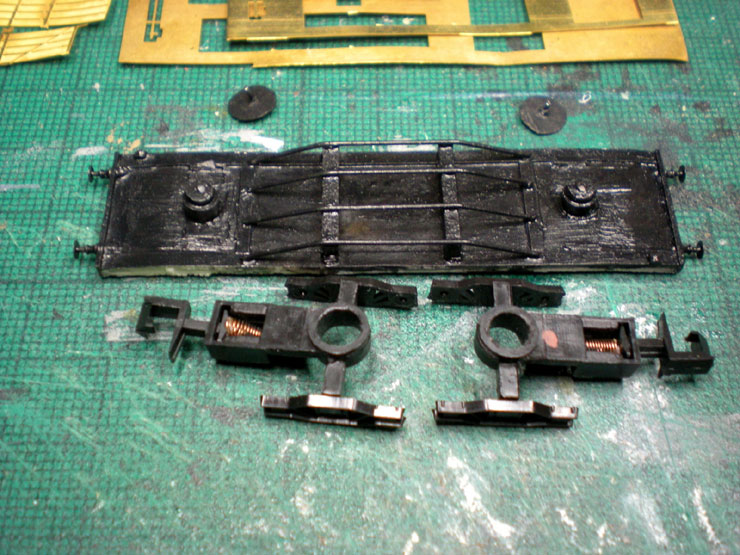
The underside was painted black and then the bogies were tested.
They fit onto the moulded pivots on the underside of the body, but
there's no way of keeping them there (unless I've missed something
obvious... again). So I produced a couple of paper-and-pin caps
(seen here at the top of the photo).
The bogies were put in place and the pins were pushed into the
pivots, with a bit of glue added to make sure. Only one of them fell
off a day later, but re-gluing did the job properly this time. The
covers were later painted black.

The huge coupler spring boxes really should have been cut down
before I fitted them. They're a bit noticeable, after all. I covered
the visible springs with a bit of paper that afterwards was painted
black to blend it in.

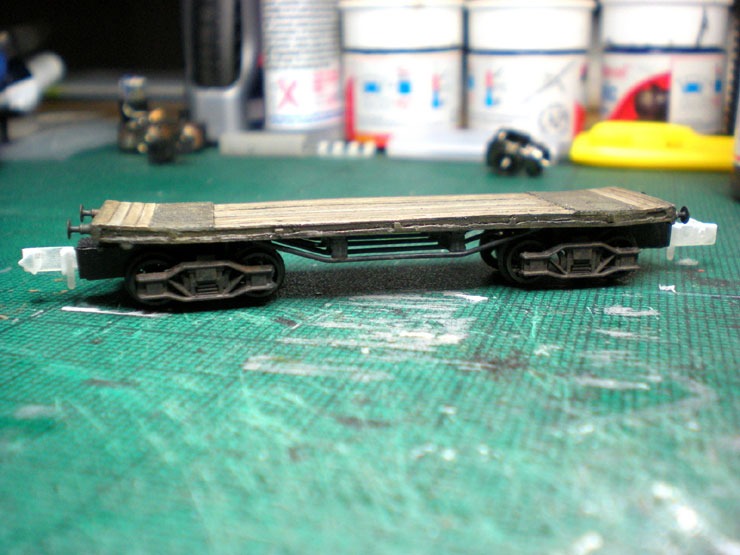
All that had to be done after that was to paint the deck. As it's
1930 and the wagon has been around for at least twelve years, the
wooden planks were painted and washed in a variety of shades of
brown to give it an aged effect.
Here's the completed wagon. There are no decals because, as far as I
can work out, even the real-life originals had nothing more than a
running number when in SR service (they were ex-War Office builds
from the First World War). It looks the part, and the kit can
certainly be recommended.
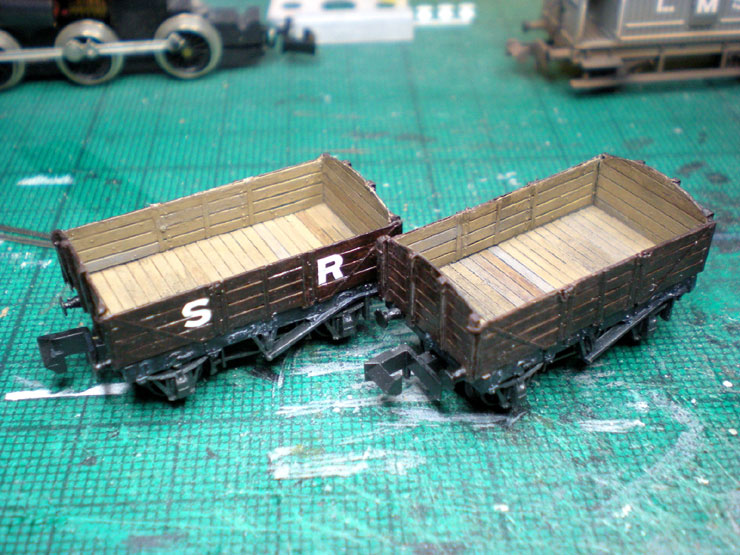
Next on the workbench were two Ultima pre-Grouping wagons from
Etched Pixels. These are four-plank, high-ended wagons that had been
built by the LSWR between 1880-1910. They were pretty thin on the
ground by 1930 so anyone modelling the post-Second World War period
won't really be able to use them. I have a special role for them in
my water cart train.
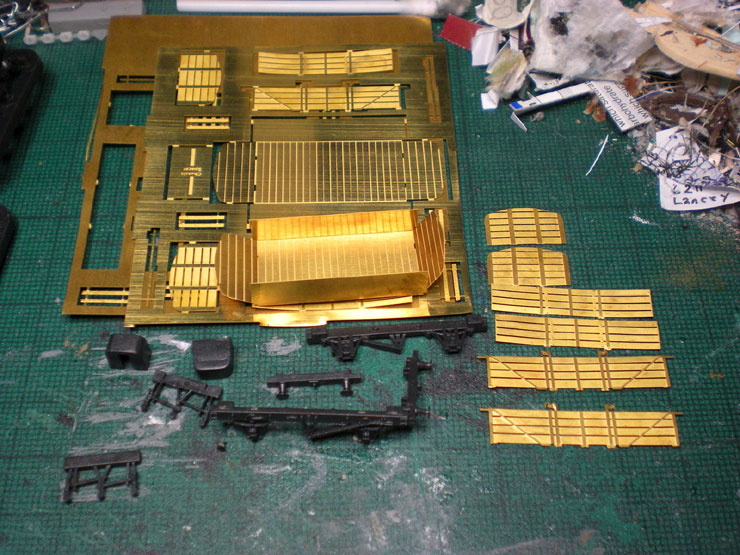
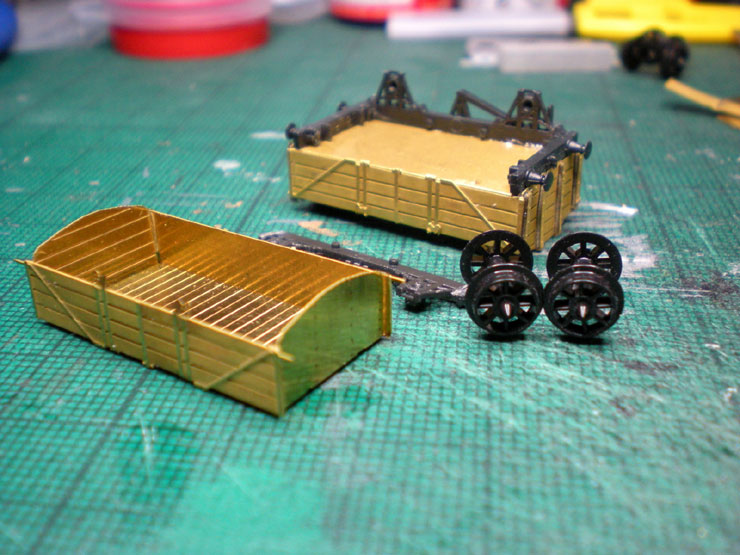
Etched brass kits are never the easiest things to put together, and
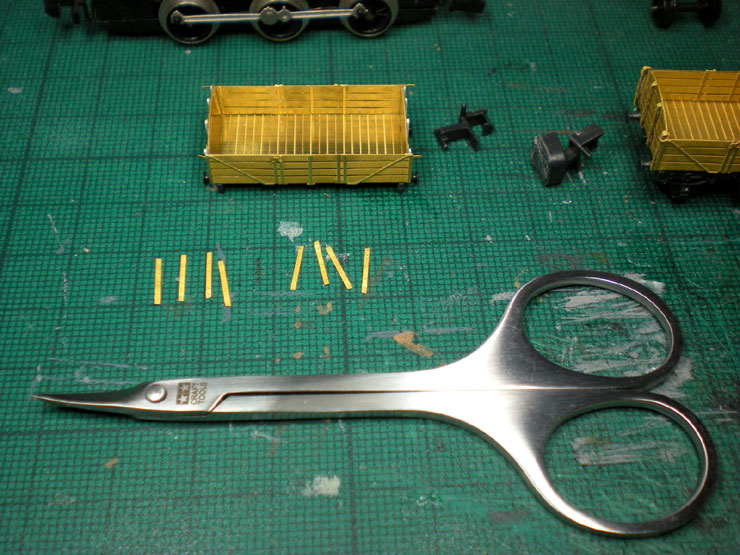
these proved to be the same. Here are all the parts, including Peco
9ft wheelbase, wooden solebar chassis kits.
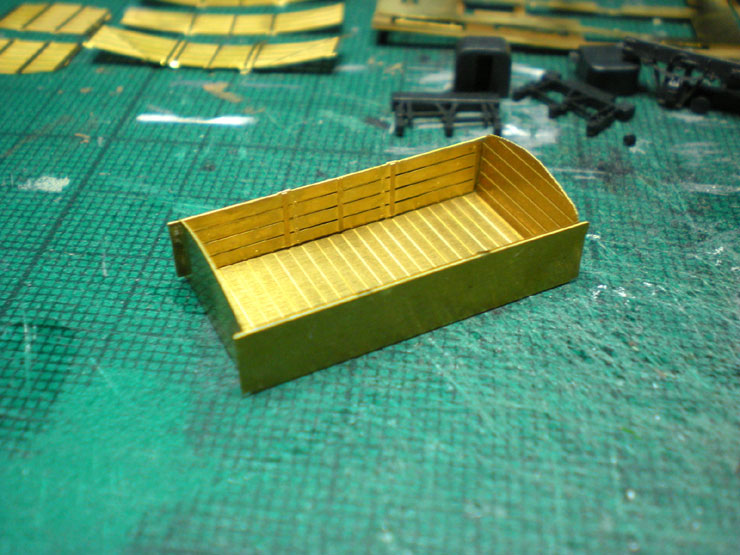
Assembling the basic body shell was easy enough, even without the
instructions that hadn't been supplied with the kit, but why did the
body sides overlap the ends like that...?
After much experimentation and pondering, I had to ask online, with
the result that I discovered the need to produce my own parts for
the end pieces. For the first attempt I tried card.
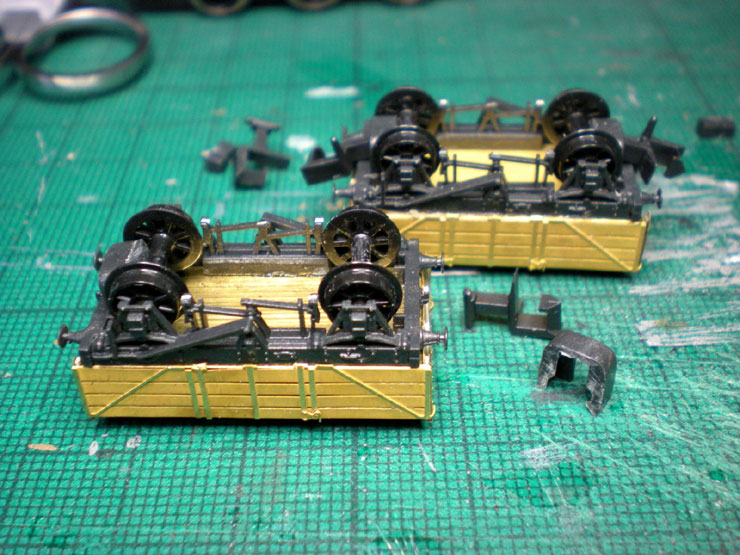
Plus, with both bodies assembled, I had to assemble the chassis
kits.
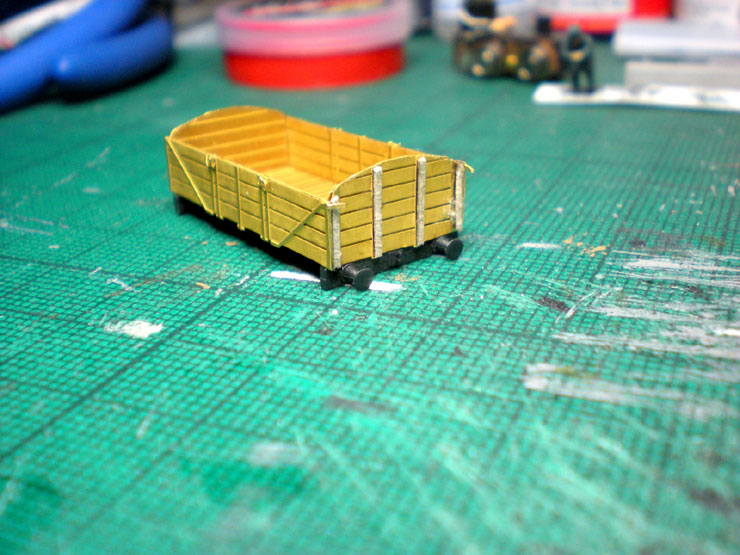
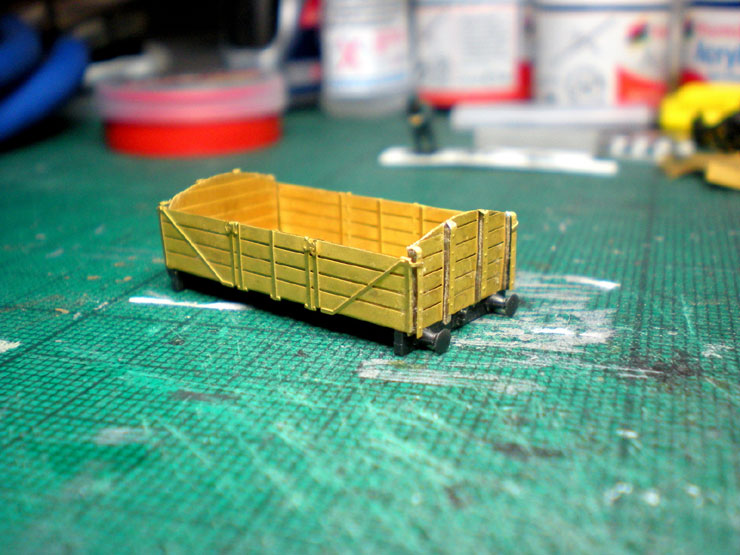
Here's the first wagon with card end pieces added and the etched
brass overlays added on top of the card. It kind of works, even if
it does look a bit rough and ready in this close-up.
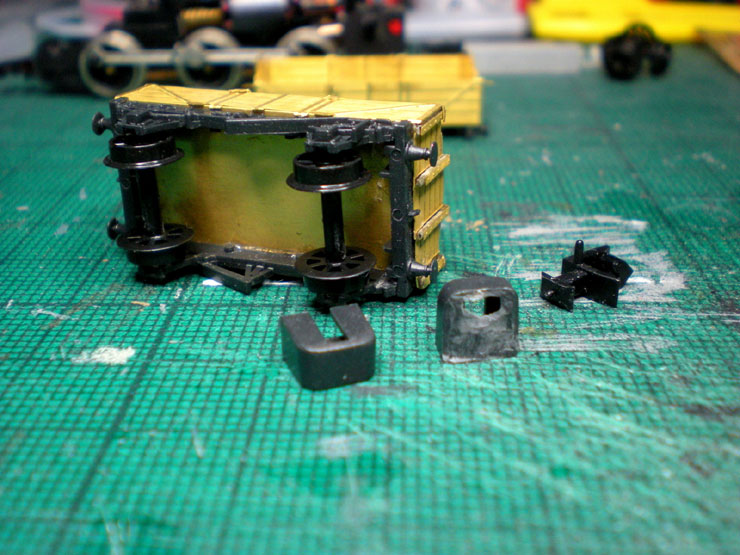
The short wheelbase chassis meant quite a bit of trimming work was
needed on the coupler boxes. Whoops, there's a hole in that one but
no one will see it when it's in place.
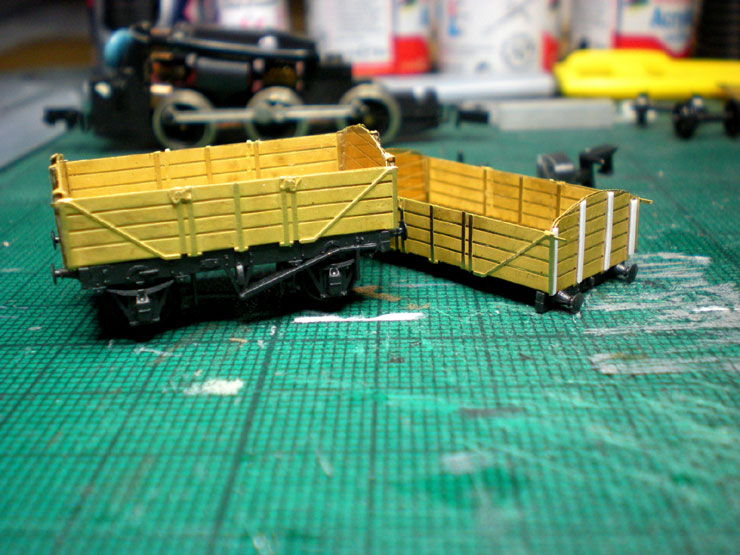
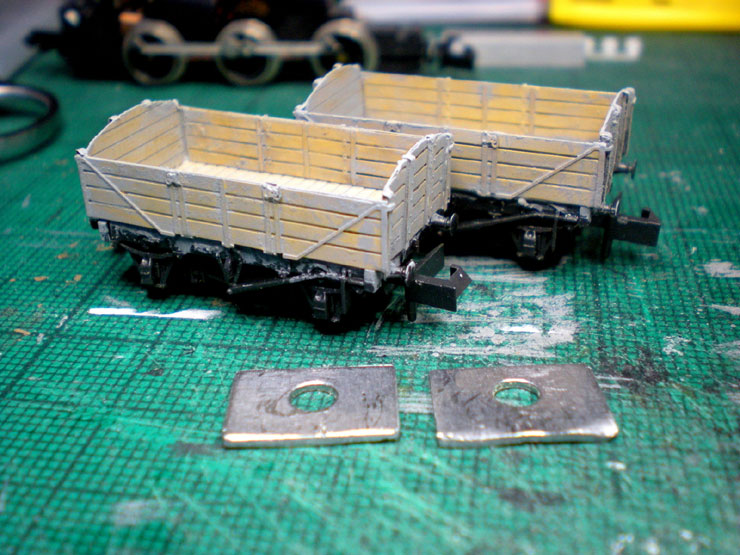
Here's the end detail on the second wagon - and this time I very
wisely decided to use plasticard for a much cleaner finish.
Preparing the etched brass overlays was one of the trickier parts of
the entire construction process, though, and it certainly took up
quite a bit of time. Thanks the heavens for brass-cutting scissors.
Now it was time to add the couplers and coupler boxes, and even with
all that trimming they still rubbed against the wheels. More filing
was needed with them in place but even so they're not the most
free-running of wheels.
With construction completed it was time to start painting them. And
the halves of Peco weights were added underneath, slotted inside the
chassis kit and painted black so that they're about as invisible as
you could hope for.
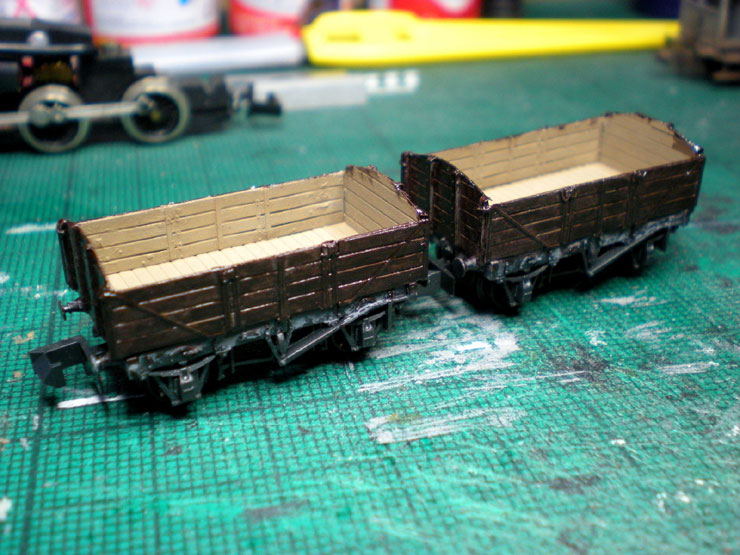
The insides were washed several times with light brown while the
outsides were given a slightly thinned coat of too-thick SR wagon
brown. I'm not keen on working with enamels, but some colours don't
come in acrylics.
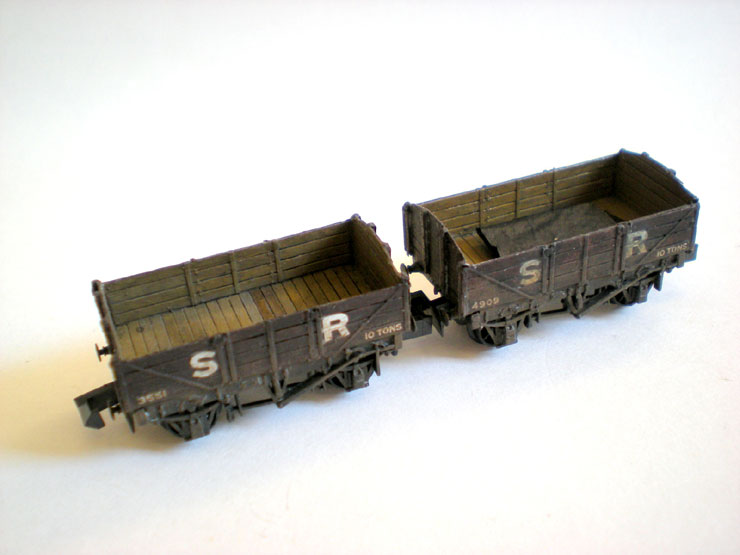
The insides are coming along nicely, with some toning to the bare
wooden planks, while the outsides are getting their decals added.
And here's the finished product, weathered down to look a little
unloved and past their best. One has a folded tarpaulin inside it,
and I may add odd tools to the other in time (when I can find N
gauge tools, that is).
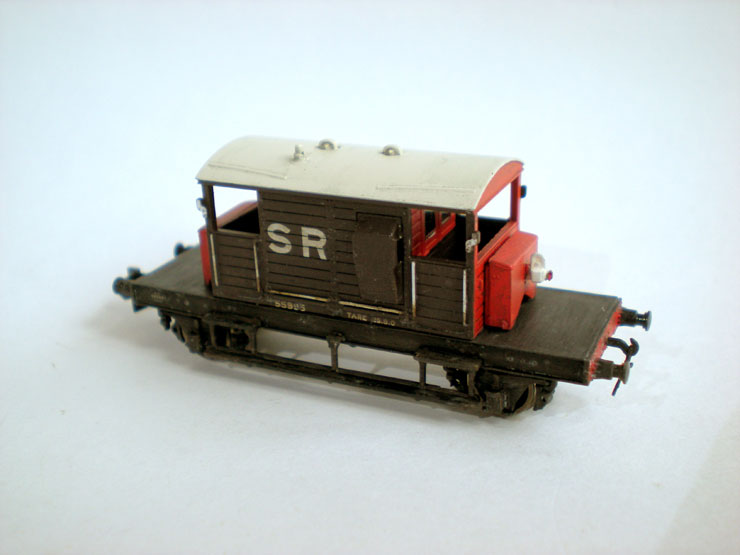
Two other minor jobs involved adding coupler hooks and chains and a
tail light to this SR pillbox brake van, almost new by 1930 so only
with very minimal weathering...
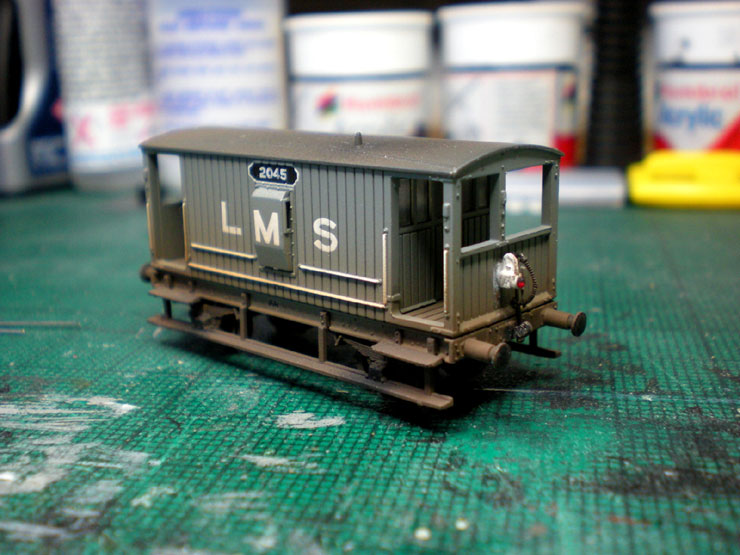
...and also to this LMS brake van , pre-weathered by TMC.
|