|
16 February 2017
Christmas seemingly saw the start of hibernation
season. Absolutely nothing happened on the workbench for the whole
of January, although it was mostly because I was stuck deep in other
projects.
It took a rail show in Monmouth as part
of the Bridgebury Gate layout operations team to wake me up (see the
link on the front page). Okay, 'layout operations team' means
running trains on an exhibition layout and engaging with interested
members of the public, but it's good fun and it certainly reawakens
your enthusiasm for toiling away at a work bench on those cold
winter evenings.
That was less than a week ago, though, so
for now let's just catch up on the last of 2016's work. There's
quite a lot of it so I'll keep the captions fairly brief.
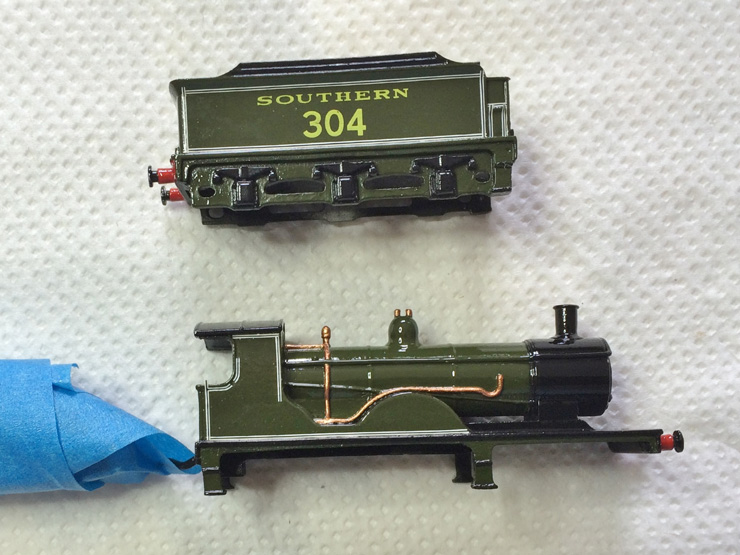
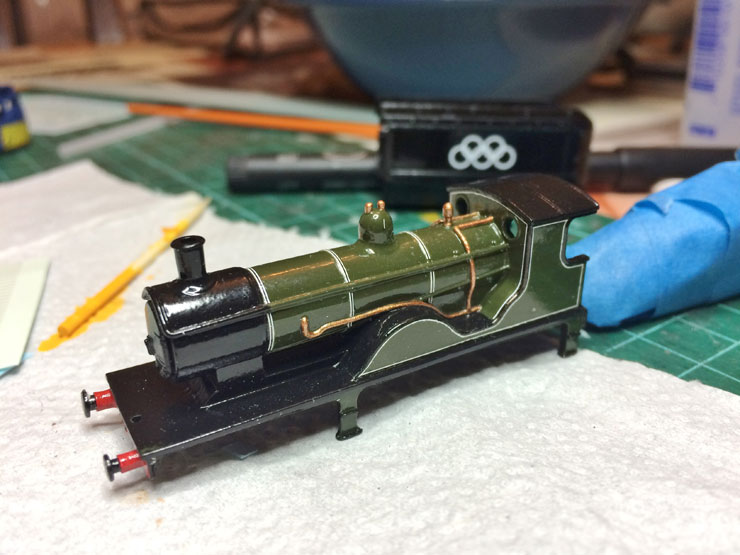
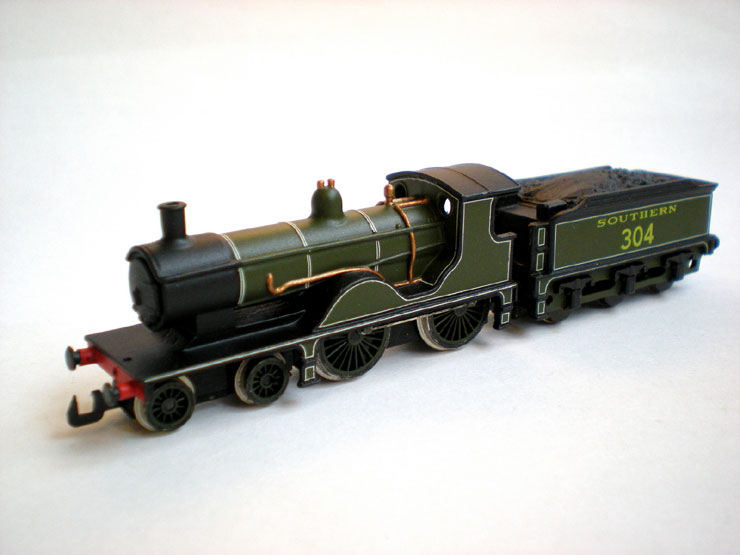
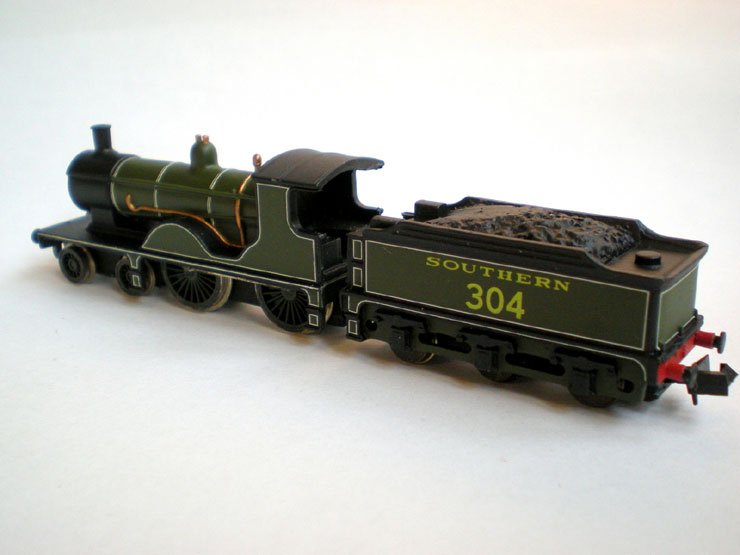
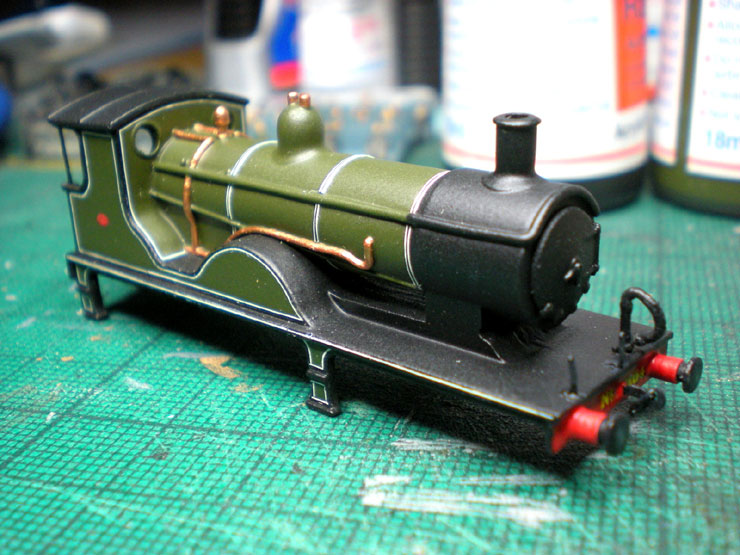
First off is the Union Mills T9 4-4-0 in
Southern Railway Maunsell Green (first mentioned on the previous
page). This project actually started back
in summer 2016, but it took a while for there to be anything worth
reporting.
Union Mills locos are excellent
mechanical pieces which are functional as far as detailing goes. In
fact, the company's owner encourages users to add extra details
themselves, so it's the T9's turn top get the treatment. The axle
boxes and springs on the tender needed to stay black but the framing
around it and the steps under the loco cab and in front of the driving
wheels have already been painted green:
Now the pipework was painted brass, the splasher tops black, and
the loco wheels
green. The moulded coal load was filed down at the front as far
as possible without
damaging the tender itself. I'll add a
real coal load later.
Then the loco was sent off to Ozymandias of the N Gauge Forum
because there's
only so much work I can process through my own
workbench in one lifetime. He's
doing the white lining, and over
several months the next few photos show his
progress.
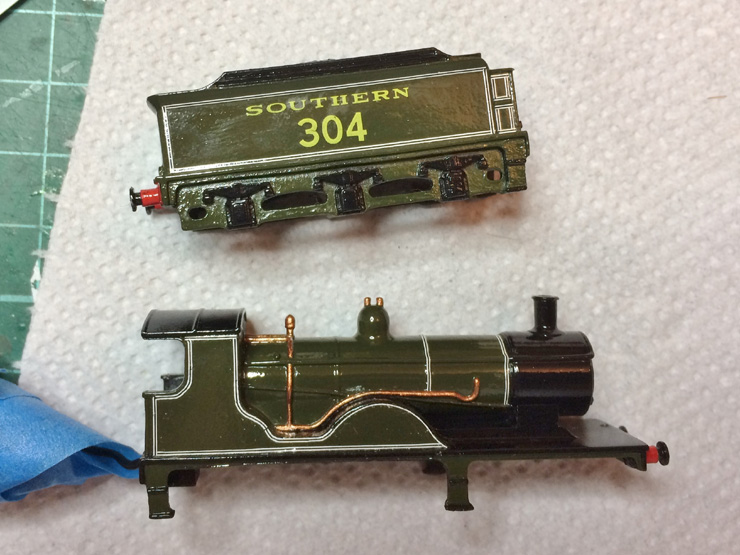
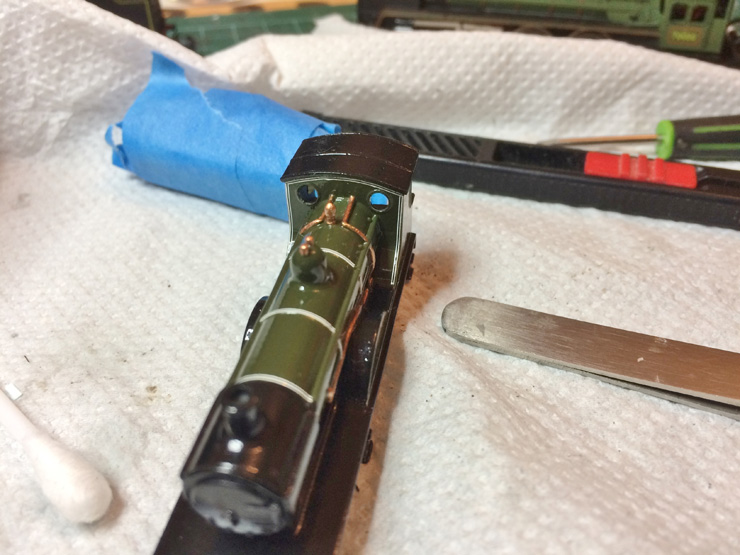

That's where we are with the T9 at the moment. Personally I can't
wait to get it
back and add some extra detailing over the finished
lining and paintwork. It's going
to look absolutely marvellous.
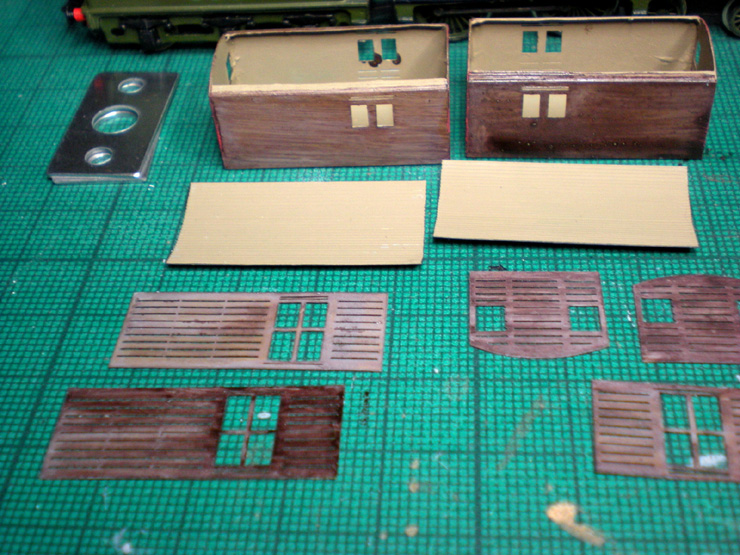
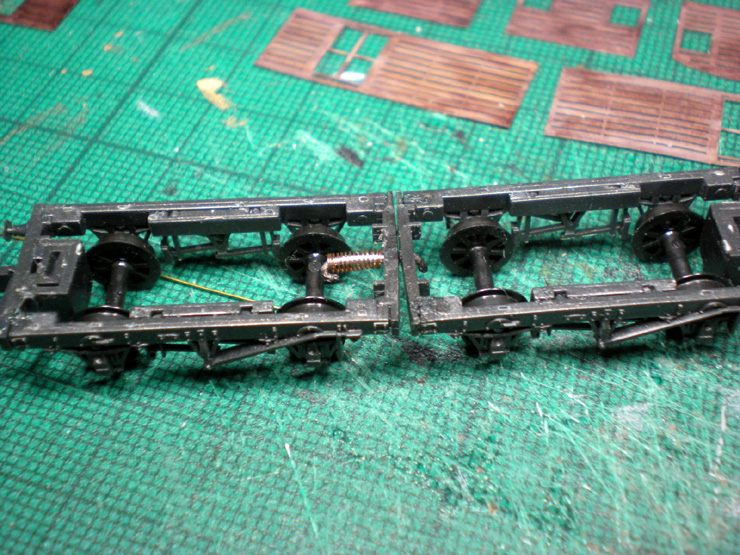
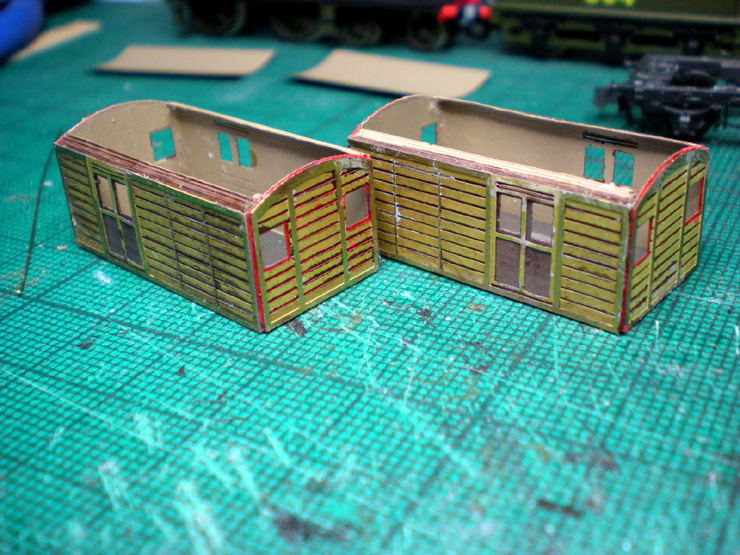
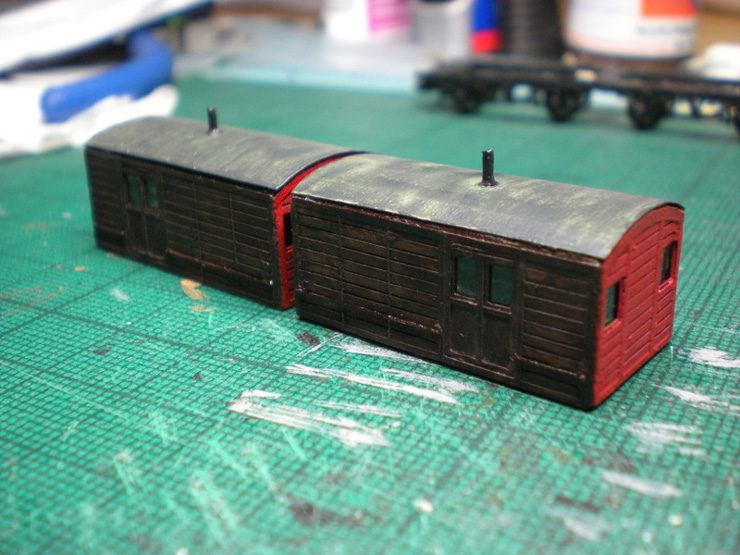
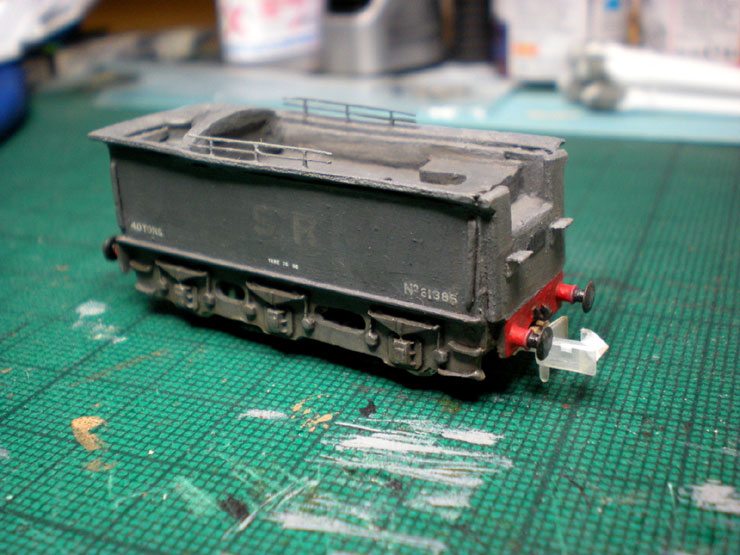
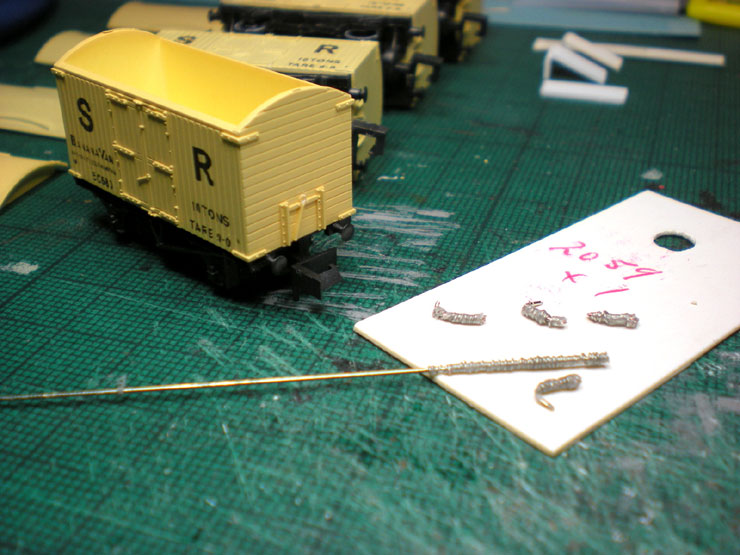
Back to my own workbench, and with the twin chassis for the doubled
SR brake van
having been assembled, the etched brass kit parts now needed to be prepared
and assembled:
Joining together the two chassis so that they were a single unit
didn't work. It simply derailed on a couple of the tighter curves
on my layout, so I figured out a handy method of making it look as
though the two chassis were secured together while allowing a touch
of flexibility so that it would go round the tighter curves without
derailing. Astonishingly, it worked!
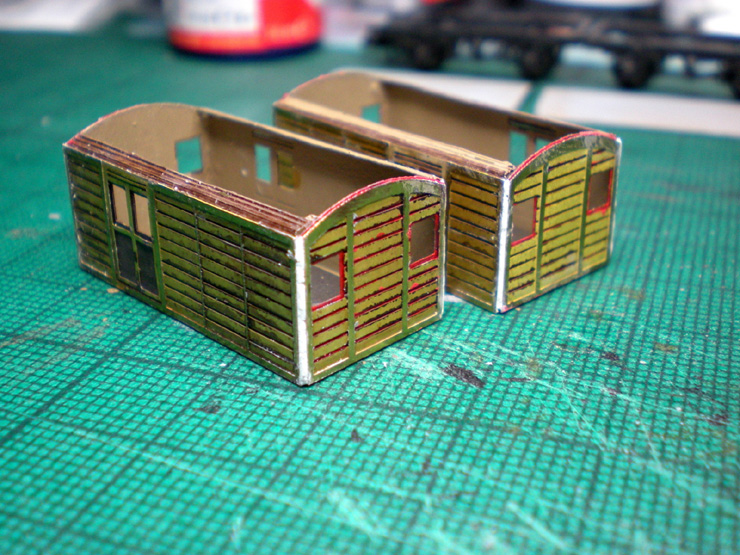
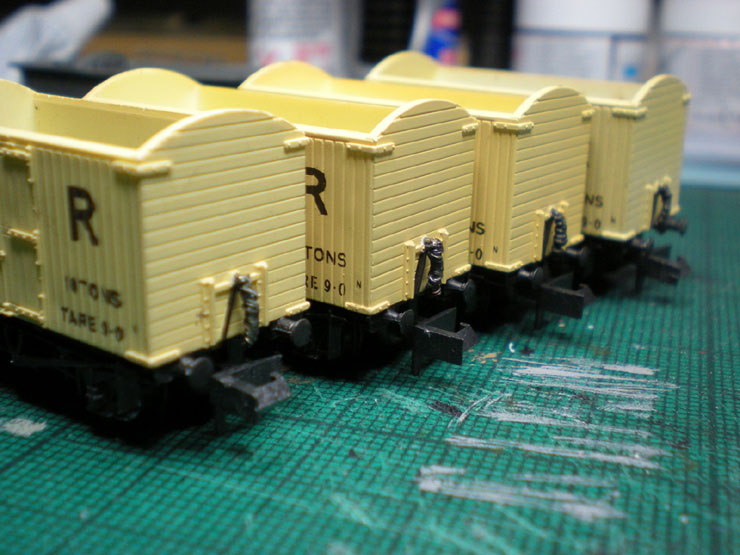
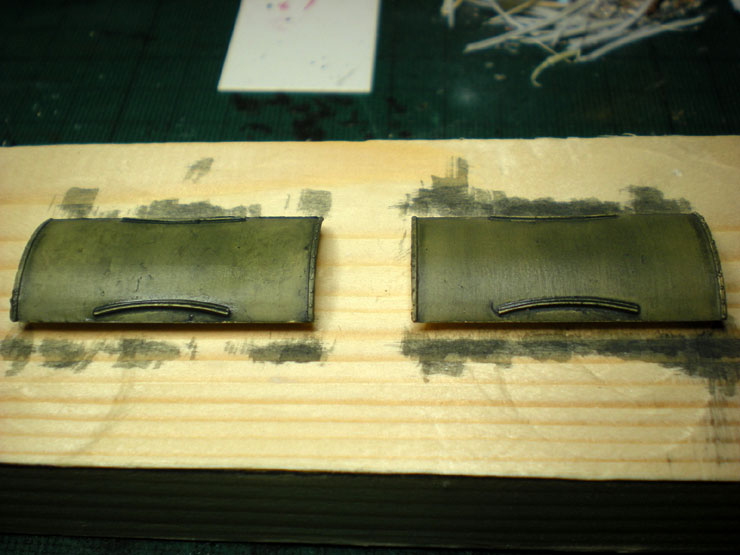
Time to glue the etched detailed parts to the base body:
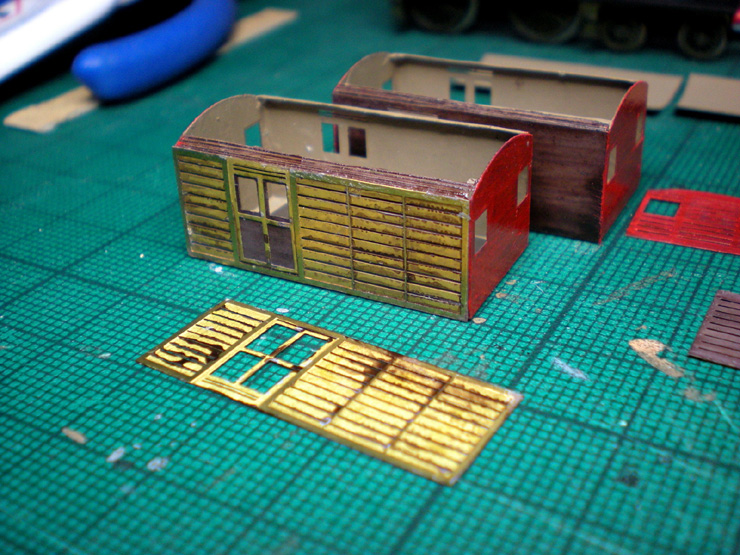
The corners needed a tiny bit of filler to square them off. Milliput
to the rescue.
Top coat paintwork to bodies and roofs... and interiors too.
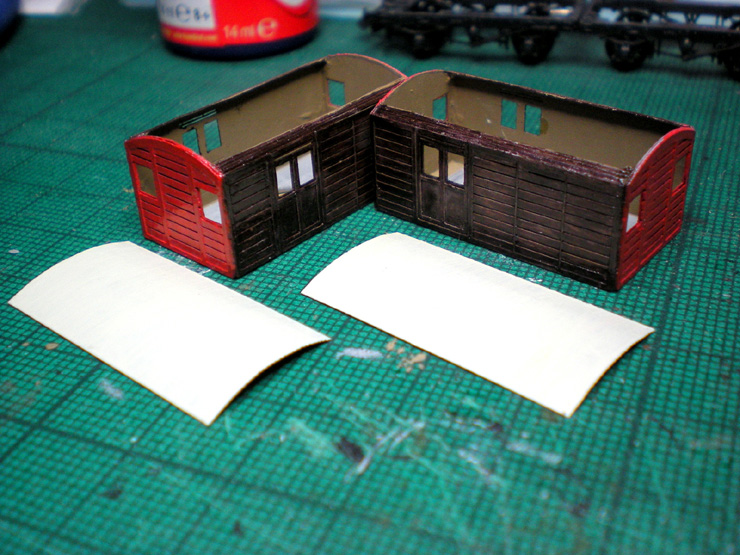
A broken pin body for chimneys (through a hole in the roof for extra
solidity) and
brass rod for the handrails. The glue itself adds the tapered shape
to the base of
the chimney and this looks very effective when painted over (see below).
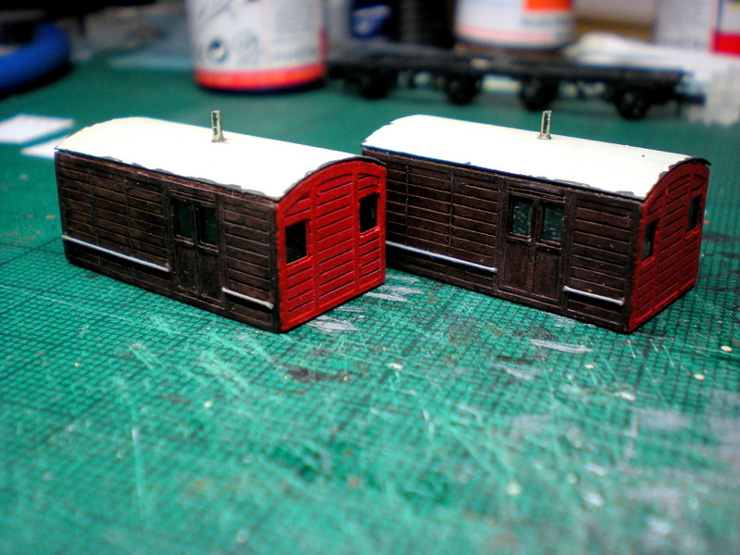
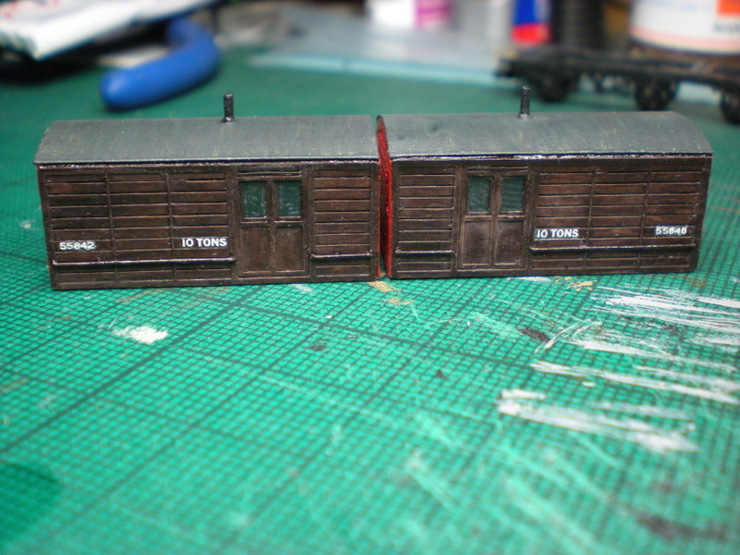
Lettering done, the bodies were added to the wagon chassis, and
paper steps
were added under the doors. The lower running boards were made of
thin card
soaked in superglue.
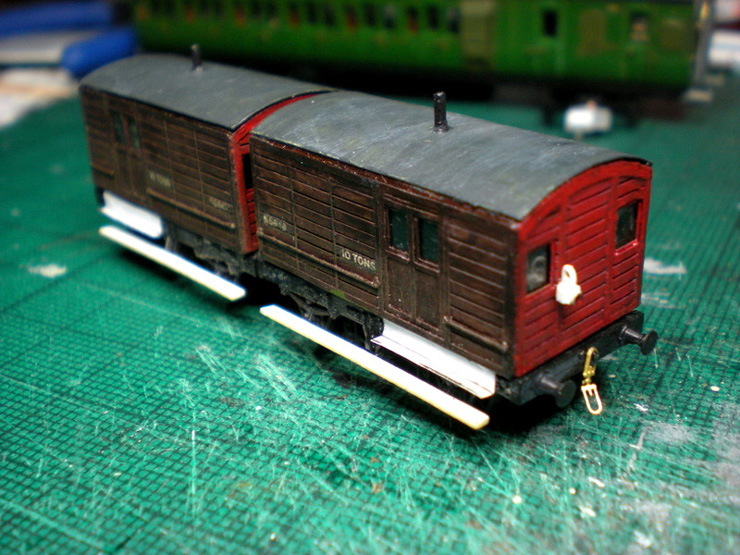
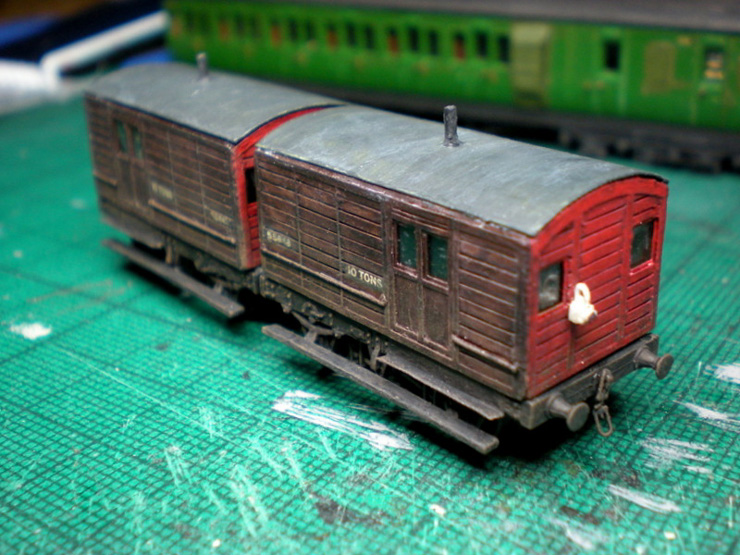
And here's the finished article, with a layer of dirt added. The
short roofs let it down
a little, but the problem areas are barely visible at normal viewing
distance.
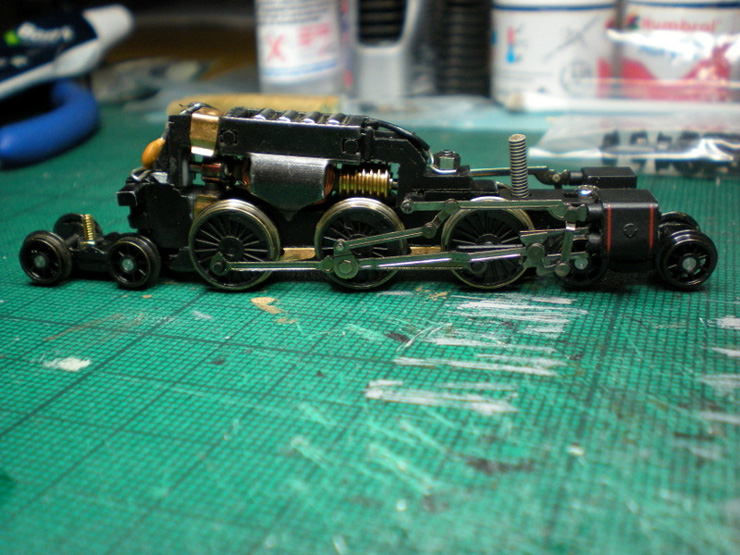
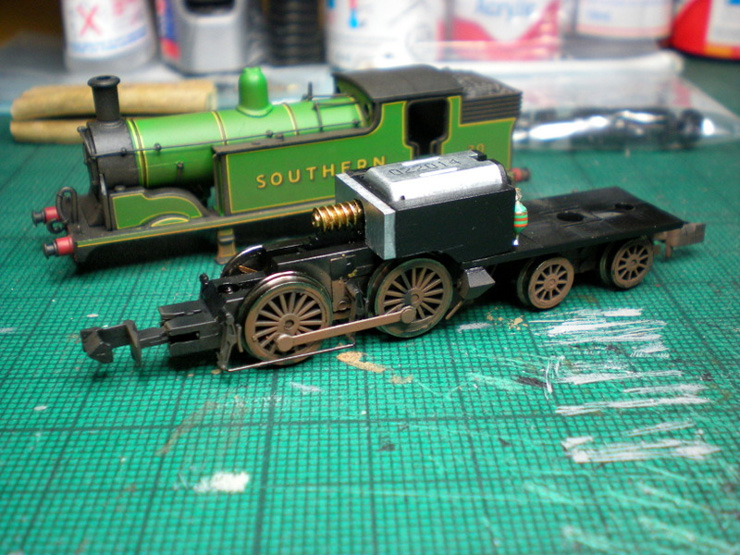
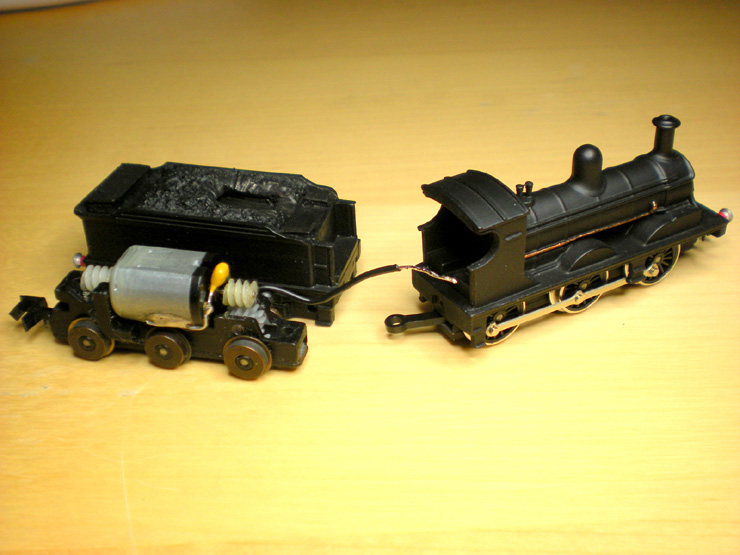
Another
ongoing project is the Del Prado Class L Remembrance tank. I have
two N
Brass Loco four-wheel front bogies, but preparing the first
one, to go at the back of
the motor and chassis, took quite some
time to fine-tune and get working.
With the rear bogie now working satisfactorily, it was time for the front
bogie, test-fitted here.
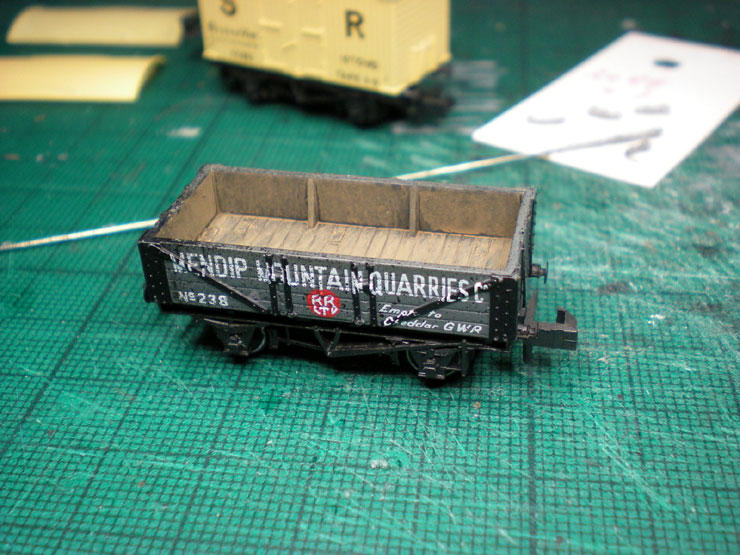
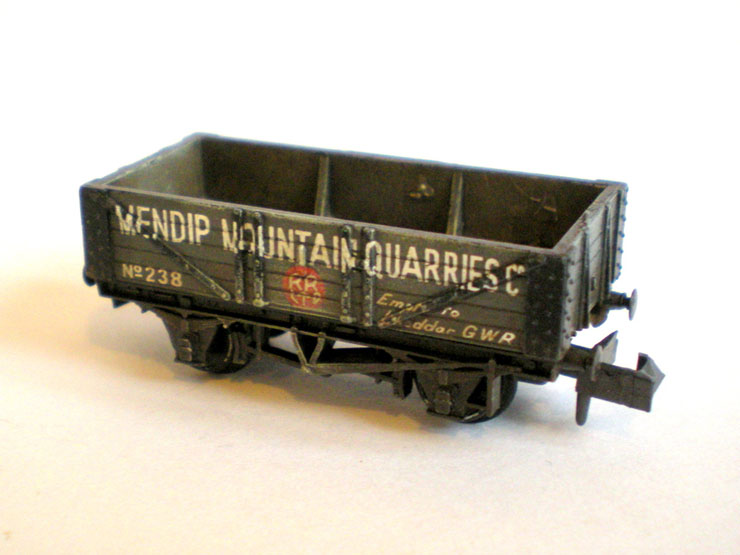
Of the batch of Gramodels resin wagon bodies (mentioned on the
previous page),
all of which are LSWR
diagrams, I picked these three to be done as the first batch.
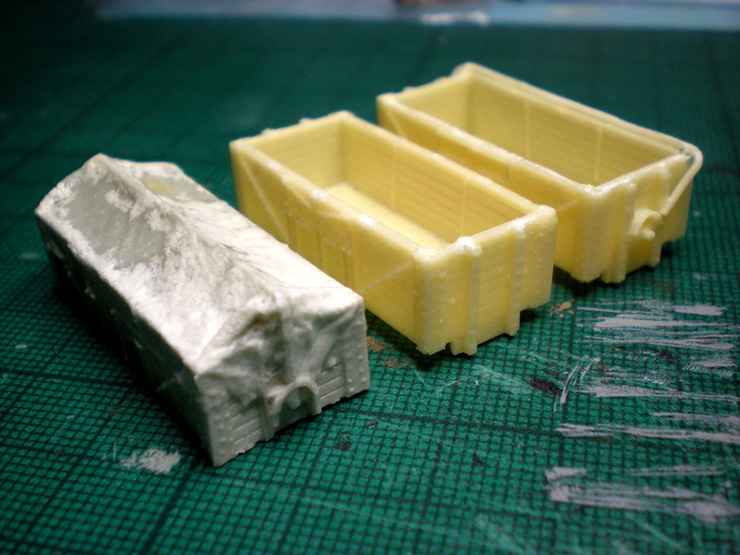
Adding them to a Peco wagon chassis is easy enough, although there's
no space
for the lead weight. Instead, I trimmed these a bit and glued them
on underneath
the chassis. Painted black they don't show up at all.
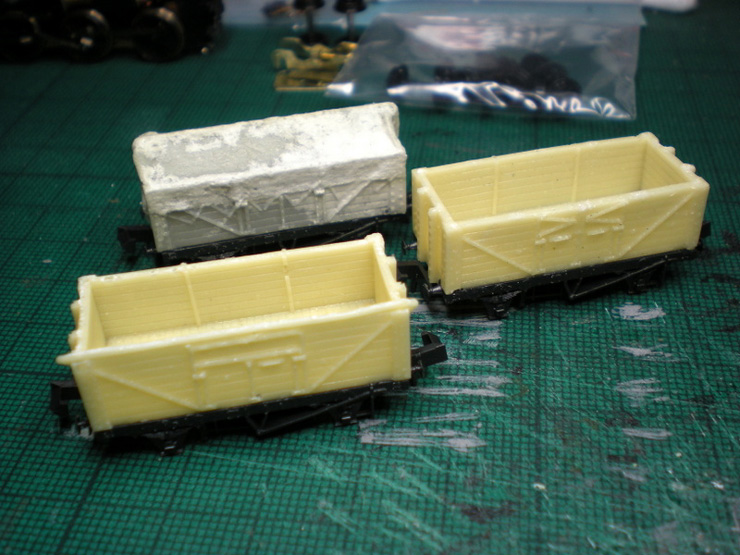
Undercoating...

Overcoating...
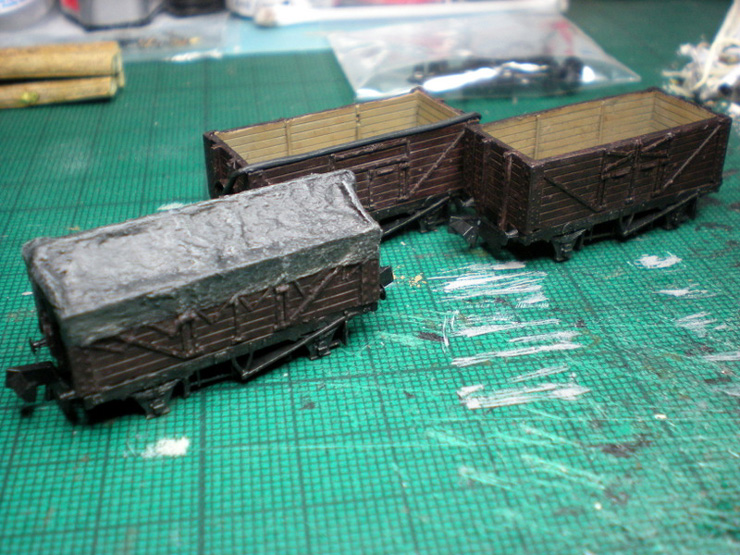
There will be a final shot to come (see
27 August
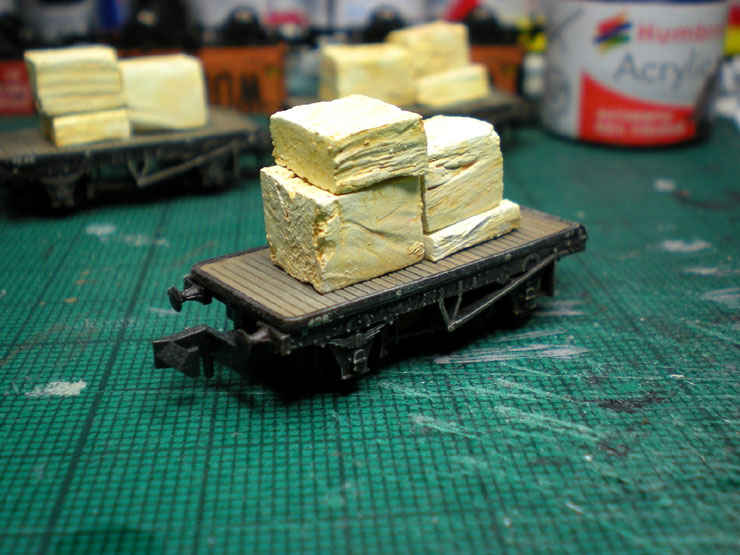
2018). In the meantime, I was also preparing a log load for one
of the Gramodels open wagons...
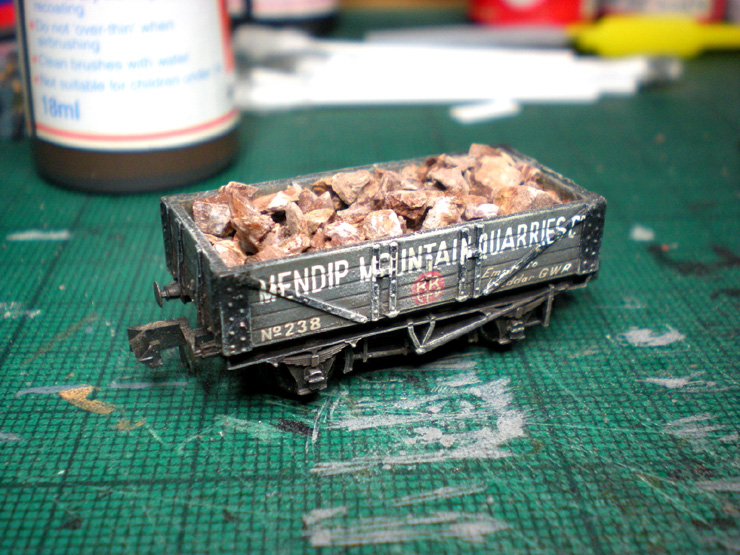
...weathering a stone wagon...
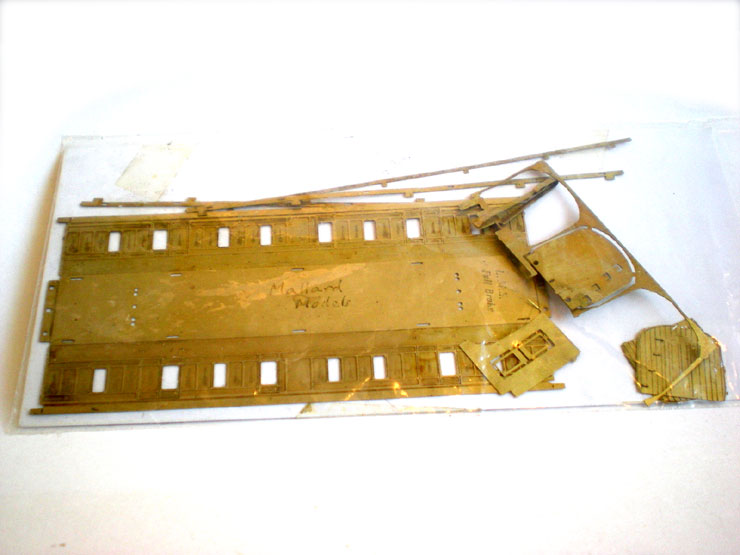
...finding a spare coach chassis for a rare Mallard Models LMS
Period 1 full brake,
perfect for 1930...
...finishing off (finally) my track-cleaning water tender with its
coal rails and front
coupler...
...and clearing the greasy gunk off this bargain buy. It took a
while but this could
be one of the better-running Dapol M7s, and would be a handy chassis
for one of
the old Graham Hughes 0-4-4 tank kits - if I can ever find one, that
is.
Next was my lovely Princess class 4-6-2 tank
engine. The
white metal body hadn't
been prepared properly, so that the tops of
the wheels
and the side motion that
connects them was rubbing the metal and
causing the
loco to lurch.
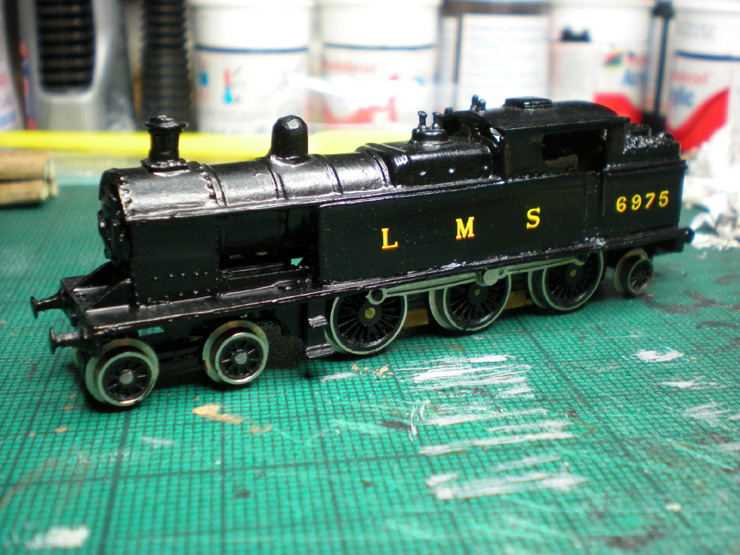
It took quite a bit of slicing and filing to get the body to sit
comfortably on the
chassis, and then I decided to complete the job by adding a bit of
detailing - white
lamps and a vacuum pipe at the front. The wheels still need to be
washed and
darkened.
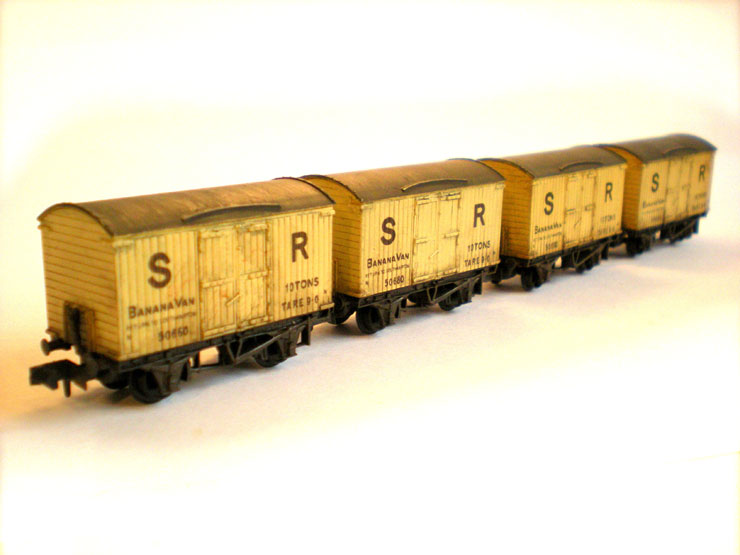
The final project before Christmas - detailing and weathering four
SR banana vans.
They all needed vacuum pipes fitted, which I made up with twists of
bared layout
wire to save the BHE vacuum pipes for my coaches.
Vacuum pipes fitted and painted.
The roofs received several thin washed of roof dirt until they were
the right level of
dirty.
And then the bodies had a thick wash of dirt, much of which was
wiped off with a
cotton bud, leaving just the grimy bits in between the panels and
near the chassis.
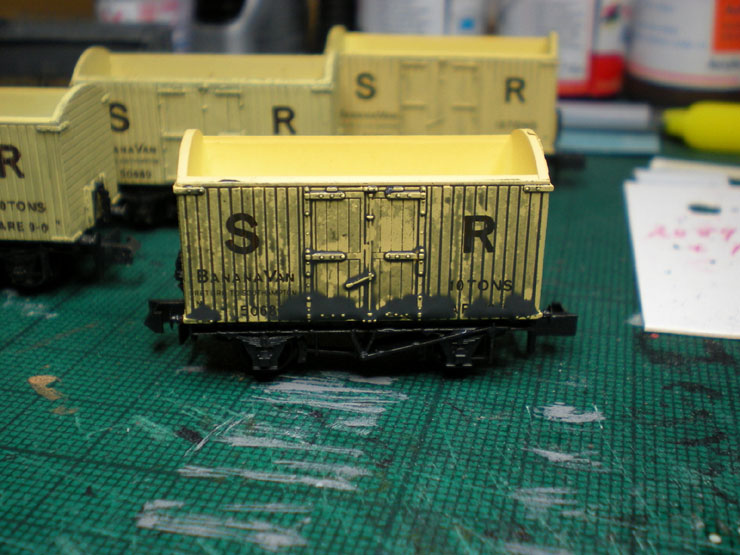
Here's the set, with a little scratching with a knife and a tiny bit
of repainting so
that they are all numbered differently. That's it for 2016 and for
catching up.
31 March 2017
There are a few projects ticking over on the
workbench for 2017. The first of the year was to finish weathering
a few more wagons, including these:
Then there was the task of loading up a trio
of P&D Marsh one-plank wagons with some Portland stone
(possibly one of the best P&D Marsh models in terms of
detailing):
There's another wagon load project on the workbench now, but I'll
get to the end
of it before reporting on it. Also on the workbench
is an LSWR 6-wheel etched
brass coach kit from Ultima/Etched Pixels. That'll be reported on a
page of its own.
Finally for now, two locos have been added to the roster, one being
the Union Mills
T9 which has returned from the lining shop looking like this:
It still needs detailing, and that's the next step, but even like
this it looks
magnificent.
The other loco is new - a Class N15 'King Arthur' 4-6-0, built by
the LSWR in 1918-19 and named Joyous Gard. I managed to win it as
an eBay bargain when no one else was looking. I was the only bidder,
thank goodness.
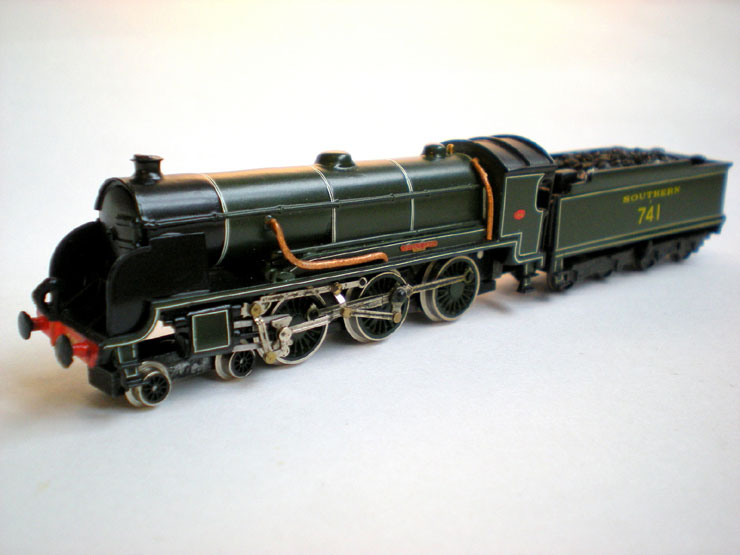
It had a few minor chips in the paintwork, a missing vacuum pipe at
the rear, a
couple of wonky or loose buffers, a crew painted in a vivid
mid-blue, and a cab fall
plate that was well past its best, but a few nights of minor surgery
righted all those
problems.
An Eastleigh letter 'E' was added above the tender numbering, and a
loco number
was added to the rear of the tender. Perhaps the only thing that
could be done in
the future is to replace those tiny old Grafar bogie wheels with
something a tad
bigger...
15 May 2017
The workbench has been a busy place this spring,
and so has the layout (see separate thread). Much of the attention
has been on Southern Railway locos, but some coach kit building is
also ongoing and this will be covered in another thread when the
work's finished.
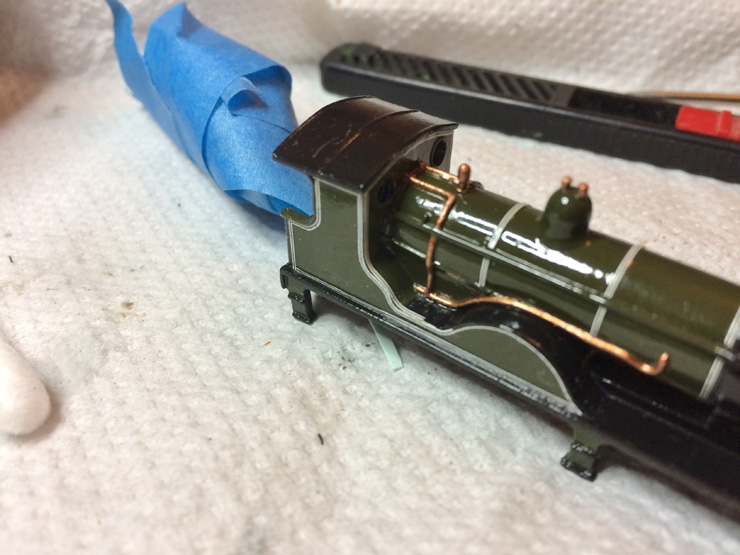
For now, some hacking was required to the tender of
an Adams Class 395 0-6-0 goods loco:
The supplied tender is fine for a Drummond T9, like the one being
lined (see
above), but it's not accurate for an Adams 395. The
toolboxes at the front needed
to be hacked and filed off.
Then I opened up the moulded coal so that I could create a slightly
different coal
load for this one.

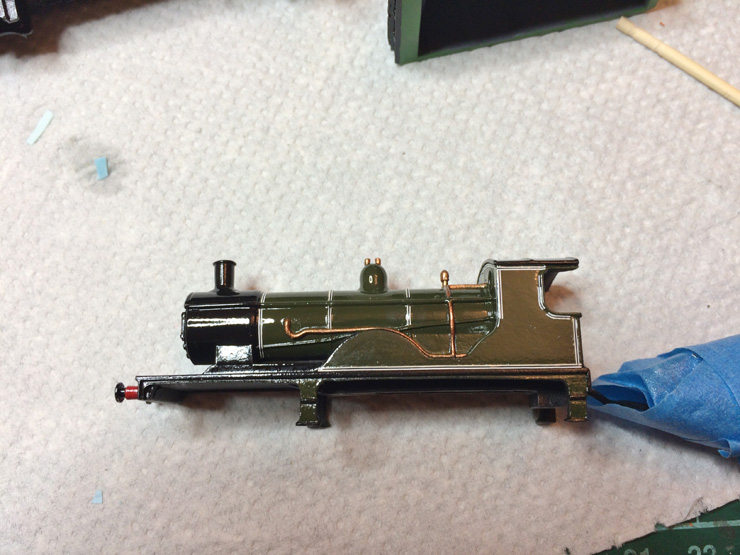
After much drilling, hacking, and filing, the coal load was opened
up and a false
bottom using plasticard was glued in underneath. A
new front ridge was added
(card) because the coal load comes right
up to this. New, lower toolboxes were
installed (balsa wood topped
with card and coated in superglue so that they can
be filed smooth).
The usual, round water tank hatch at the rear of the tender (see
above photo) was
filed off and replaced with this rather novel 'toolbox' lid (balsa
topped with card),
and two bits of scrap brass were added to imitate
the hinges. The 'SOUTHERN'
lettering and the loco number have been
removed from the tender sides. This loco
will eventually be E0153,
the zero being there to show that it's on the 'reserve' list
of
semi-retired locos.
The loco has had its moulded cab handrails removed. These will be
replaced by
brass rod. Both tender and loco have had spaces prepared
for vacuum brakes and
hooks.

Once undercoated and washed several times in watery black, the
tender is now
ready for its green lining, which I'll allow an expert
to do while I get on with hacking
other things. You can see here
that the copper pipes on the loco have actually
been painted copper
now (they come supplied in black).
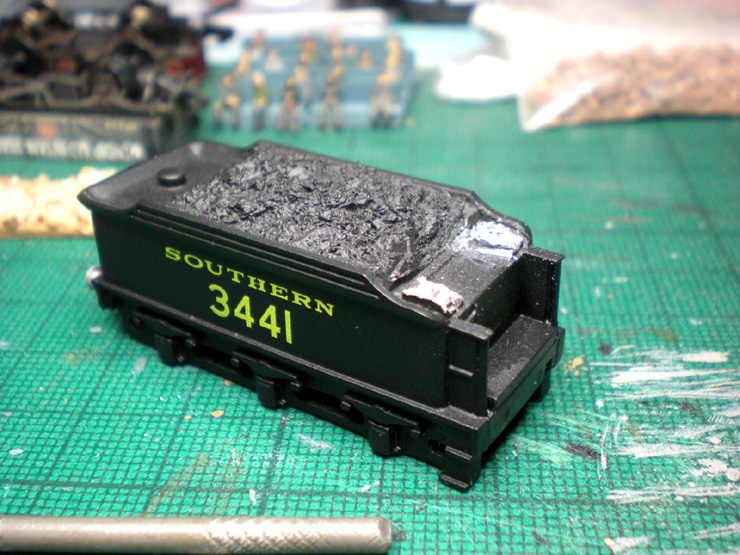
With that done, another project was to create a mineral load for
this wagon. In the end I simply used refuse from my house -
literally. The outside of the house is
pebble-dashed.
Whenever I do any work on the house bits of it flake off, so I save
them for just this sort of use. I could do with three or four more
Mendip wagons to
make up a mineral train.
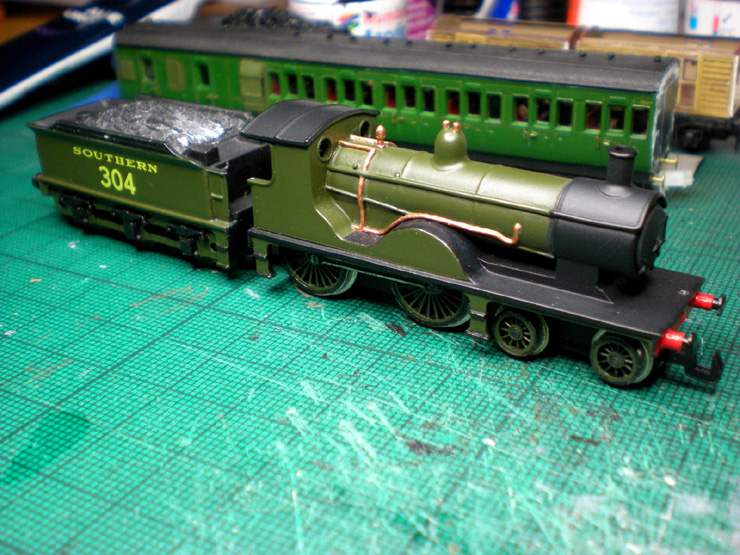
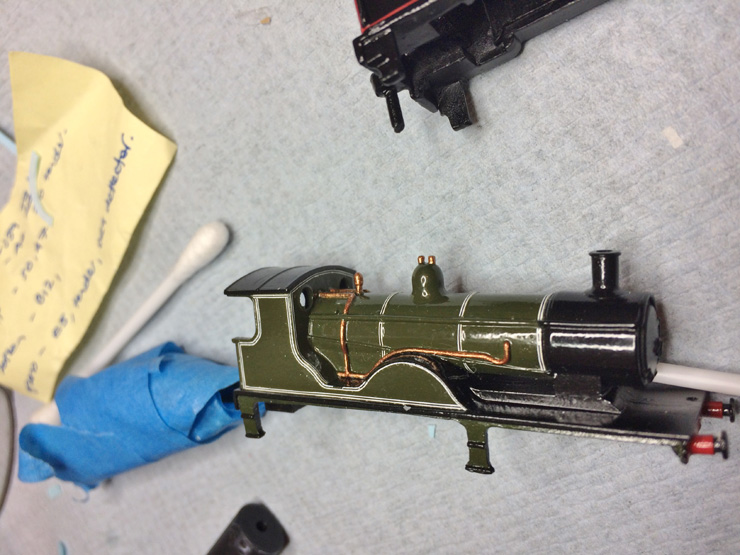
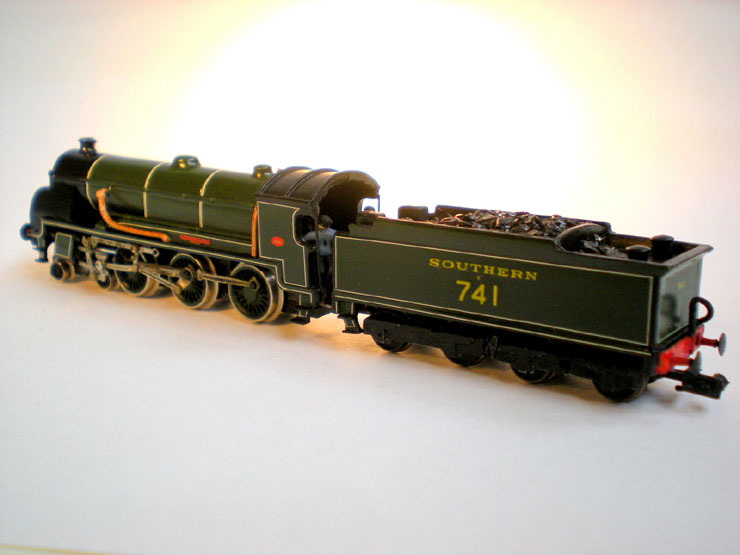
Now for detailing the T9 after its adventure in the lining shops.
Vacuum pipe added
to loco front and tender rear. Handrails added to
the cab.
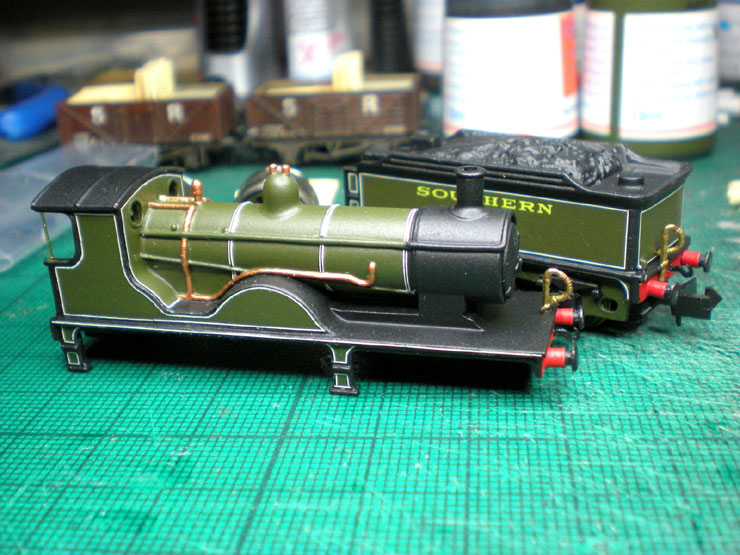
Then lamp brackets were added to the front of the loco, and those
and the vacuum
pipe were painted and varnished. A coupling hook and
chain and also the loco
number were added to the front of the buffer
beam. The beam itself had already
been repainted, along with the
buffers.
On the sides of the cab you can see the red oval plaque that carries
the loco
number and company name... or it would if I could paint
that small. The bonus is
that no one can tell without a magnifying
glass.
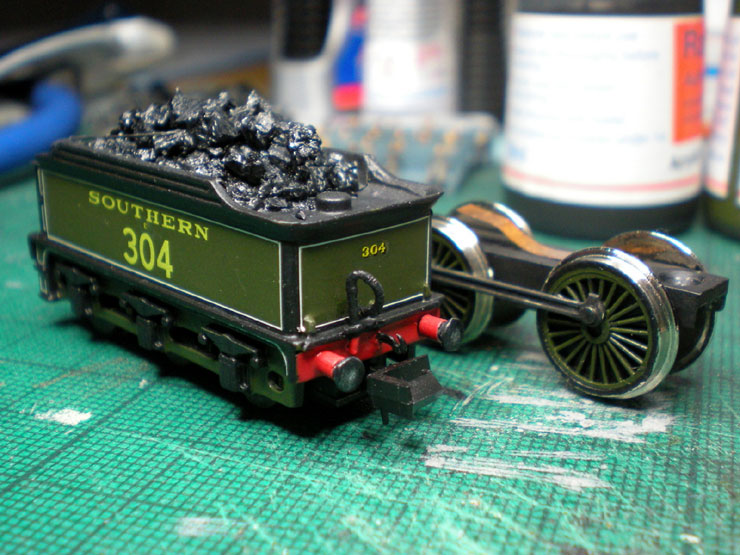
A fresh coal load and fireman's tools were added to the tender,
along with the loco
number at the back of the tender and the 'E'
number prefix on the sides. The
vacuum pipe was painted and the hook
was also added. Buffers repainted as
always.
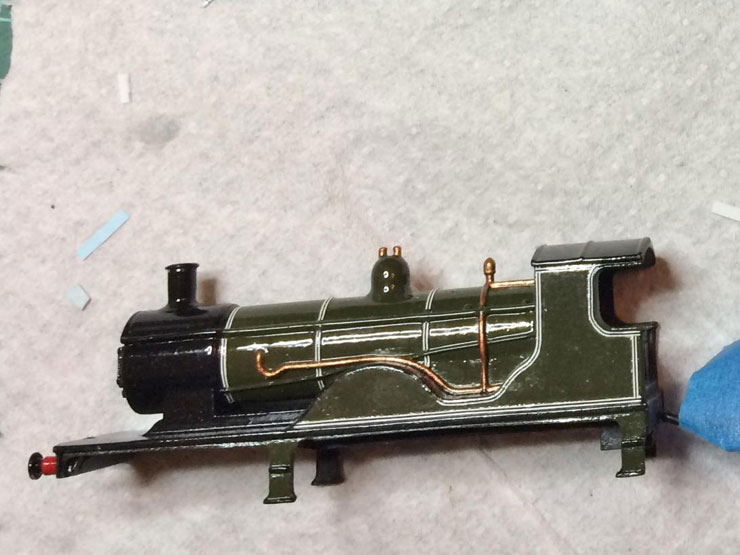
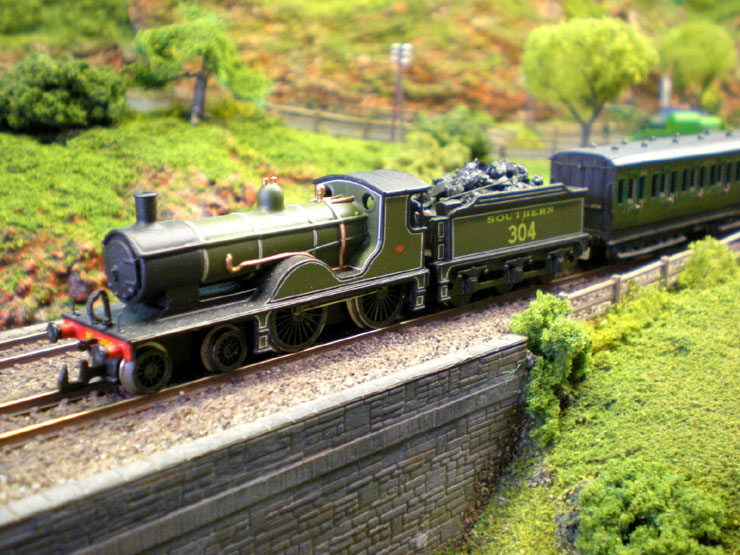
The finished loco made a visit to an exhibition layout for a
photo session (see the
Locomotive Gallery
for more photos).
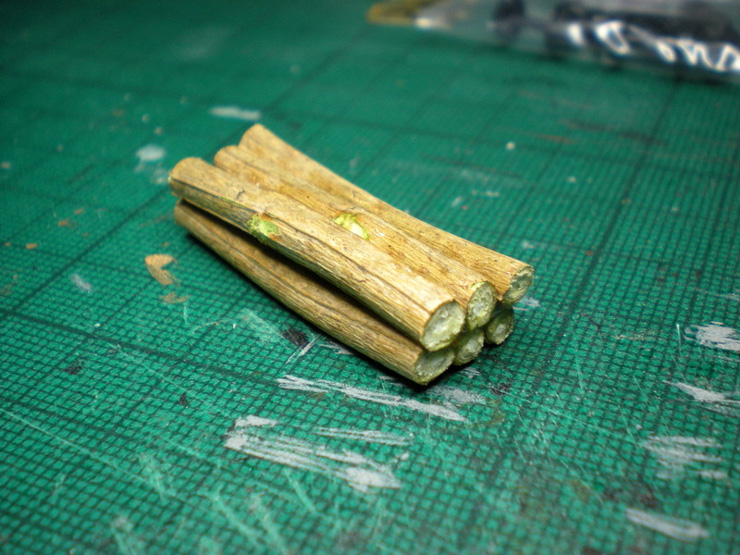
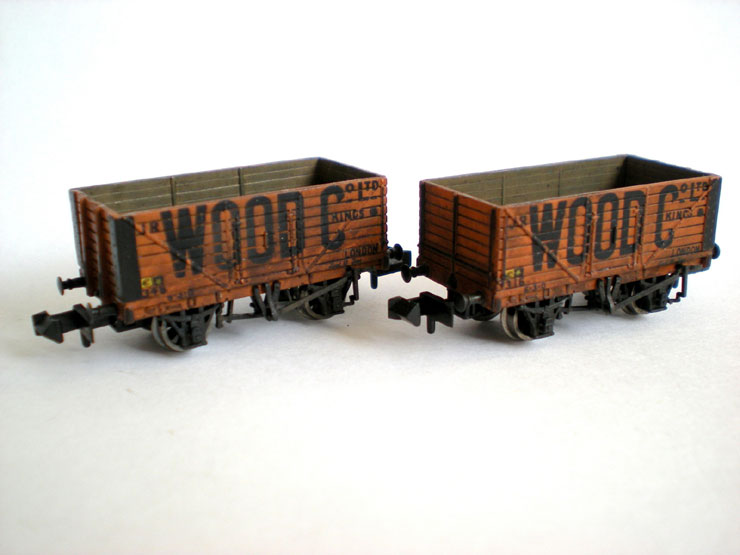
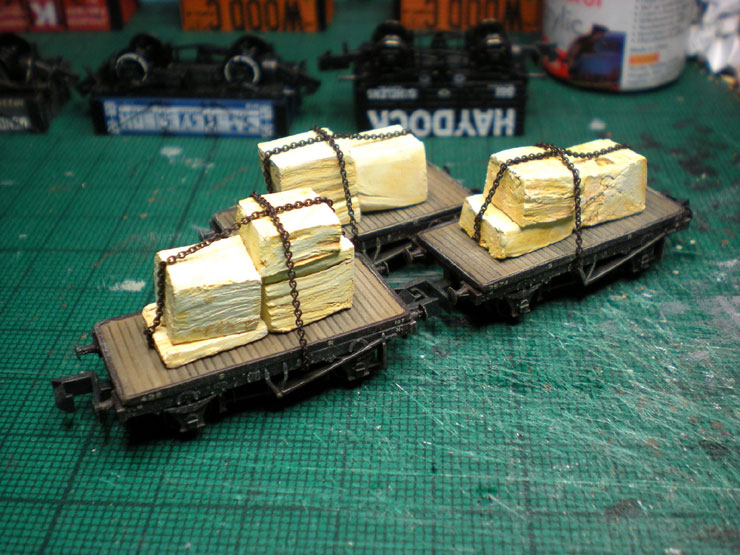
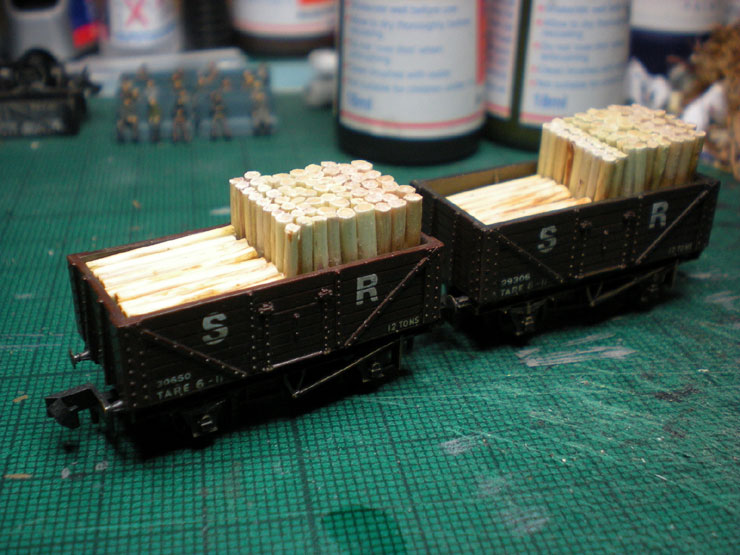
And finally, a few trees were chopped down to fully load these two
goods wagons.
At least, that's what it felt like, cutting all of these...
|