|
11 March 2018
After a couple of months of modelling silence, I
started catching up with a bit of loco work.
But first, a catch-up from the end of last year...
This Class M7 loco had already been detailed and
weighted to try and give it a bit more grip and power
(March
2016). Unfortunately steam loco research can sometimes be a bit
of a minefield. The running number chosen, No 49, turned out to be a
long-frame variant, not the short-frame version that the Dapol model
represents. So it had to be renumbered again and this time it would
be the right number.
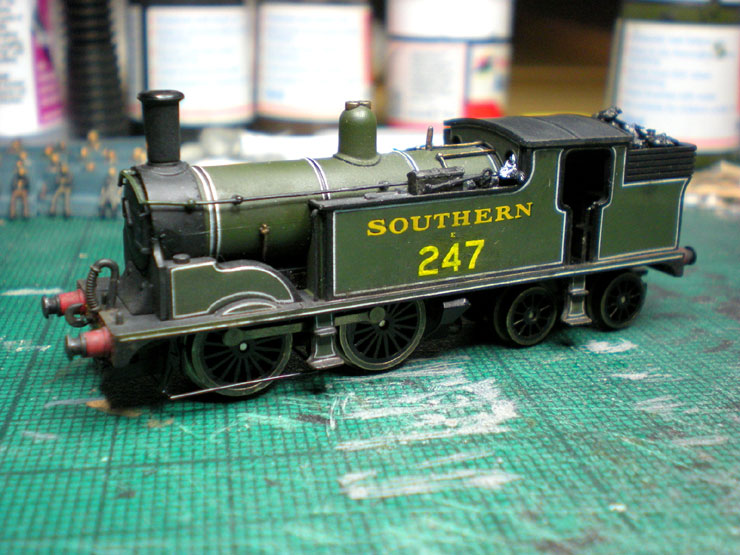
No 247 wasn't fitted for push-and-pull operations
so this one will run on other passenger services (if I can ever find
two coaches that it can pull up the incline unaided) or on shunting
duties around Bournemouth West.
Now we're up-to-date with last year's completed work, it's time for
this year's first project.
This one actually began a while ago (August
2016), with some filing work to help the body sit better on the
loco. But with the loco prepared and working beautifully, it needed
the BR Brunswick Green livery and lettering stripped off and a full
repaint into SR Maunsell Green. Again this work was passed onto Ozymandias
of the N Gauge Forum (he handled the wonderful lining work on Class T9
No 304 - see 16
February 2017 for those details and the
Loco Gallery
for the finished model).
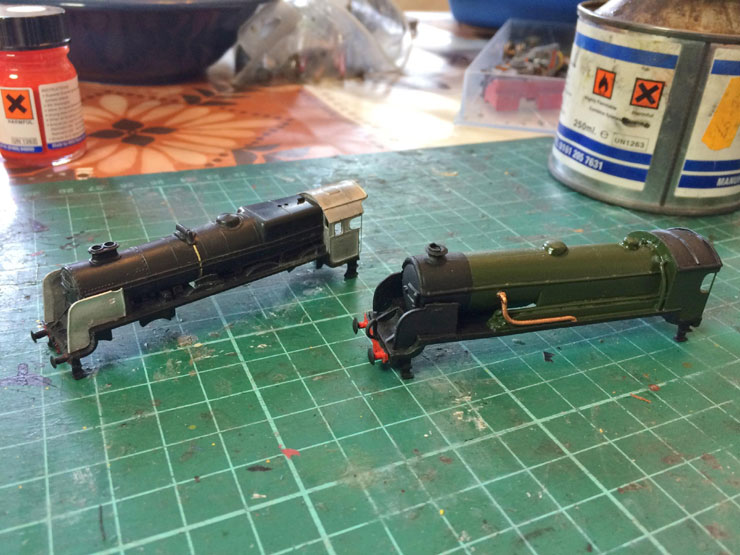
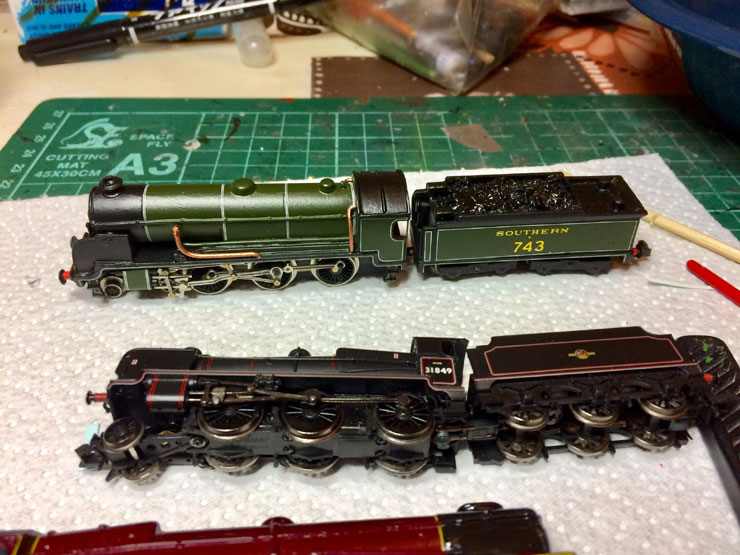
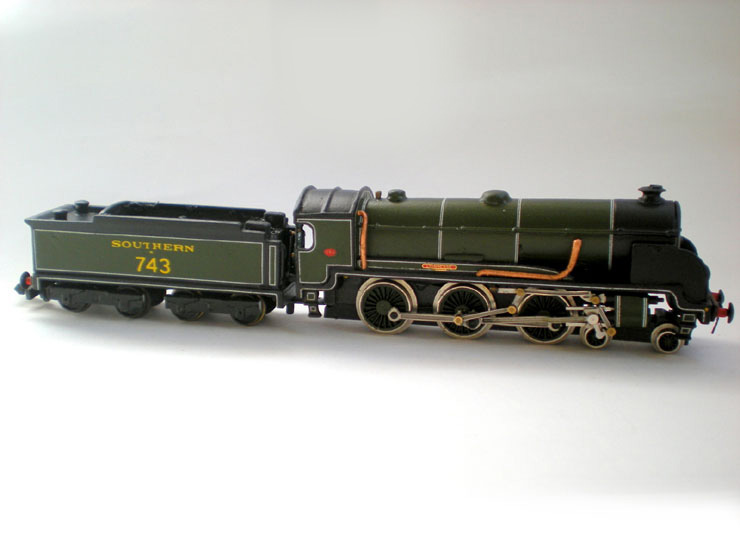
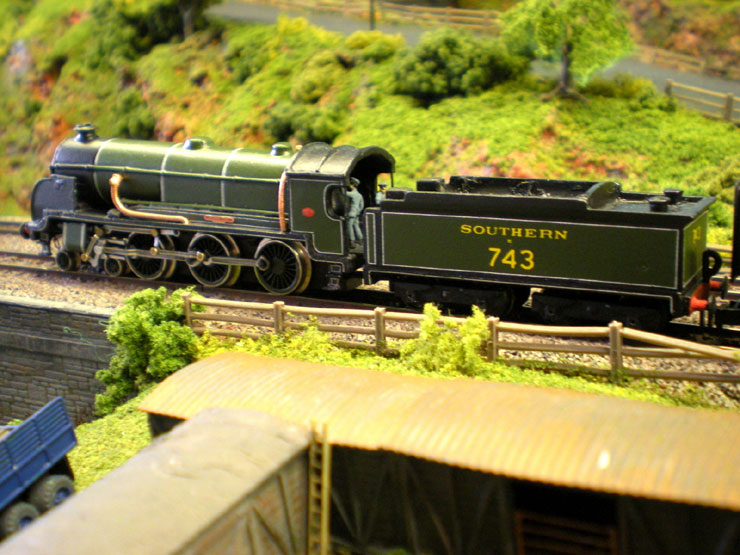
The next few pictures are his work... of his work. The loco is a
Urie Class N15 4-6-0, No 743 Lyonesse, and it's the one at the back,
in grey.
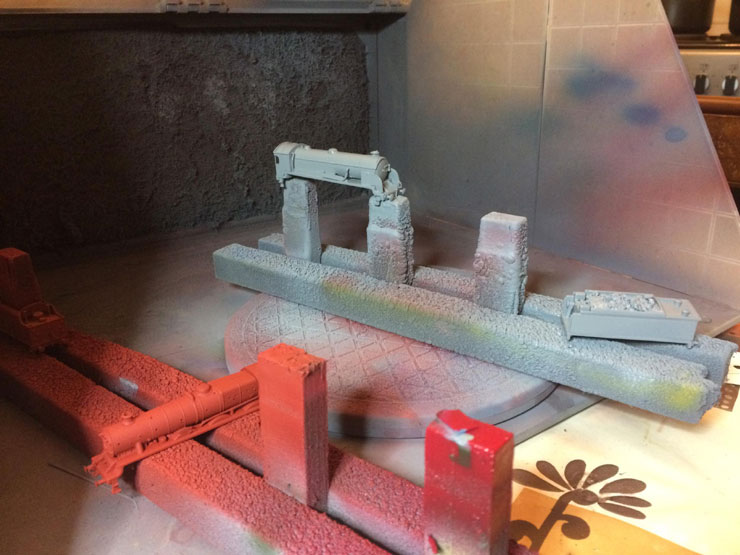
Here it's had its coat of green, plus the black parts too on body
and tender (in the middle).
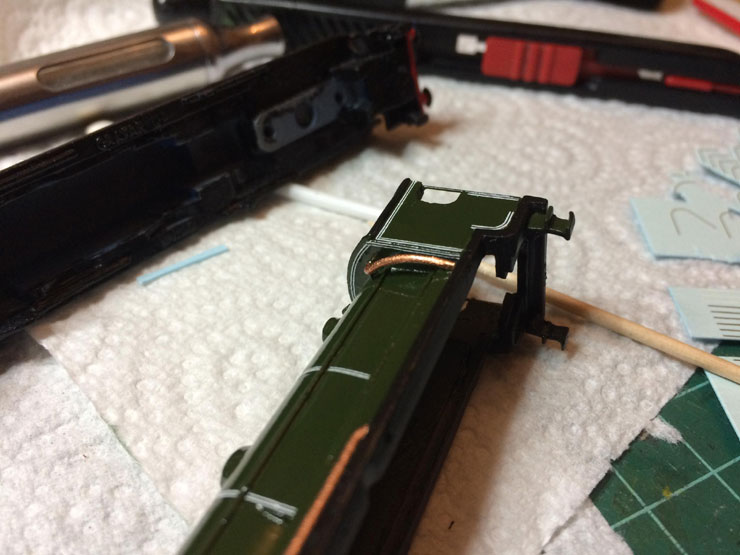
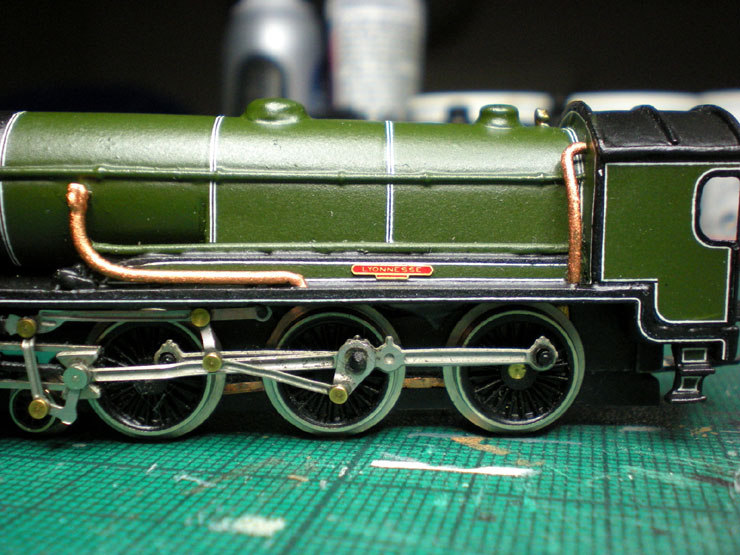
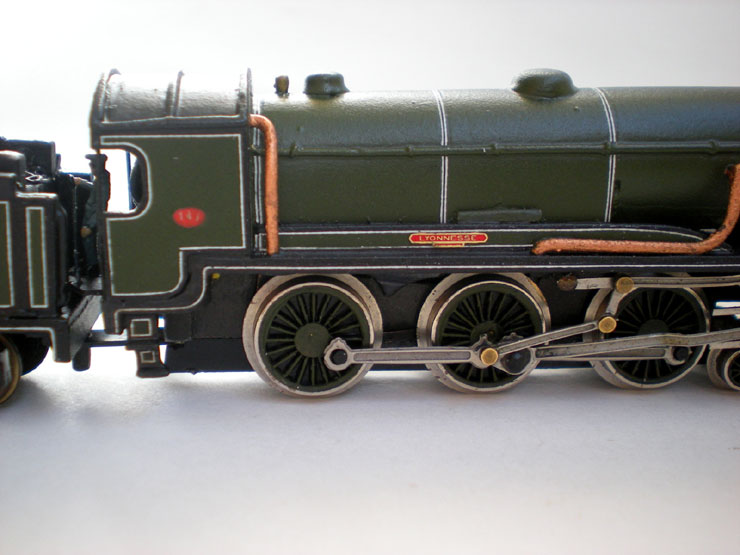
The first copper piping has now been painted in, along with red buffer beam:
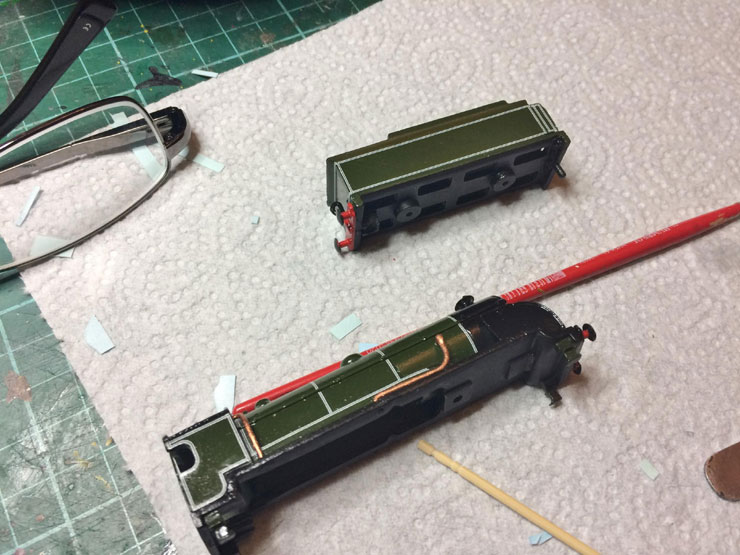
And now the while lining goes on, double white bands with a centre
black line:
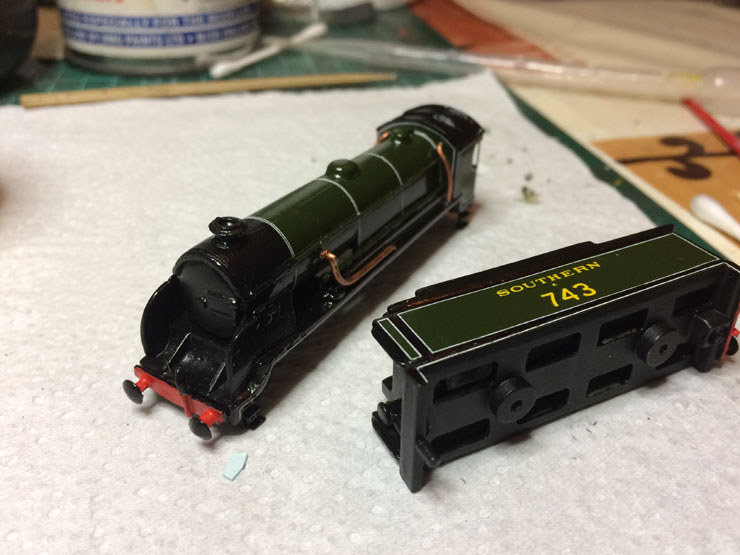
The lining has been done, the outer white line has been painted
black, the tender lettering has been added, and the while body and
tender have been spray-varnished to seal it all in.
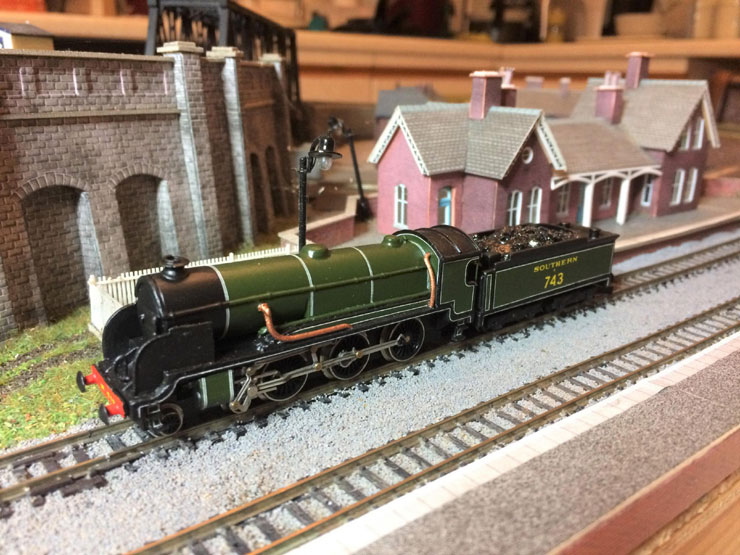
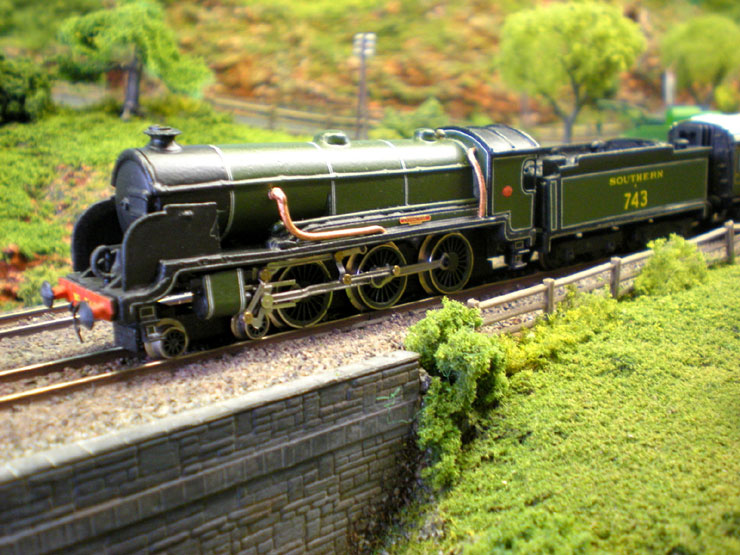
Ozymandias gave the completed loco a quick run on his test track to
show it off properly.
And then it was back on my workbench for some final detailing.
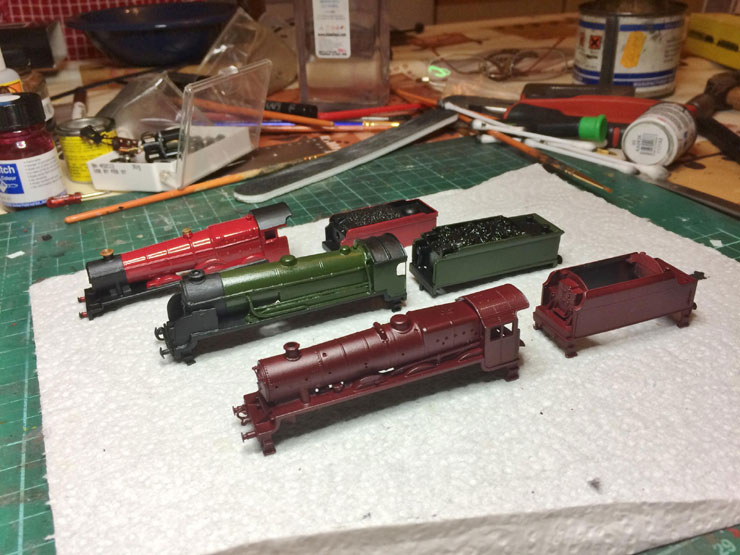
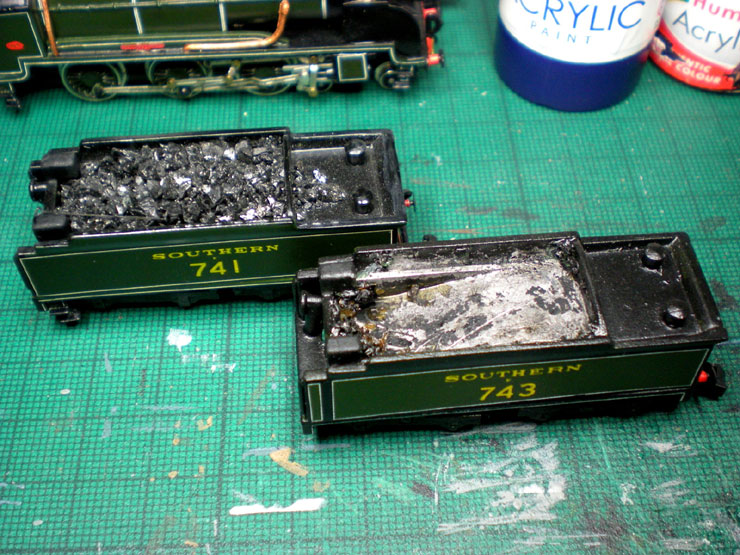
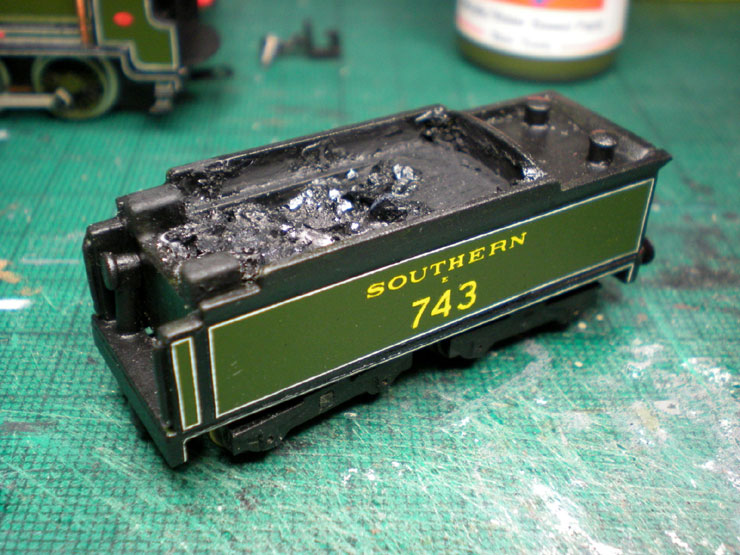
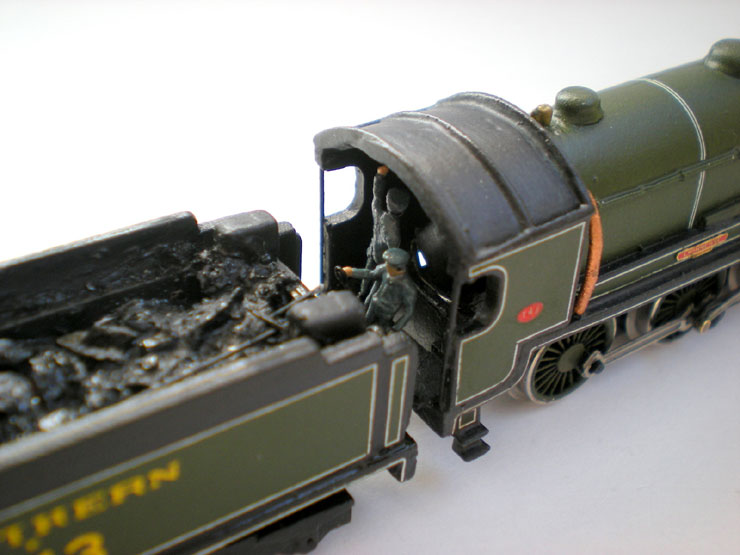
The tender at the front of this shot (below) is the one for No
743 Lyonesse. I dug out the old coal as it had lost its natural
shine during the spray-varnishing process. It came out
surprisingly easily, giving me an almost empty tender that I
could paint black and re-coal.
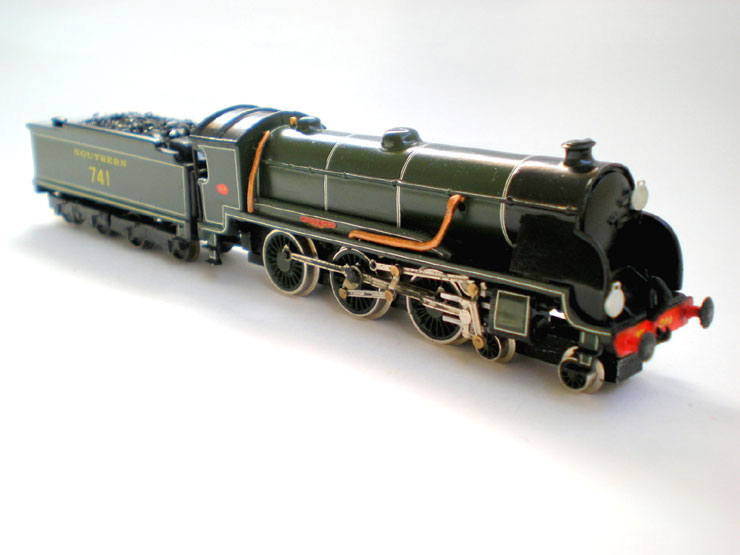
The tender for No 741 Joyous Garde just needed a bit of correctional
work on the back coupler.
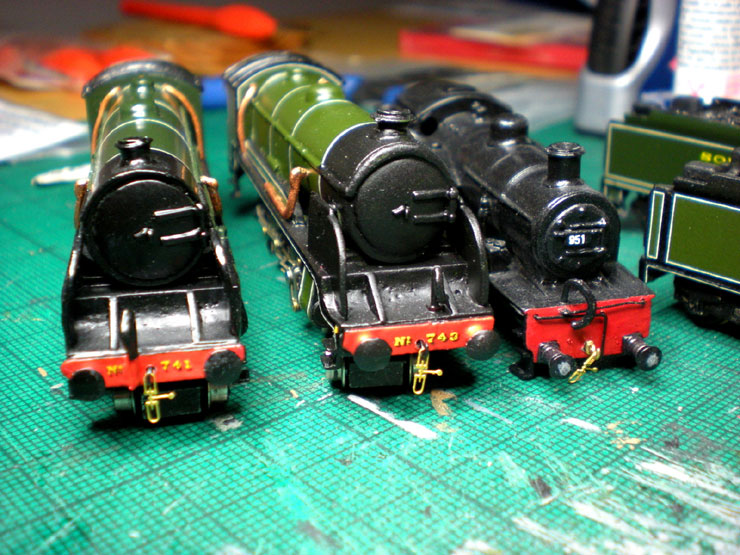
Both locos, along with Class Z No 951 on the right, needed
front coupler hooks and chains, while No 951 also needed a
bit of extra pipe work added to its front buffer.
No 743 received its nameplates - Lyonesse.
Its tender was coaled up, but only enough to make it look
like it had already done a shift in service.
No 743 also had a few very diluted washed of frame dirt and roof
dirt along the running plate, buffers, smokebox, cylinders, and cab
roof. It
wasn't really enough to show up that much, although the red of the
buffer beam picked up a few stains. Some of those needed the edges
scrapped off with a wet cocktail stick to make them less obvious. It was just enough to take the
'clean' out of the black to show a loco that had been out in the
dust and soot of the railways in 1930.
The red plaque had also been added to the cab sides, and the whistle
just in front of the cab was now copper-coloured to match No 741.
A cab fall plate and crew had been added, the the fireman can be
seen here, holding his shovel and looking towards the diminished
coal load, probably calculating whether there was enough left to
finish off the service they're working. Job done, I think.
Along with its hook and chains at the front, No 741 Joyous Garde
also received the very first SR route indicator discs that I've
done (from BH Enterprises). The route is Waterloo-Bournemouth and
they seem to have worked out pretty well.
5 June 2018
Things have been a little slow this year, but a few projects are
gradually making their way through the various stages of
construction. First of all was a rake of mineral wagons to
compliment the single Mendip Mountain Quarries example that was
produced last year (see
15 May
2017).
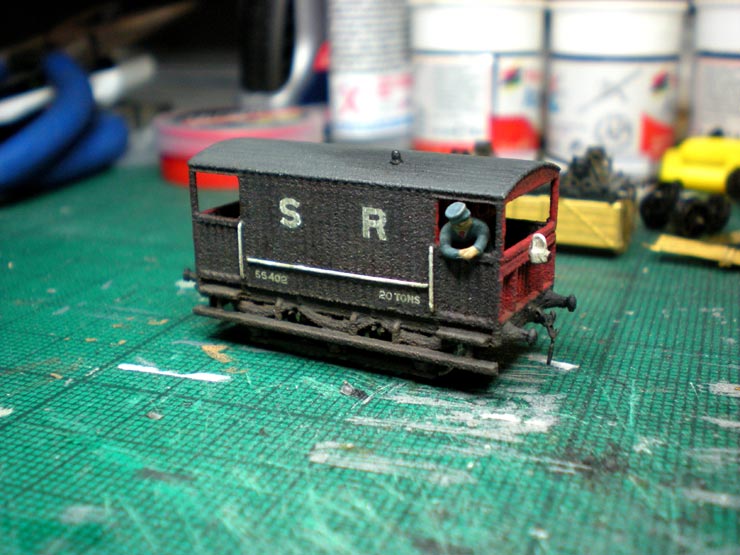
The next project was a bit of a surprise. A chap called Simon Dawson
has a kit-supplying 'shop' called Recreation21 on the Shapeways
website (see external links). He's produced a 6-wheel SECR brake van
in the lowest 3D printing quality, firstly for OO and O, but then
also for N. Having such an unusual brake van design was too much to
resist so I had to get one.
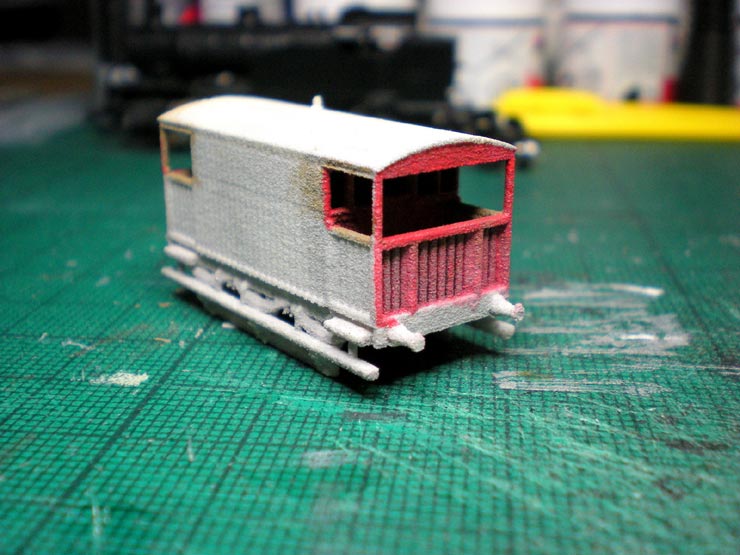
Here it is with a couple of undercoats and the beginnings of the
red ends. The red goes on very reluctantly - I think the printing
material was absorbing some of it despite the undercoats.
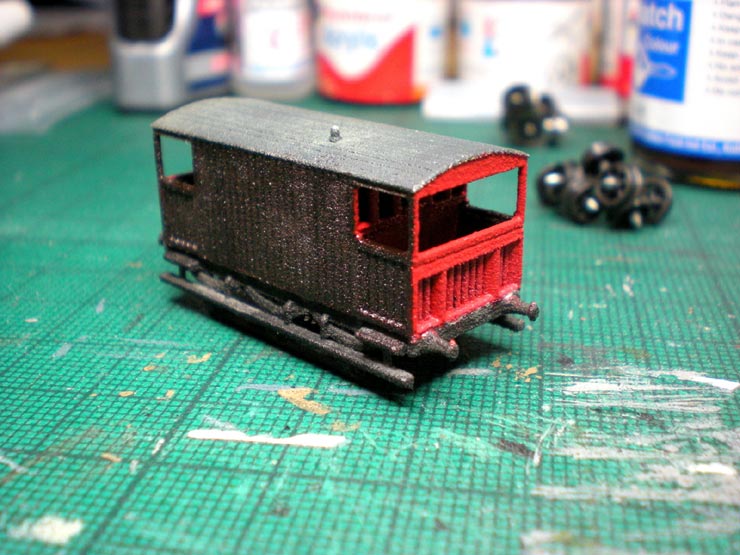
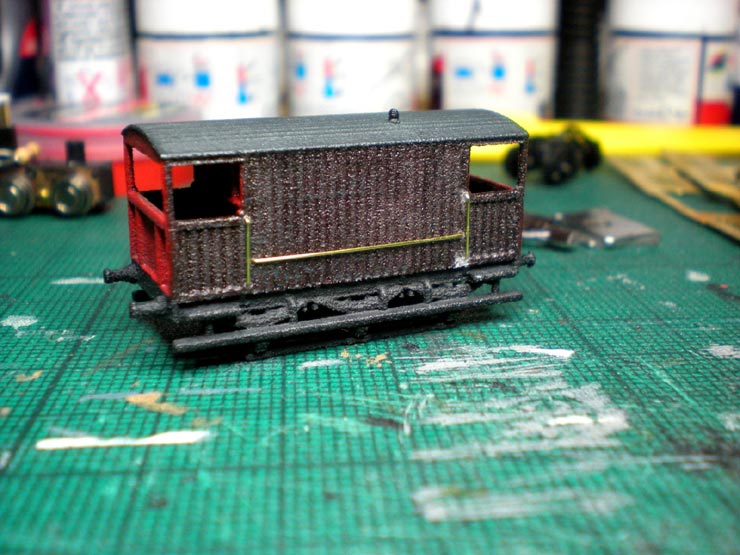
The red needed three or four coats to look this good, but the
oil-based SR brown went on in one go. Painting the red onto the
internal door and end-panelling was also pretty tricky.
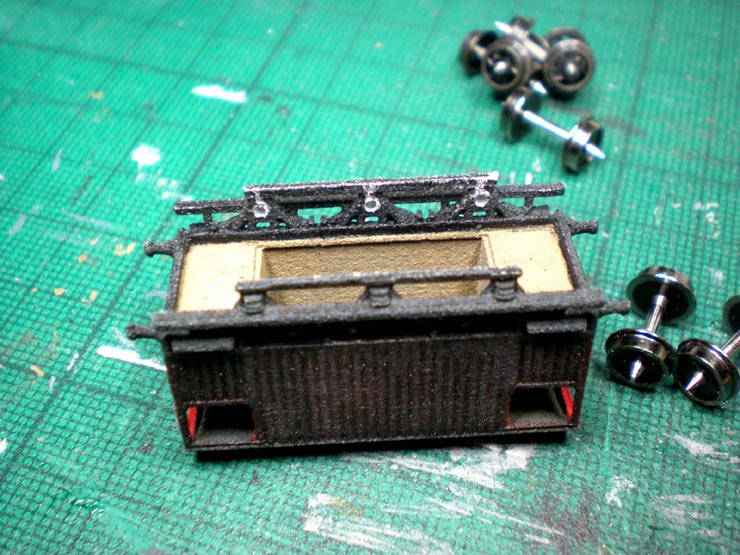
Drilling out the tough material of the 3D print to create axle holes
was also quite tricky work. It can't be done horizontally because
the opposite axle bar gets in the way. So drilling is at about
forty-five degrees and the wheels end up a bit higher up in the body
than they should. My tip for anyone else doing this is to drill a
little above (towards the rails) the guide holes for the axles -
nothing more than a millimetre but that should do it. Then they'll
probably be correct.
Then I suddenly realised that I'd expected the bodywork to be
complete, but it wasn't. So in went the 0.33mm brass handrails.
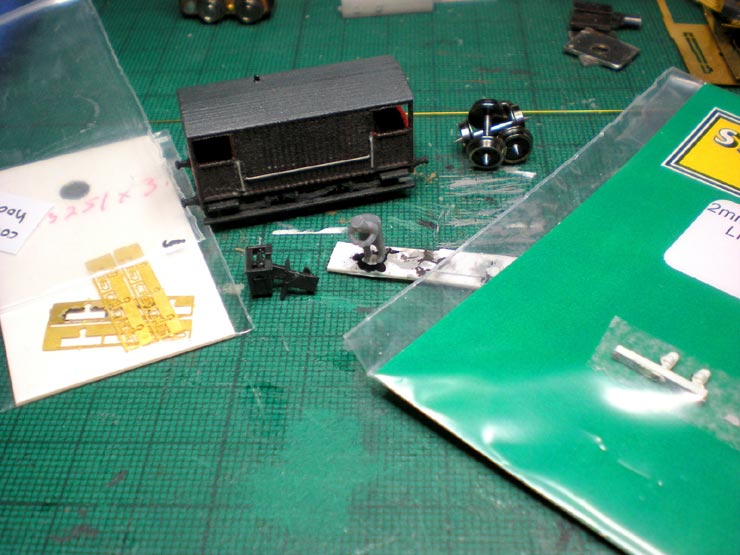
Then I also needed to dig out a Peco coupling box and coupler for
one end of the brake van, and a coupling hook, coupling chain, and
lamp for the other end. The guard comes from Osborns.
Two halves of a Peco wagon weight were pre-painted to match the
inside of the van and were glued to either side panel where they
wouldn't particularly show up when viewed normally.
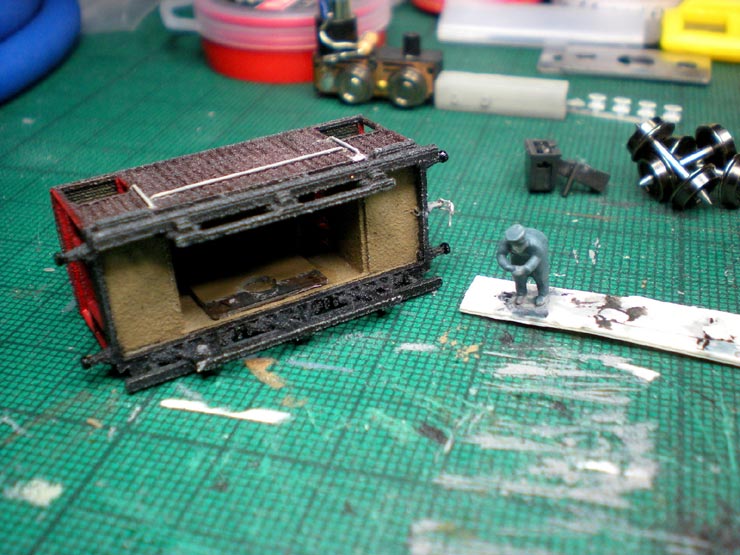
There's the coupling hook and chain, while the handrails had been
undercoated at this stage.
The handrails were whitened, the roof was stained with a bit of
extra black, the lamp was added, and the transfers were added (tip
for the next one - add a bit of extra gloss varnish for the transfer
base as the normal amount wasn't entirely enough). Then the entire
thing was dirtied with several thinned washes of grey and a couple
of washes of frame dirt around the axles and running board.
A knock-on effect of having the wheels set a tiny bit too high in
the body was that on the first running test on rails, the vertical
bar on the Rapido coupler snagged in the rails as it crossed a set
of points. It needed about a millimetre of it to be removed and the
cut tip rounded off with a file.
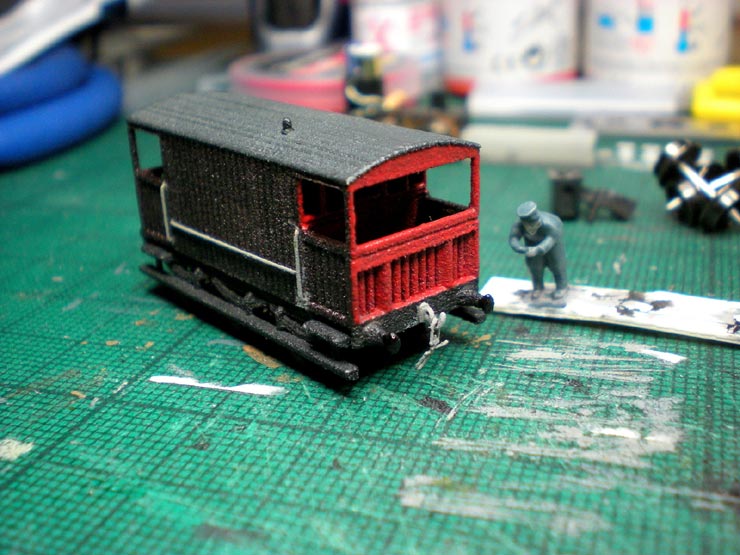
And this is the finished version.
27 August 2018
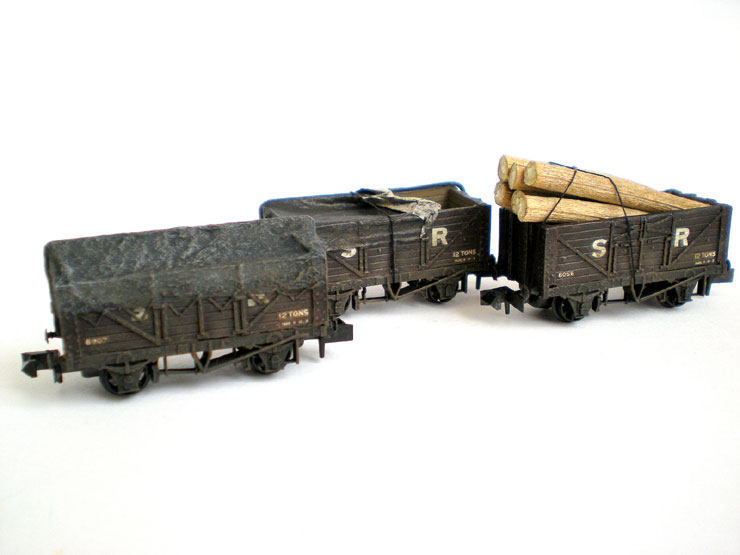
The first thing to do this time is finish off an old post. Back in
the post for 16
February 2017 work started on a batch of Gramodels resin wagon
bodies which were placed on Peco wooden wagon chassis. This is the
belated view of the finished wagons. The covered wagon on the left
is resin - part of the moulding. The wagon cover in the middle is
made of a kind of tissue paper, which creases up quite well to look
suitably 'tarpaulin-y'.
I still have more open wagons and some covered vans from Gramodels
to do, and eventually I hope to get around to them.
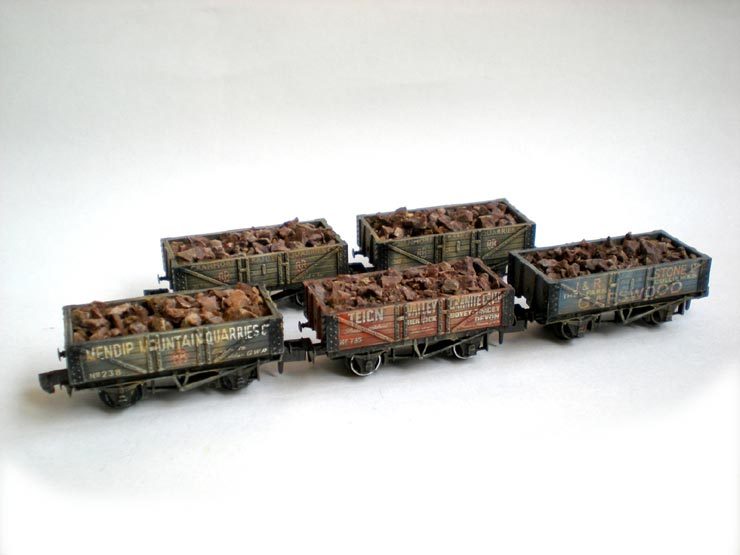
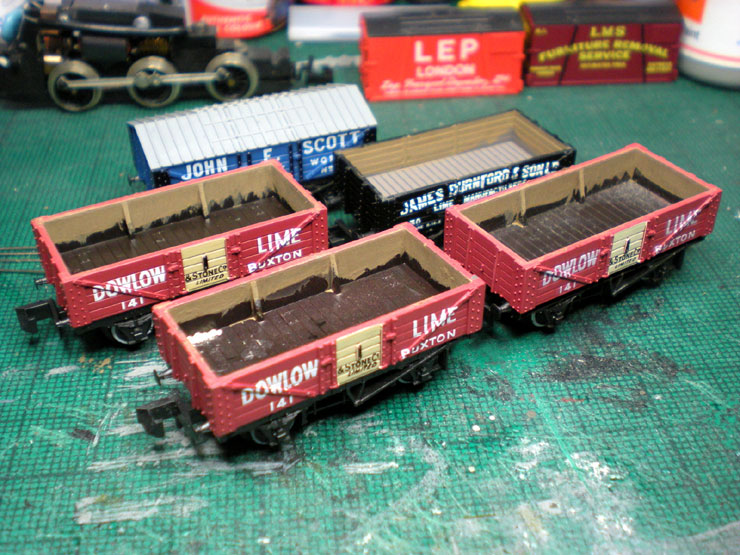
A couple of quick projects are next, in between longer projects
which haven't been finished yet. These five wagons, plus one other
that had already been weathered, were going to gain loads of Dapol
lime. Unlike the earlier coal loads, these were to be glued straight
in - mostly to save time.
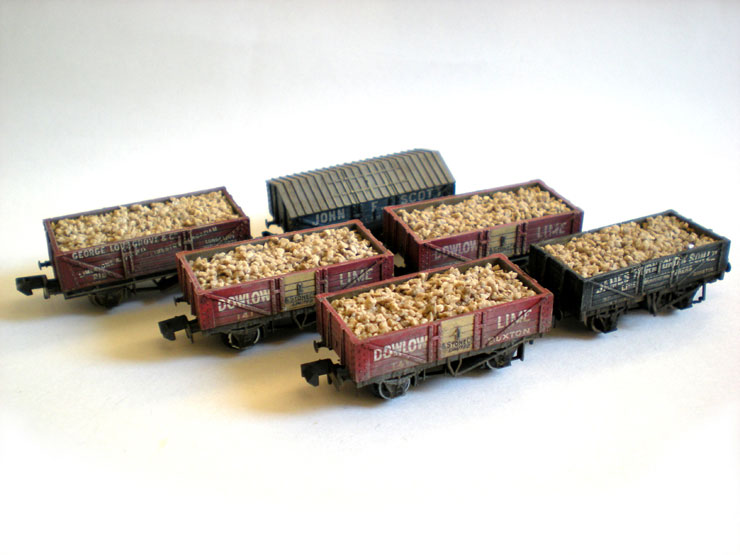
There's no need to cover the usual weathering process in detail.
Here's the finished version, complete with lime loads (and no
weather covering!). The already-weathered George Lovegrove wagon is
at the rear, on the left.
The only covered wagon there is at the back, and is totally hidden
from view, so here it is. Hopefully that's enough weathering for
1930 without being the 'too much' weathering of post-Second World
War wagons.
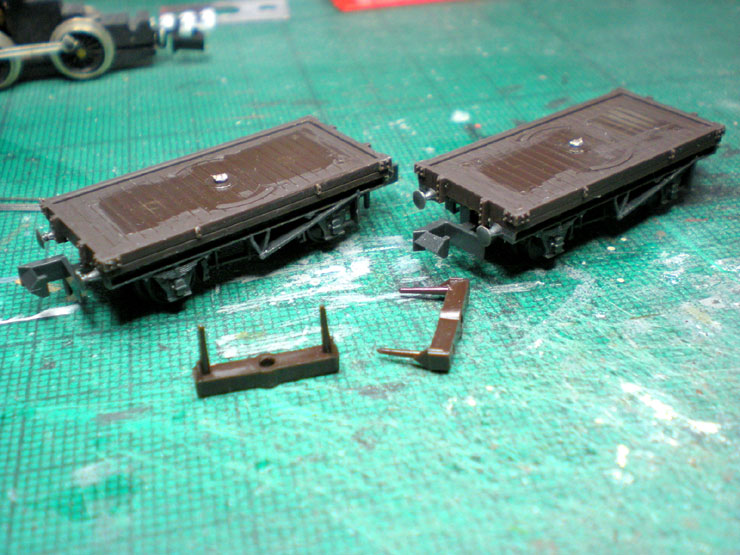
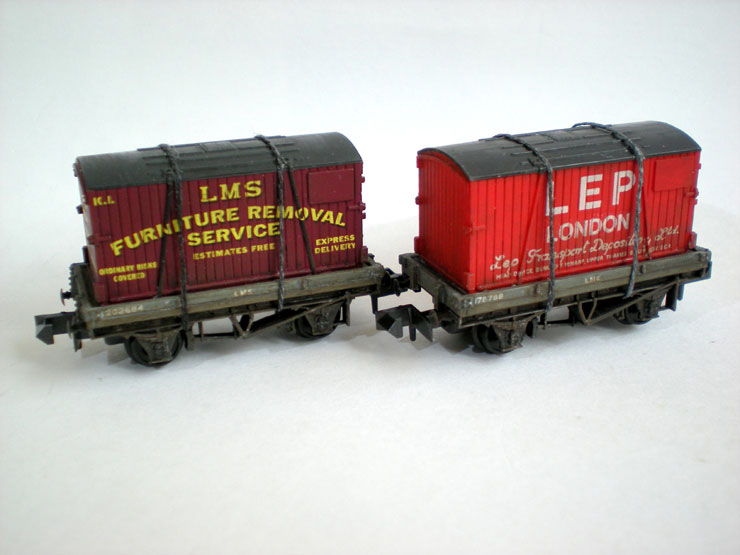
The next project involved taking a couple of Peco bolster wagons.
The bolsters were removed and the moulded details on the wagon
bodies taken off.
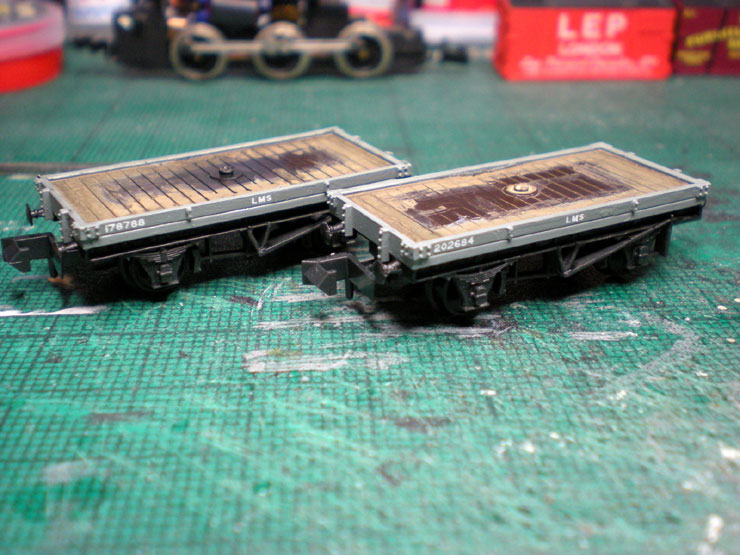
Then the bodies were painted in LMS wagon grey...
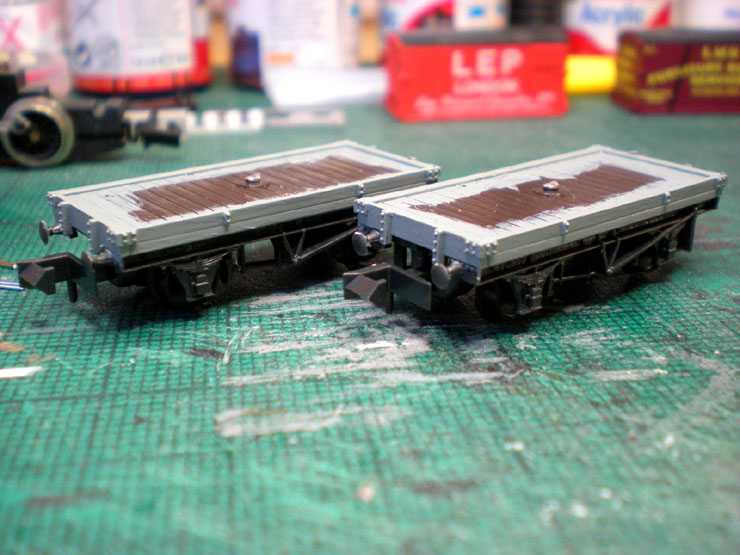
...with some painting and weathering of the planks on top and
suitable lettering and numbering added to the sides.
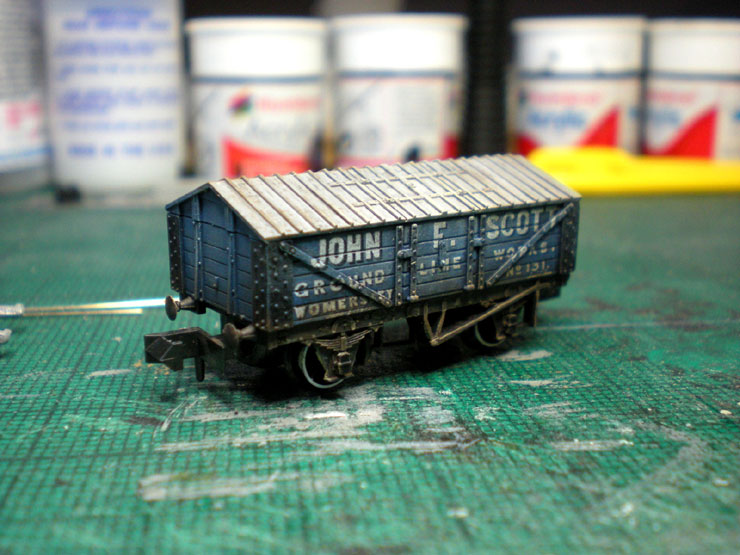
The finished version is shown here, complete with container loads
that are secured in place with strong ropes. This is how the early
container traffic was moved around, starting from about 1928-1929.
Pre-Grouping 1-plank wagons were used and, it seems from photos,
they were largely ex-LNWR wagons. The dedicated conflat wagons that
are produced by Peco didn't appear until about 1935, too late for a
layout set in 1930.
26 October 2018
This job took the best part of a year, with frequent breaks. I'd
purchased a Brighton Terrier simply because it was in SR livery, as
you do, but it didn't really fit in with my LSWR/SR Western Section
layout theme.
A bit of research showed that the LSWR actually bought two Terriers
from the LB&SC railway prior to the Grouping. They didn't really
find a use for them though. One was sold off and the other spent
much of its time in storage. That was also sold off in 1930 which
means that I can justify running it, in 1929/1930, perhaps as a
final test, placing it in minimal service before the SR decides
whether it's worth keeping.
But the LSWR versions underwent some modification...
Off came the coal rails, steam reversing gear, and front steps. To
be added was the metal plate in the centre of the photo, along with
three staples.
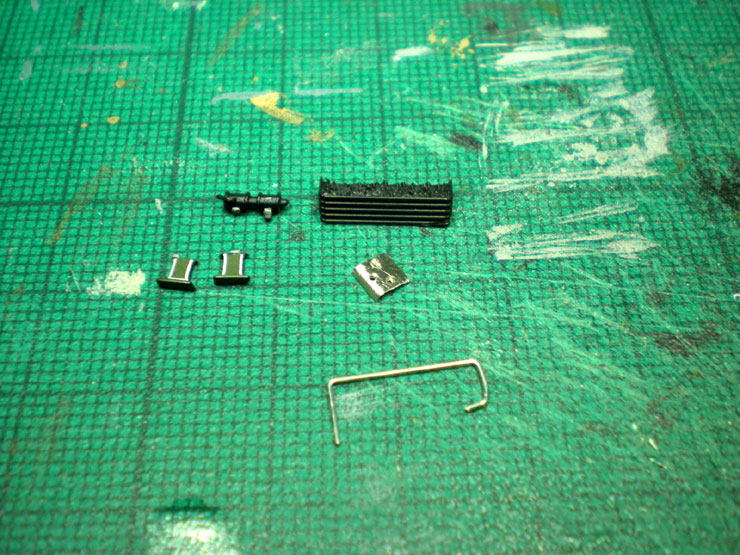
The metal plate goes on top of the cab to simulate pull-and-push
cable connectors which would have allowed the loco to be
semi-controlled from the far end of the train when it was in 'push'
mode.
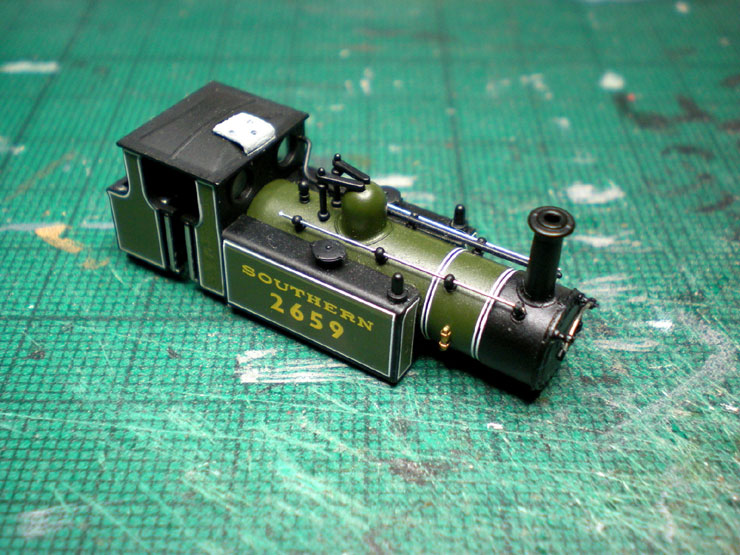
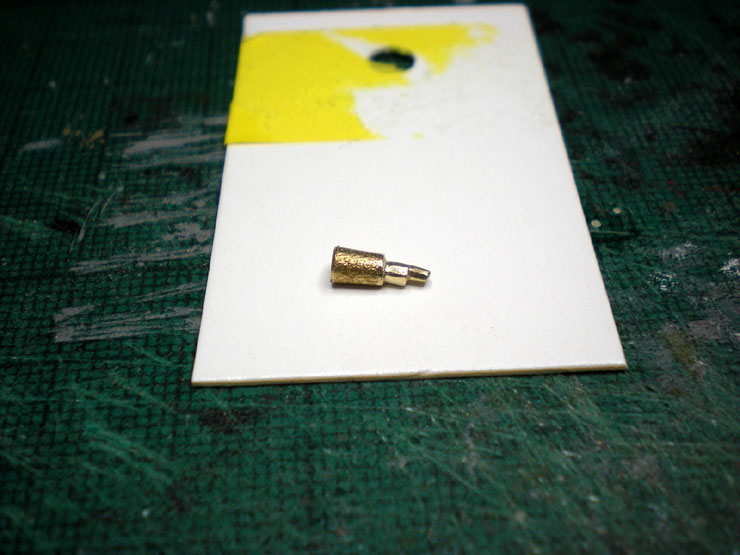
The Dapol chimney also had to come off. The N Brass Loco replacement
needed some trimming and filing at the base to provide a plug that
would lock into the existing chimney base.
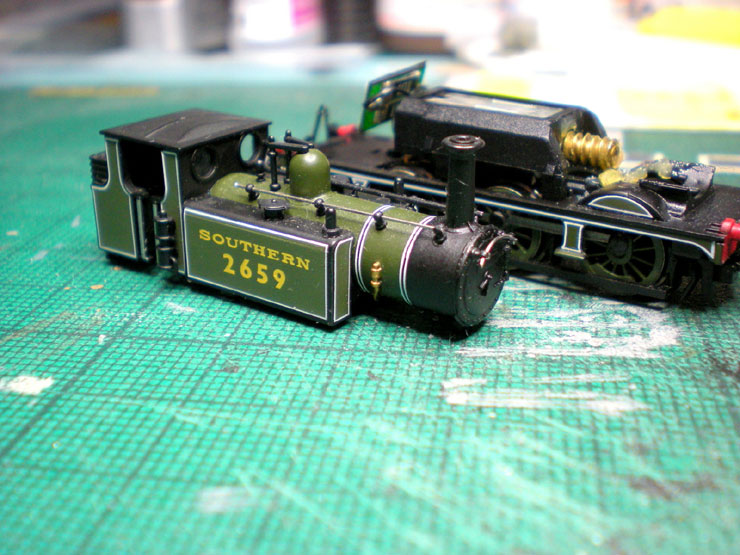
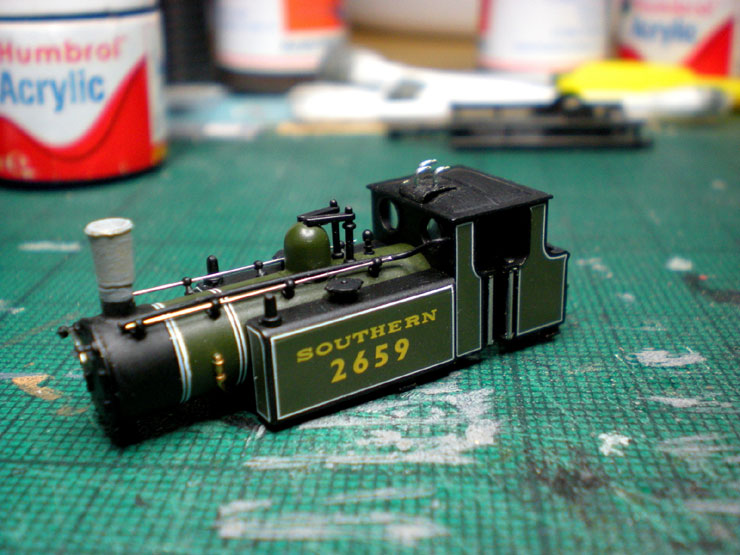
Chimney fitted, but in need of some more filing to match its size to
the Dapol base. The cable gear on the cab roof now has its three
staples to represent the cable guides.
The next go with the chimney looked much better (although the camera
is rather cruel).
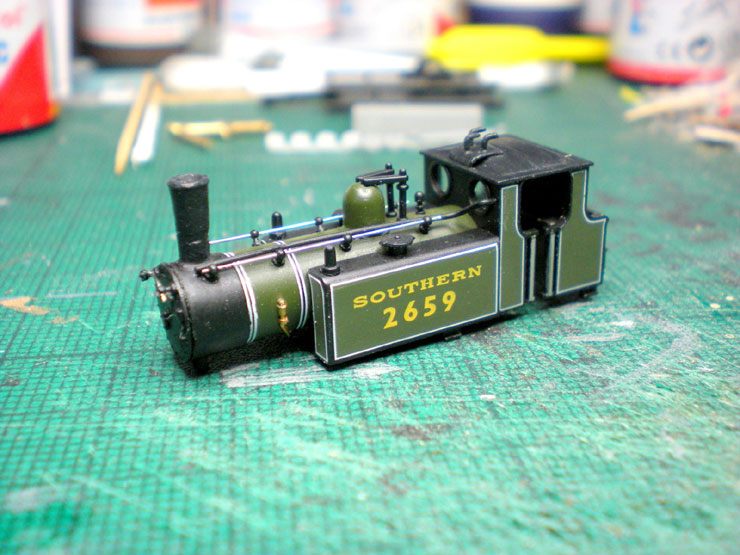
This picture also shows the sandboxes that were fitted over the
front splashers, courtesy of N Brass Loco. The white lining is
hand-painted, continued on from what was already on the splashers. A
driver has been added and the frames and wheels have been weathered.
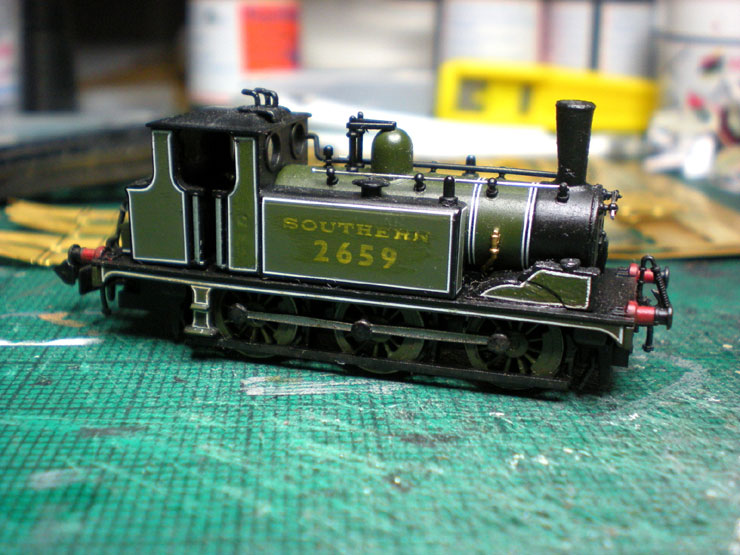
It was impossible to find 'SOUTHERN' lettering that would fit onto
the side tanks of the Terrier so I had to print my own.
That means removing the original lettering and numbers.
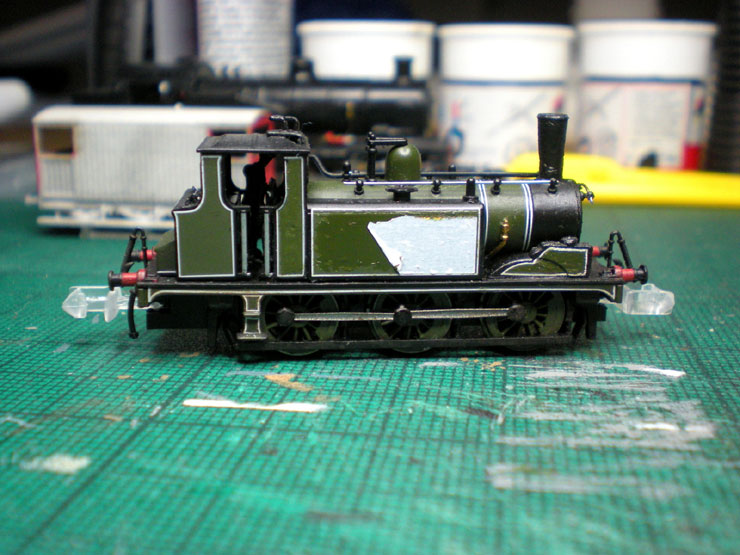
I wasn't happy with the quality of the print though. It's not the
best print but I tried several attempts on plain paper before
putting this onto decal paper. Then I tried painting over the poor
parts of the decal to hide it. That just seemed to show up the poor
quality of the lettering even more.
So these decals had to come off.
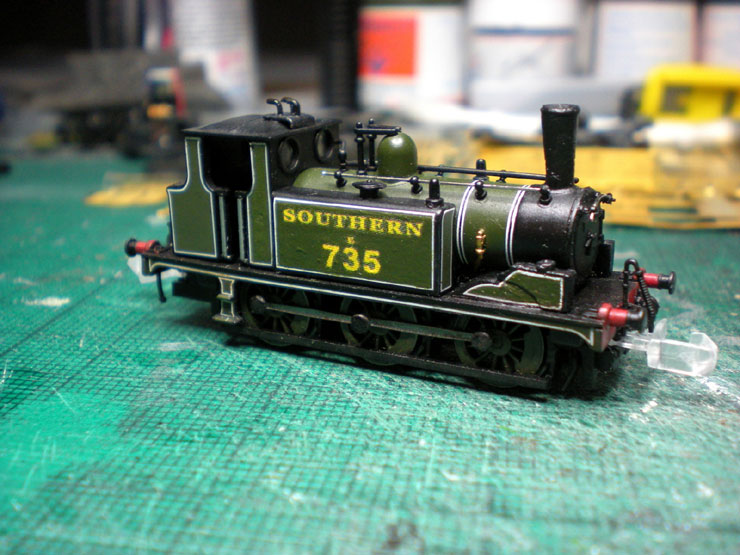
The next version used an original image that was twice the size and
twice the resolution. It's still far from perfect but it'll do for
this loco. The edges will need to be hand-painted to disguise the
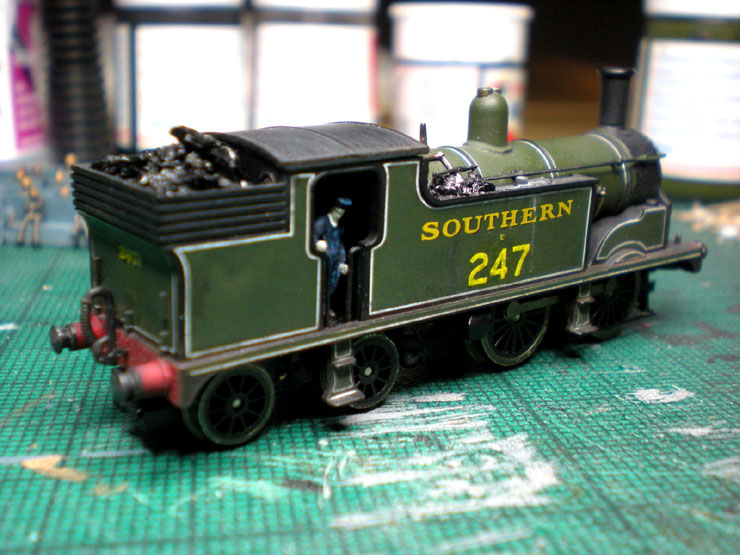
frayed edges. Real coal has been added to the bunker and the chimney
now looks much better.
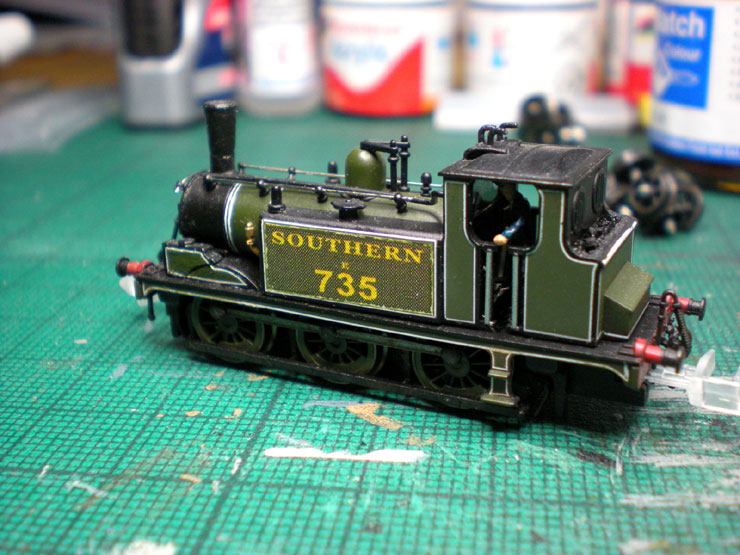
Because the real loco had been in storage for the best part of a
decade before 1930, I felt justified in making it look pretty dirty
and dingy, with the bonus that I could also hide the worst parts of
the loco numbering and lettering.
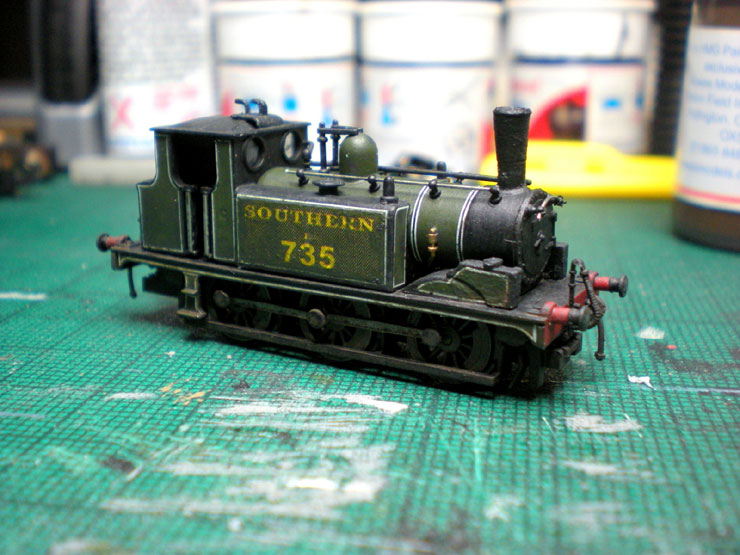
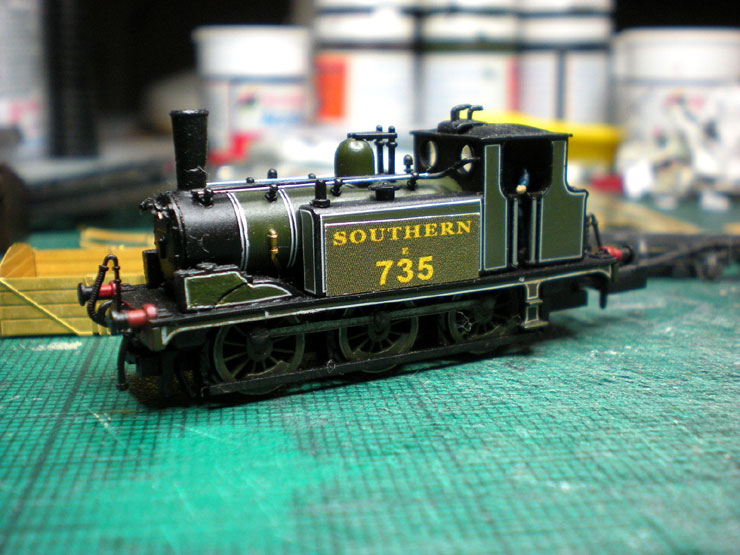
That's the finished loco. Taking the body off the chassis several
times has caused a problem or two of its own, as it now fits rather
less well, and the motor seems to bump up against the smokebox end
if the body doesn't sit well. It seems to go forwards pretty well
after many tries but reverse is still a bit jumpy. Apart from that,
it seems to fit the bill.
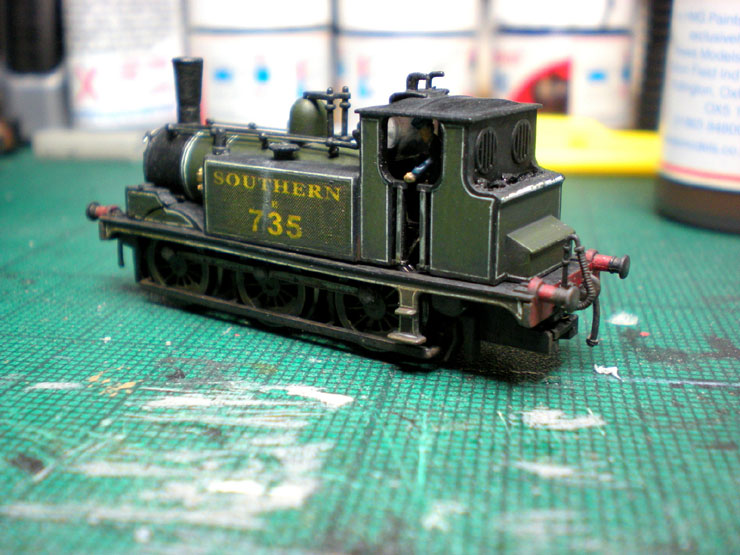
LSWR Terrier No 735 can be seen in the loco gallery
here,
operating on Bridgebury Gate.
|