|
26 May 2016
Although the layout work has virtually ground to a
halt during May, there's still time for an hour or so of modelling
work each evening.
Several long-term projects have been rumbling along
at slow speed, and one or two of those may be nearing completion
pretty soon, fingers crossed. At the same time, I can rush through
the odd quickie project too, and one of those included a bit of a
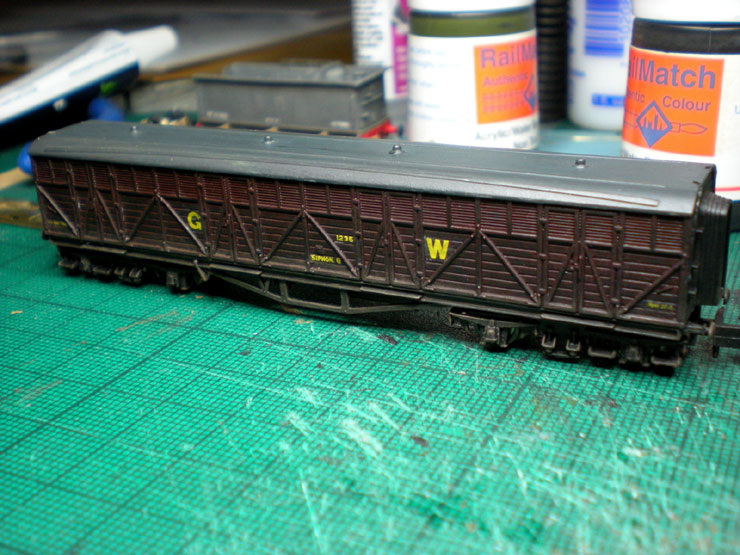
repaint for the GWR Siphon G.
I'd recently managed to get this in the BR maroon
livery for too good a price to ignore. All it needed was a bit of a
dusting, the old decals removed with the use of a fibreglass pen,
and a repaint into a chocolate brown. Actually this is SR brown, but
its close enough to GWR chocolate that only an irritating rivet
counter will be able to spot the difference.
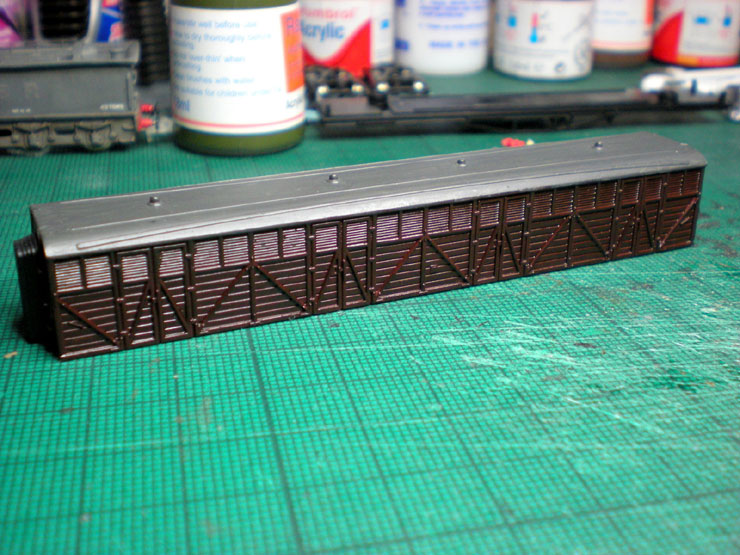
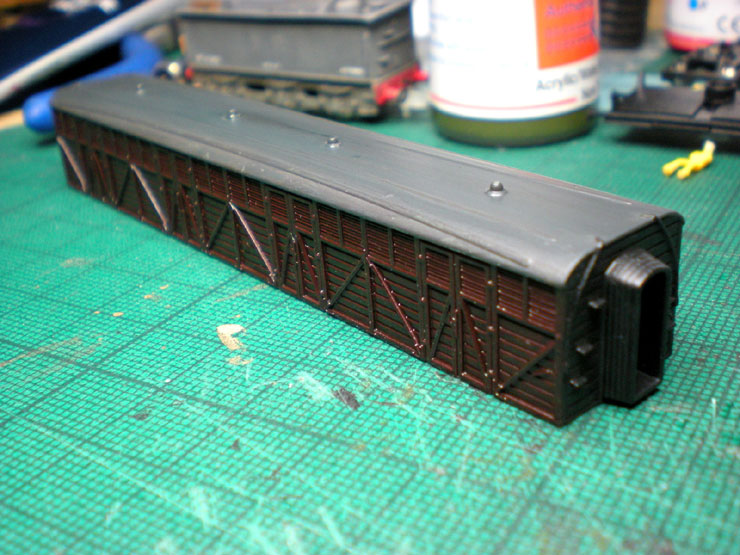
Then I needed to add a few spots of gloss varnish
for the new decals, firmly fixed in GWR style for 1930.
Here's the siphon, removed from its bogie
undercarriage and repainted:
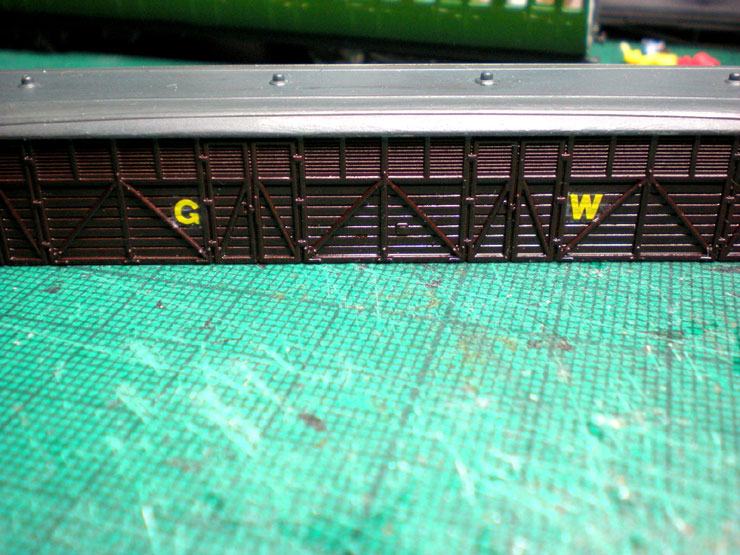
The decals turned out not to be very good. Getting them to 'stick'
even on a gloss background was really hard work. Some of the film
still showed up even after the decals had dried.
Even so, I persevered, and got the rest on. Then the body was
reattached to the chassis.
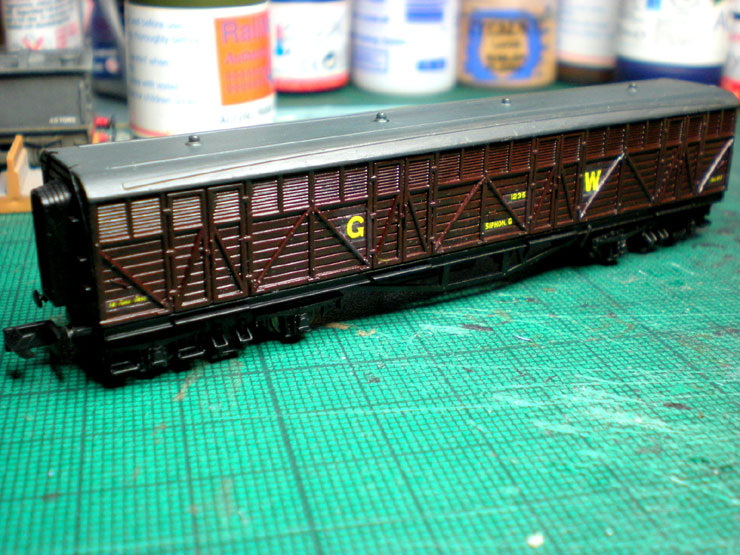
A bit of a matt varnish, followed by a light weathering - plenty of
frame dirt on the
chassis and lower body - and the decals didn't look quite so bad.
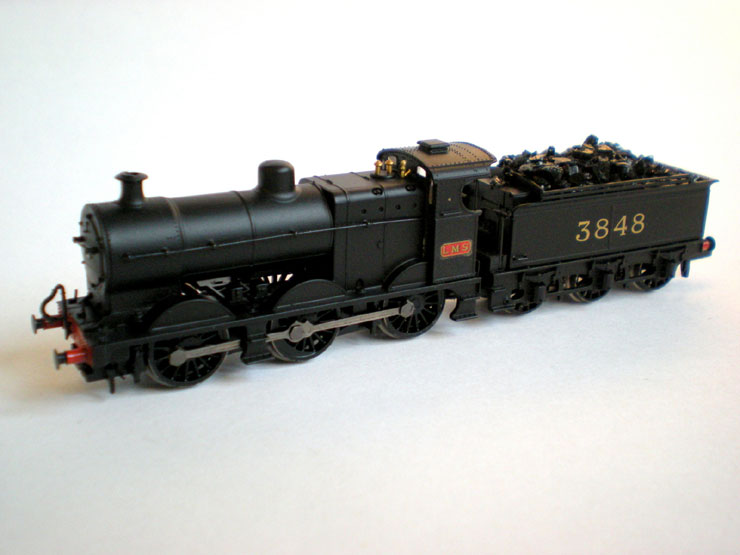
Another job was to dirty up the Graham Farish First World War army
train loco. All I
needed to do was to remove the Midland Railway emblems from the cab
and middle
splasher, and the MR from the front buffer beam, and then add
pre-1927 LMS
plates to the cab sides. The fibreglass pen takes off these Farish
decals very easily
with minimal damage to the underlying paintwork.
There were still some of these pre-1927-liveried locos around in
1930, although
they were getting close to a repaint.
After sealing in the decals, I added four or five layers of muck and
filth, Plus lamps
on the front, in goods mode for the S&DJR.
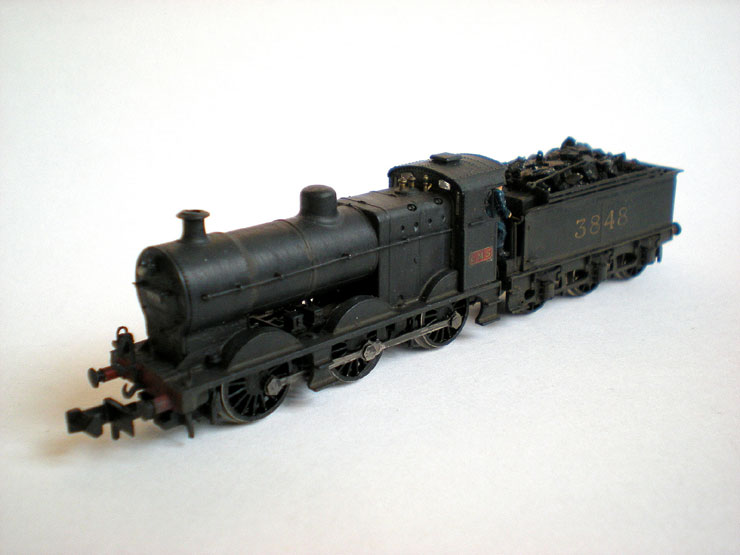
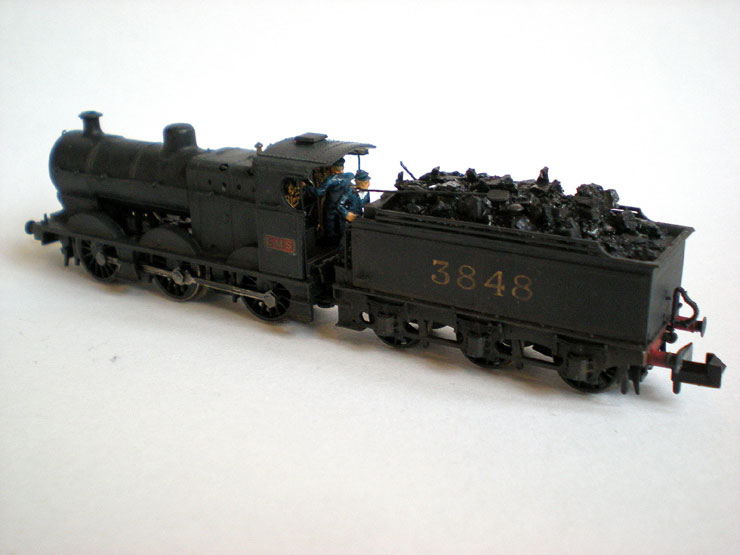
Real coal, shovels and picks, etc, were added to the tender, and a
hand-painted
crew. Job done, hopefully.
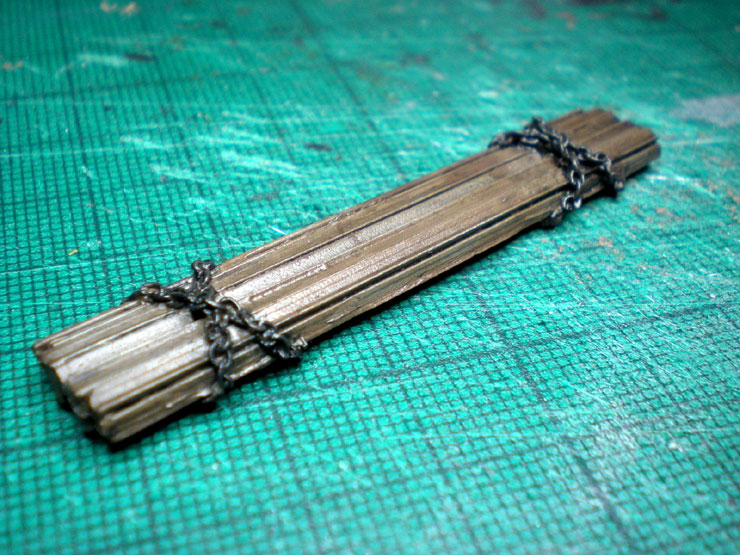
Now to add something to the S&DJR Permanent Way train -
a nice big rail load that will sit across two four-wheeled
bolster wagons.
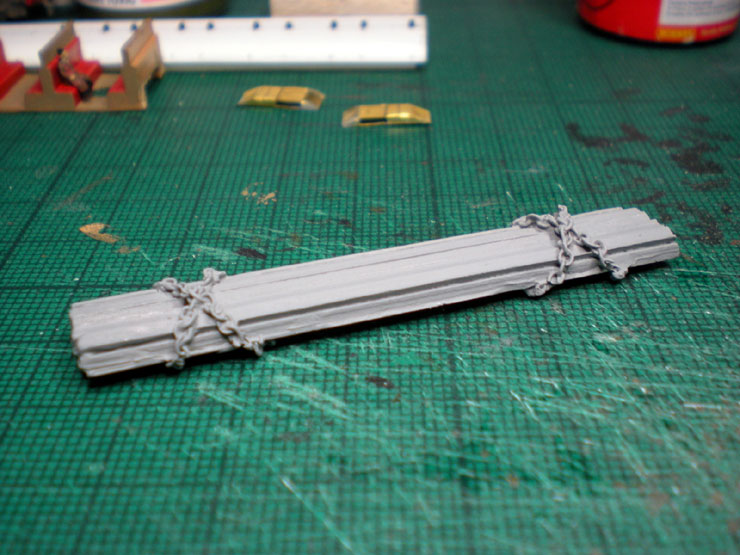
Here it is with a coat of frame dirt and a couple of washes of
black. Plus a coat of
'iron' from Tamiya for the chains.
12 June 2016
Several projects on the workbench are quite
complicated. They're trundling along slowly, and a couple are
nearing some kind of completion.
These include another Graham Farish suburban coach
upgrade/detailing job, converting a Del Prado model into a working
locomotive, complete with N Brass Loco four-wheel front and rear
bogies, preparing a Langley King Arthur class white metal kit for
painting (well, a re-spray from BR Brunswick Green to SR Maunsell
Green), finishing off an SR water tender conversion from a Union
Mills tender, and building a couple of Etched Pixels etched brass
kits to form a doubled-up ex-LB&SCR guards van combination.
Quite a bit of work, all told!
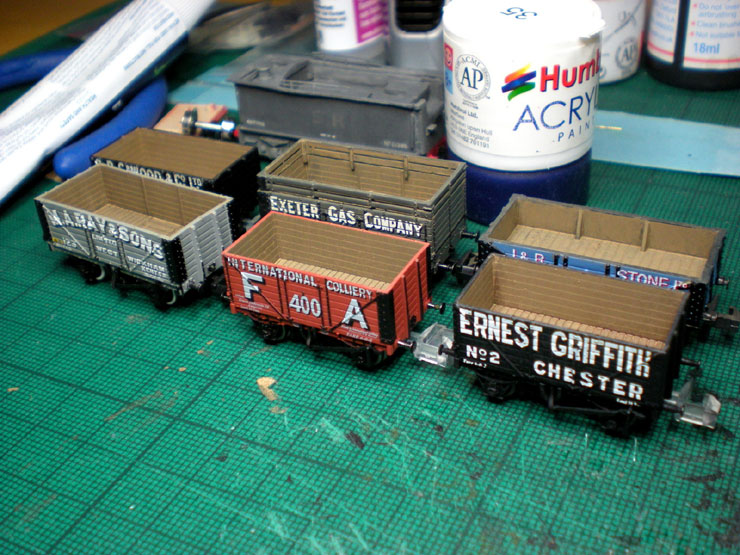
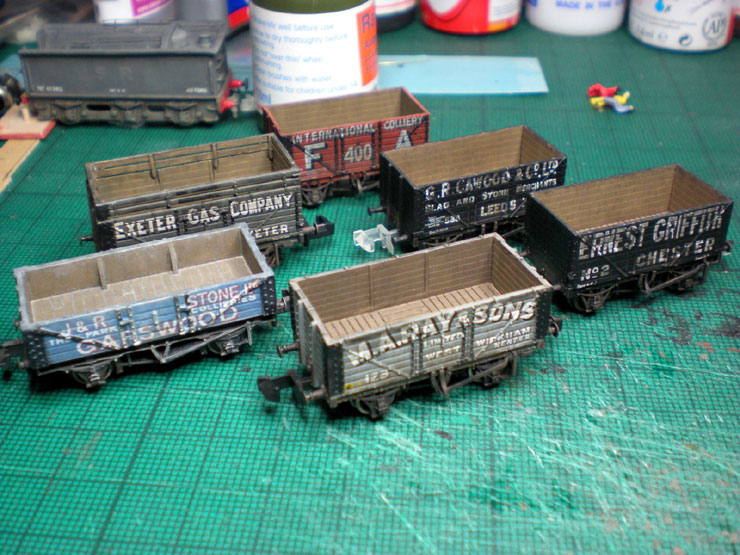
So for now, all I can show here is a batch of
ordinary RTR wagons before and after a quick spot of weathering:
24 August 2016
It's been a while since the last update, but that's
because several tricky projects have been rumbling along at a
snail's pace. I was going to wait until at least one of them was
finished before posting, but Christmas might get here first, so
here's the first of a few catch-up posts instead.
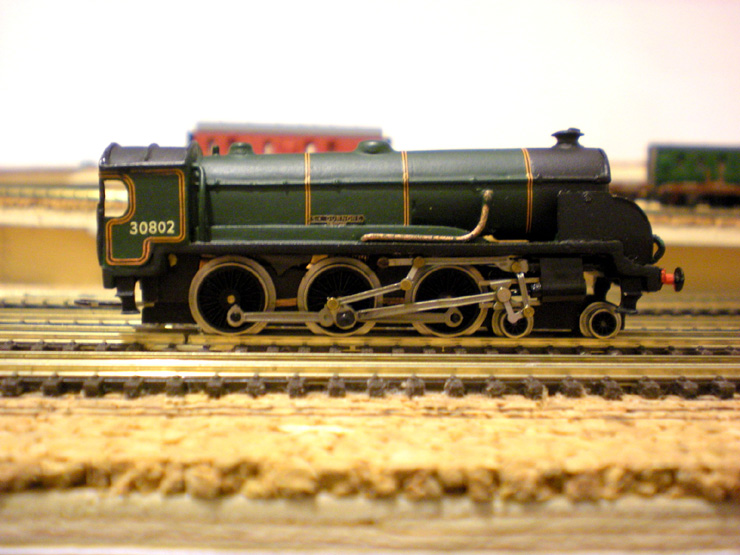
First up is a second-hand loco purchase. It's a
pretty good-looking white metal kit from B H Enterprises, a Southern
Railway 4-6-0 Class N15, No 802 Sir Dunmore. The original was built
at Eastleigh in 1926. But it's in a not-quite-so-lovely BR Brunswick
Green livery that will have to go.
Come the first test around the track, though, it
committed the sin of bumping into a horizontal support post for the
upper level. That means the nose is too high, because that's certainly
never happened before. The result was a lot of filing and chipping
away at the support post to increase the clearance, but even that
wasn't enough. So the loco's metal bodywork had to be filed down as
much as possible, and the Farish chassis too, to reduce that
pointing-at-the-sky effect.
Believe it or not, this is the 'after' shot, with
as much filing done as possible.
So that's ready for a repaint, but repainting needs an airbrush, so
it sits to one
side and waits for now.
The next project is an engineer's water tank. The SR used several
old tenders for
this job, transporting water around the network, to various loco
sheds for instance.
This one will also have a track cleaning brush underneath, so
running it around the
layout will be a fairly regular affair.
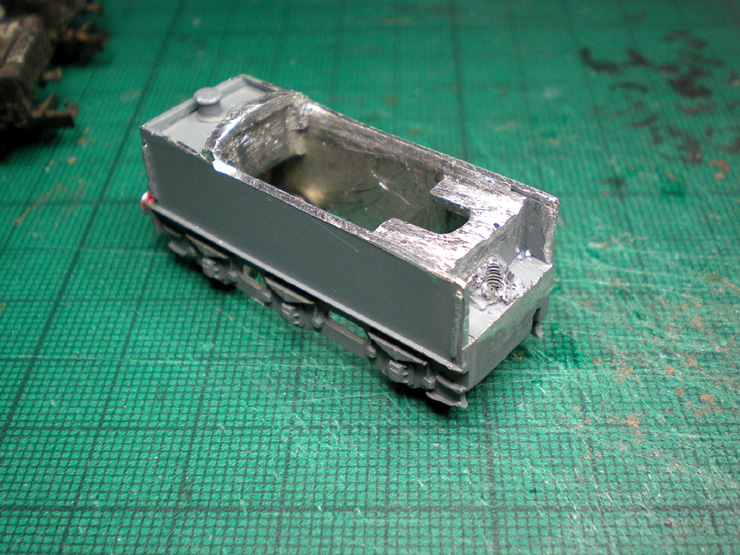
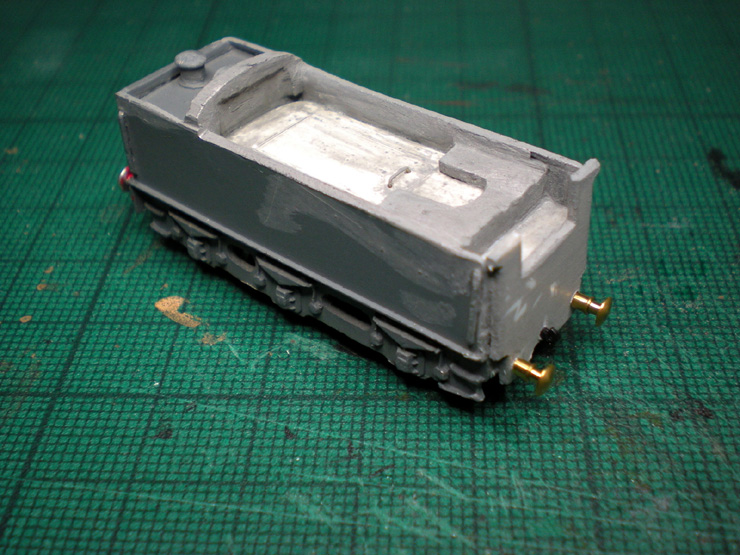
I had a spare Union Mills tender that would do for the job, but it
would need quite
a bit of conversion work, and UM tenders are heavy duty white metal.
It was going
to be hard work.
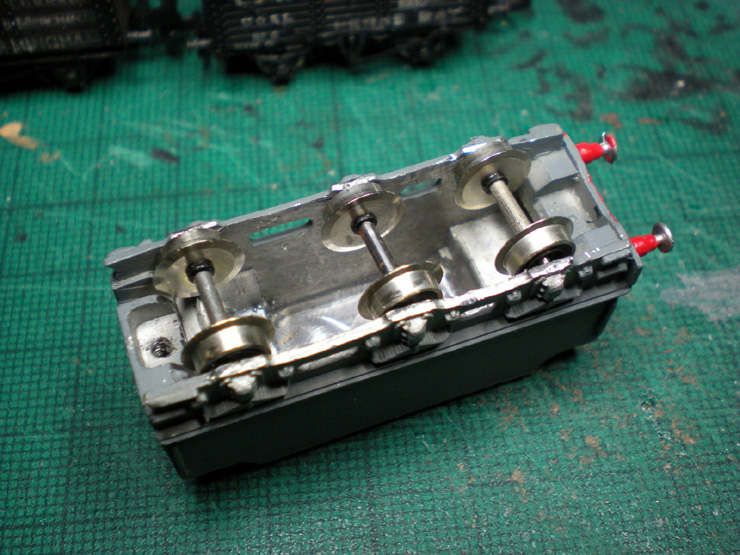
The tender, an LNER type:
It was just a shell, so wheels had to be added.
Next is to remove the coal load.
After that, filing down the remaining coal load area and the sides
so that they were
flat was going to take a lot of work.
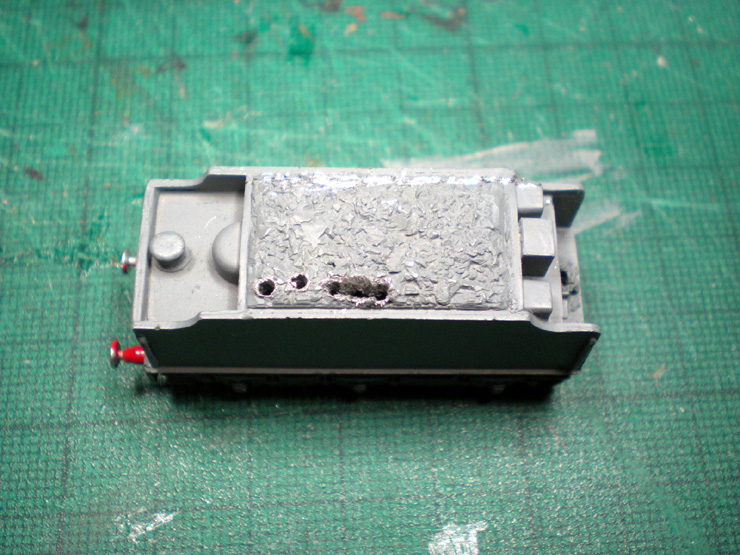
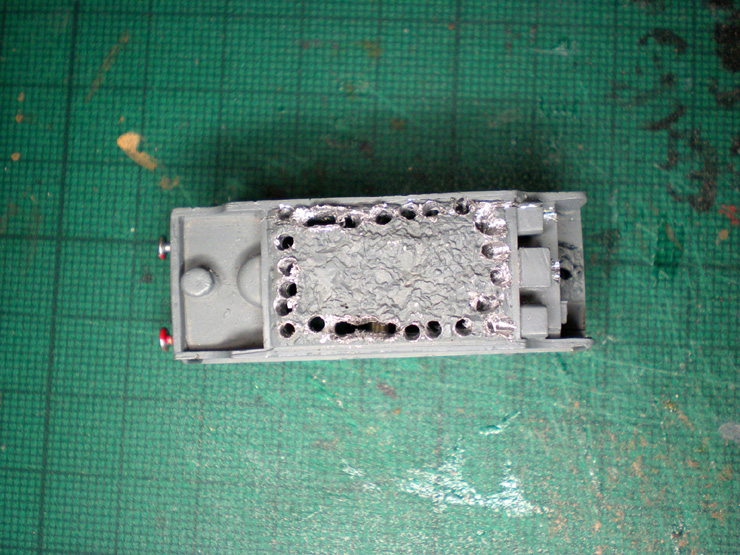
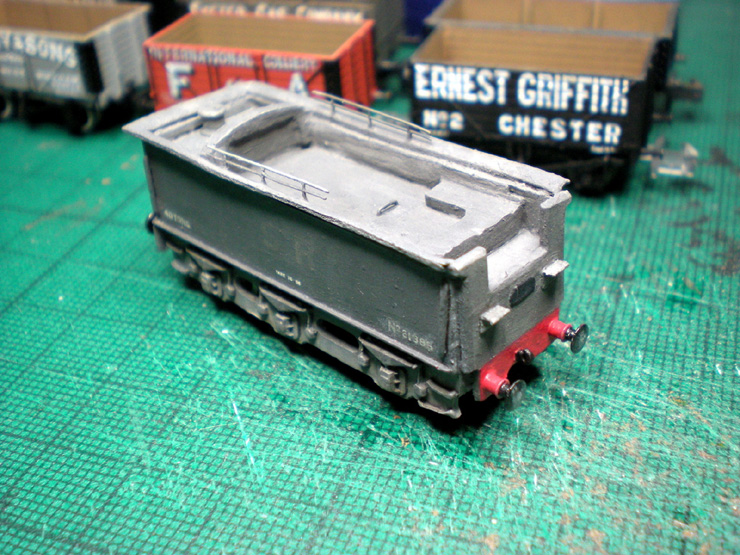
Having finally finished the filing, hacking, slicing, and gouging to
remove as much
white metal as possible, the water container needed a lid. The two
drilled holes are
for the handle.
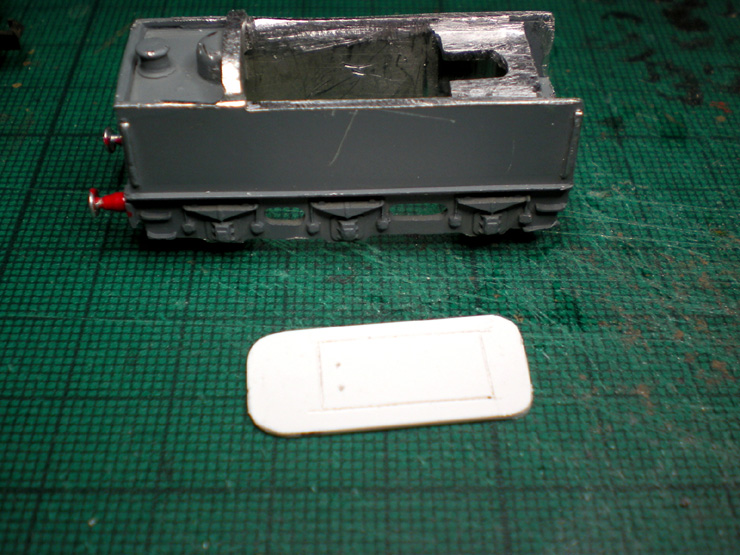
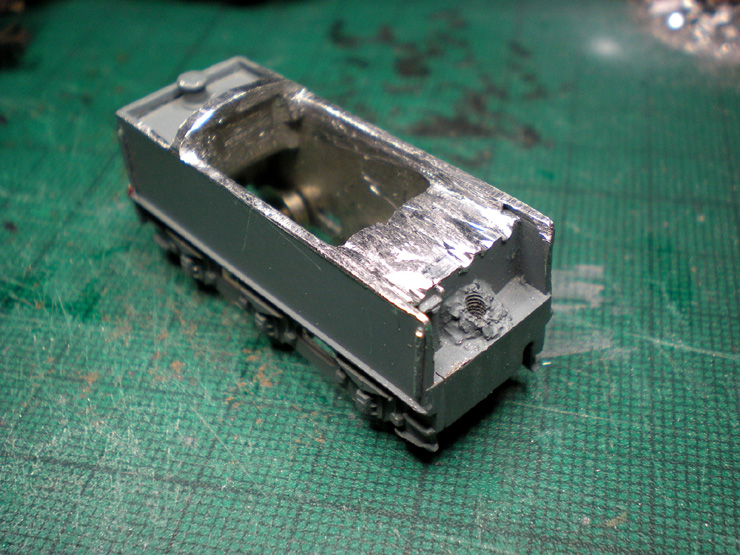
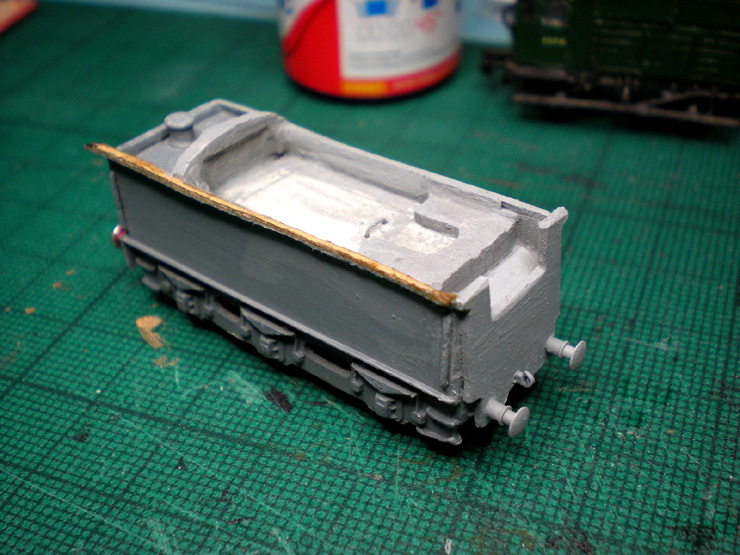
Next is a front panel, modelled on one in a photo from 'Service
Stock of the
Southern Railway' by R W Kidner.

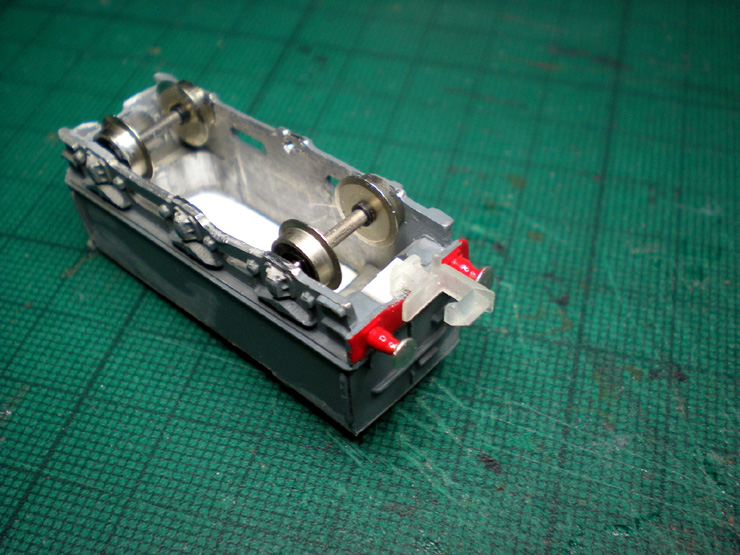
One coupler fitted, fixed in place, although perhaps it would have
been better to fit
a pin through it to give it some basic mobility.
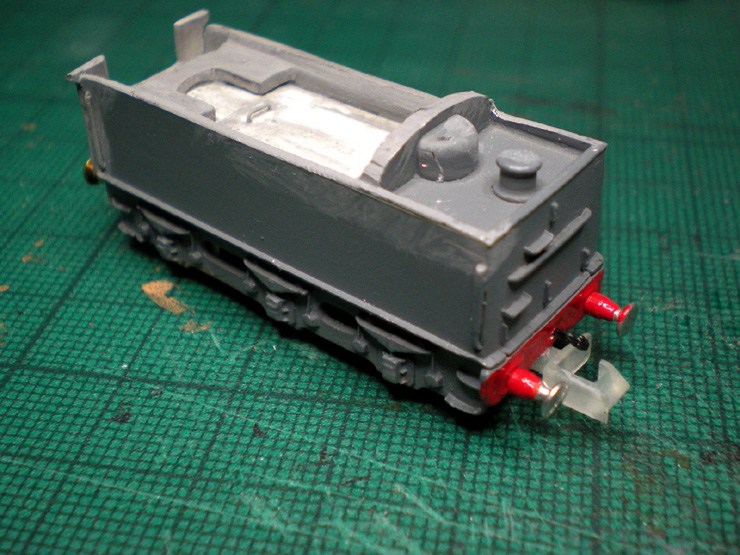
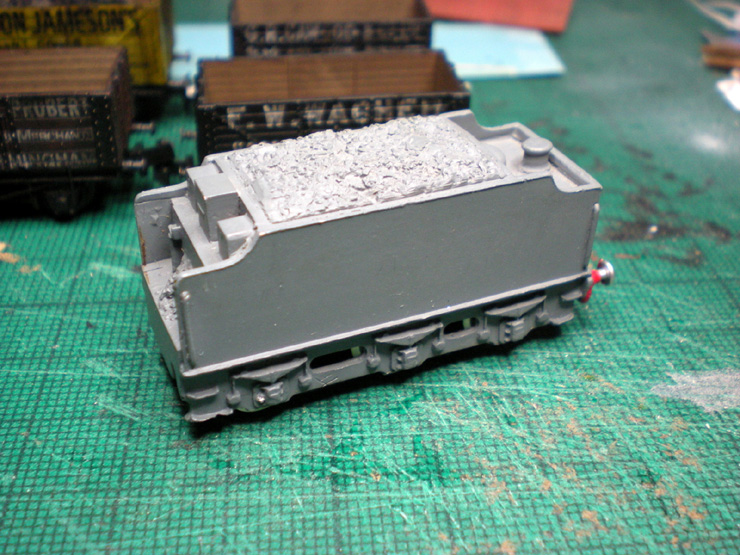
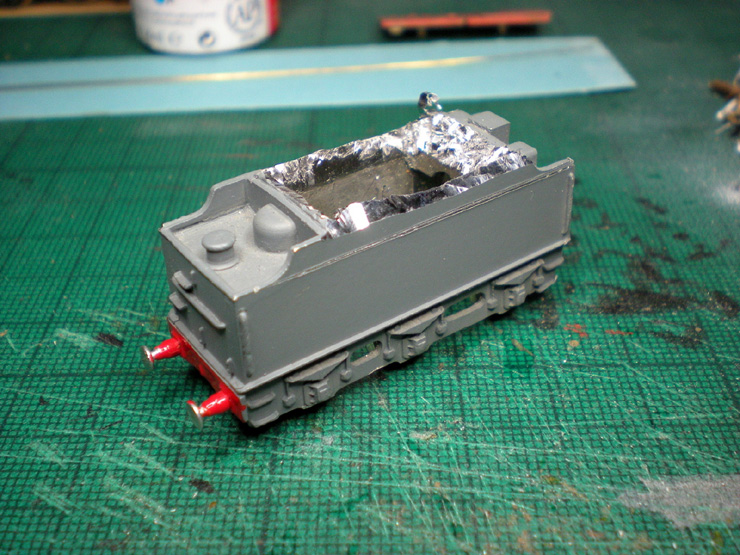
Now the tender needs the flared sides of an old (for 1930) tender.
As always, card
soaked in superglue is my favoured material. The 'fluffy' areas of
the card can be
filed once the glue has dried and the card has solidified.
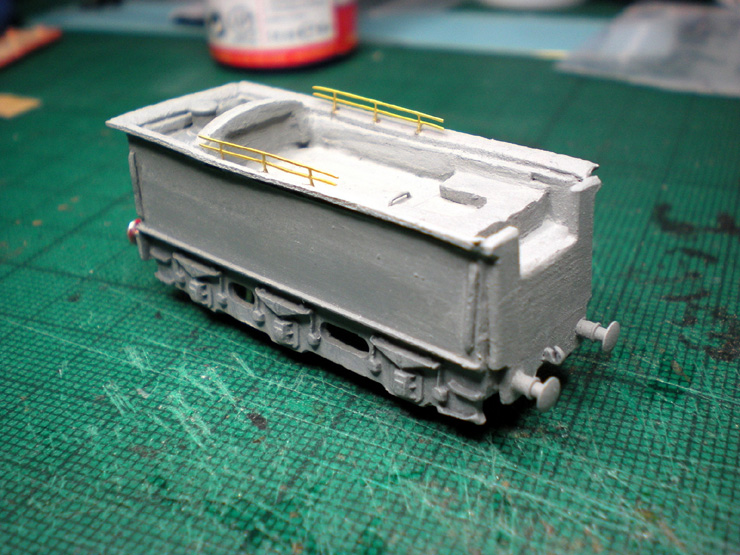
And now to add the coal rails (far too soon, of course, because
they'll get bent and
battered while I finish off). These are a brand new offering from N
Brass Loco.
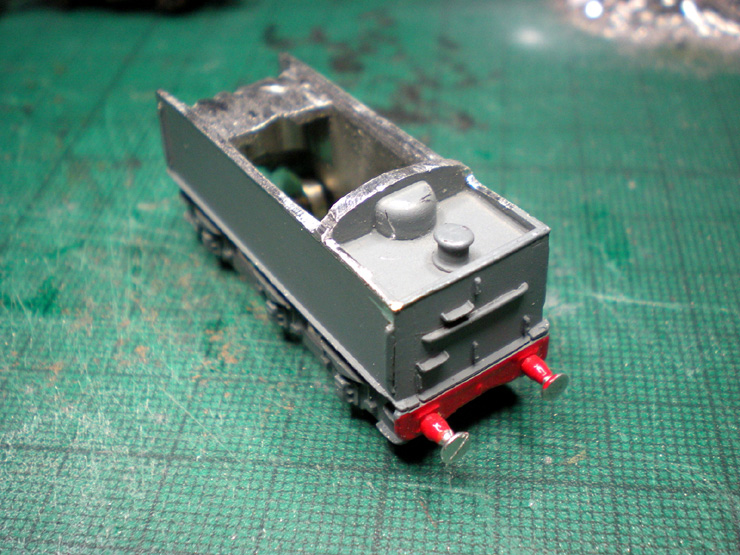
Lettering and numbering added and faded with a few washes of grey.
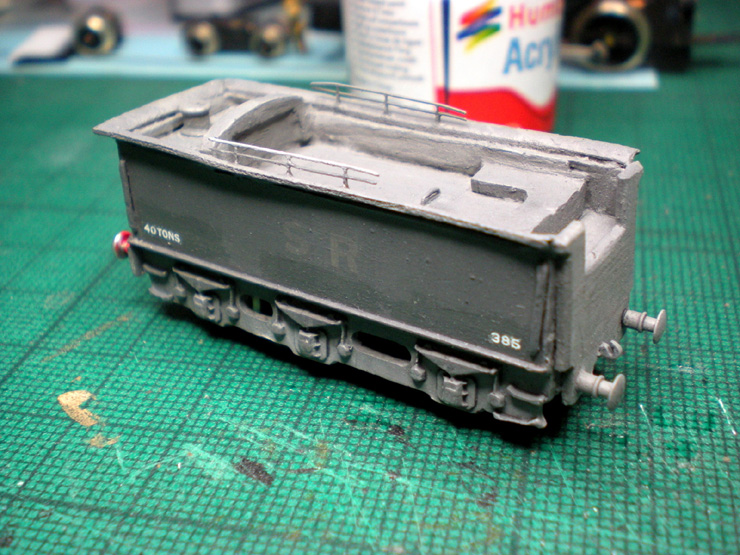
Front footsteps and a connector (?) hatch fitted, along with a
coupling hook. The
buffer beam was repainted, along with the buffers.
That's where it is for now. It still needs a rear coupler and
perhaps a coupling chain
too.
10 November 2016
It's high time there was an autumn catch-up after a
busy few months on the workbench. Rather than save up all the
reports for each project into a single release, they're just going to
be peppered at you as they happen, so prepare yourself for a
rollercoaster ride.
Something I bought recently was a Del
Prado static model of a Southern Railway Class L Baltic Tank. One of
the 'experts' of N Gauge loco building has turned one of these into a
working loco by emptying out the plastic and metal innards and
plonking the body on a 4-6-0 chassis with an extra four-wheel bogie
at the back.
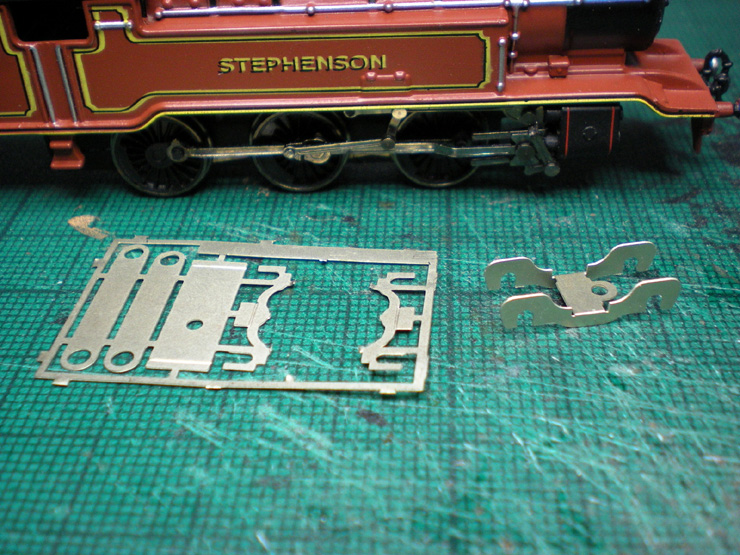
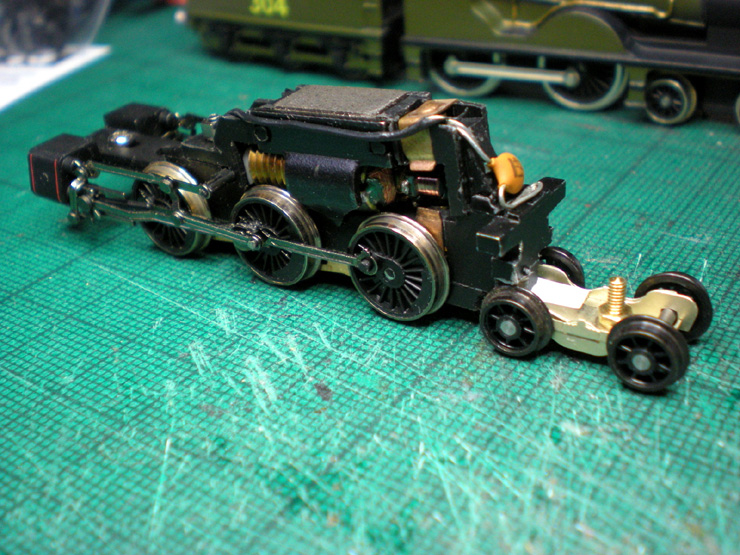
Well, after clearing out the body - and not without
some difficulty - the next stage was to replace the original Graham
Farish front bogie with an N Brass Loco etched bogie.
One LNWR-pattern four wheel front bogie (also
suitable for SR locos of the Maunsell era).
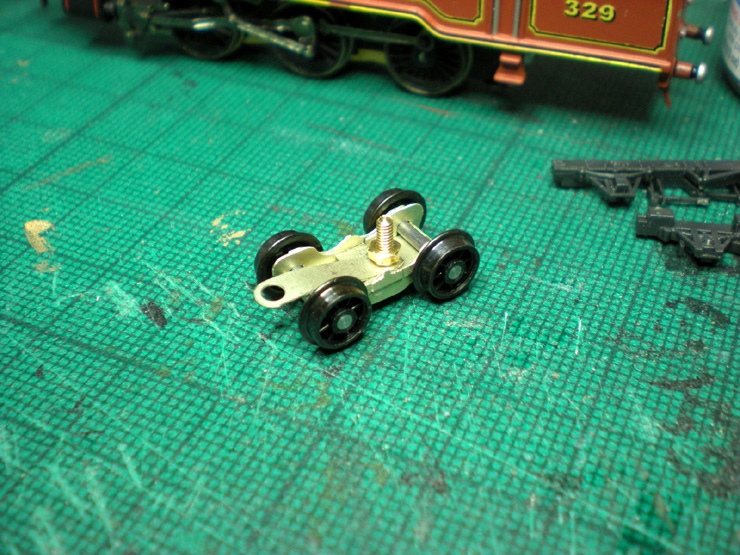
Assembling it is only half the story. Getting the
wheels to move freely (lots of filing
of the arches) and getting
them to sit firmly on the track when the bogie is
connected to the
loco is a saga in itself. A lot of testing and minor tweaking is
involved...
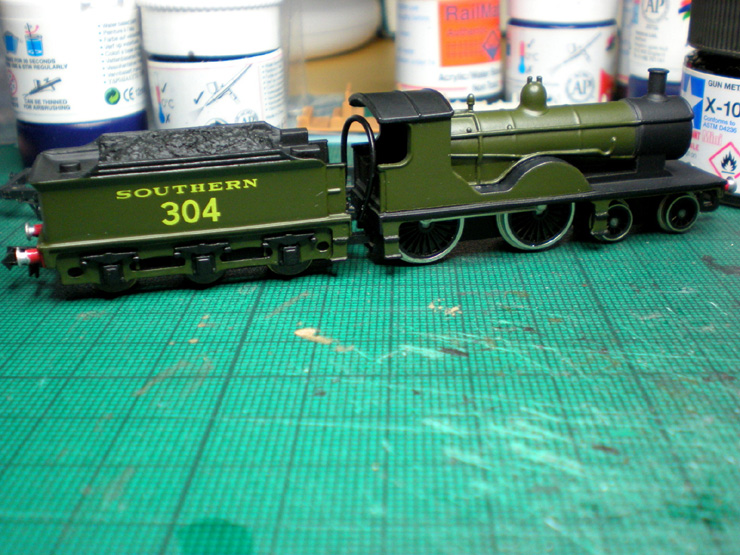
Another job that needs doing is detailing my Union Mills T9. As
supplied it comes in
a base colour of Maunsell Green, but without
any detailing or lining. The great
Ozymandius of the NGF will be
handling the lining work, but some preparation work
is needed first.
The tender frames had to be painted green, along with the steps
below the loco
cab and in front of the driving wheels. The tops of
the splashers were painted
black, along with the tender springs and
axle boxes.
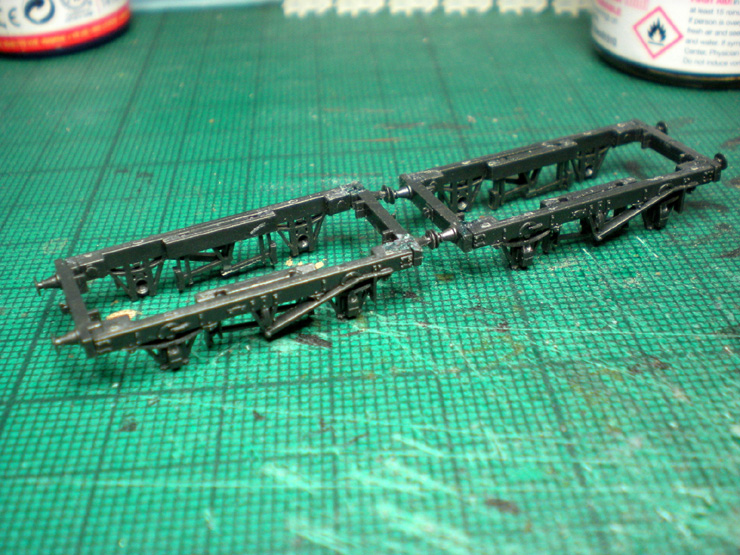
At the same time, work started on a bit of a novelty - a break van
with a difference.
Take two Peco wooden-framed wagon chassis and
prepare them for being joined
together.
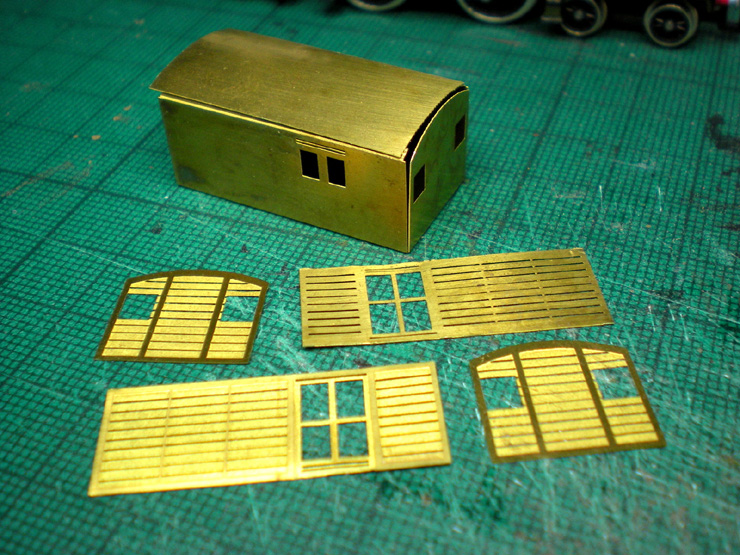
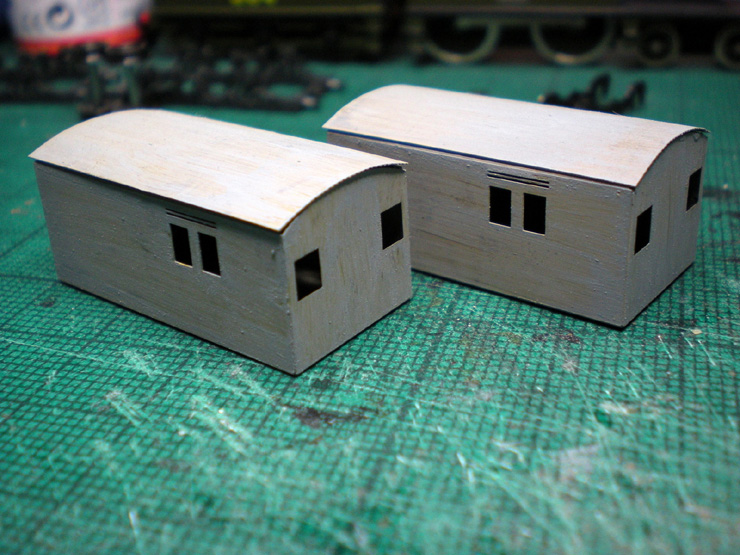
Then get two Ultima etched kits of an LB&SCR 10T brake van of the
1880s. These
brake vans just about lasted to the Grouping, when the
few survivors were
doubled to increase their braking efficiency.
Back to the Class L Baltic Tank, the first bogie has been fitted,
filed, tweaked, and
cursed. Part of the loco chassis plastic had to
be cut away to allow the bogie to sit
properly, and also to try and
prevent the bogie from causing a short circuit (which it
did a lot).
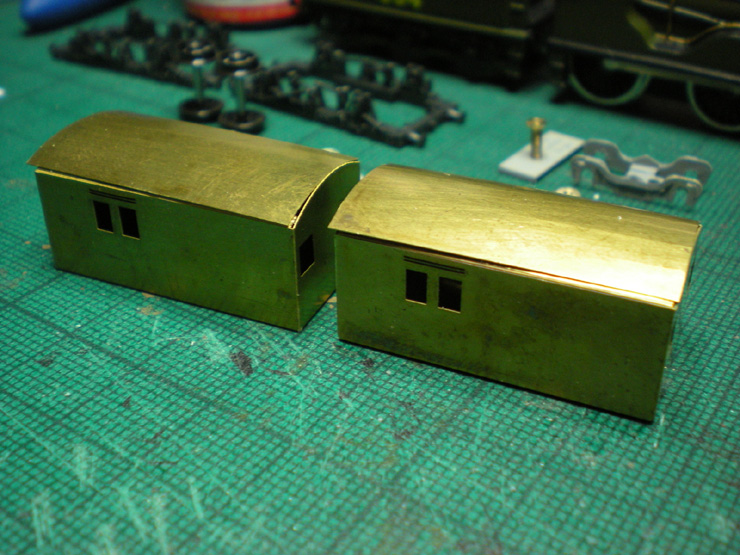
The LB&SCR brake van kits were assembled using Bostik and superglue
along the
inner seams.
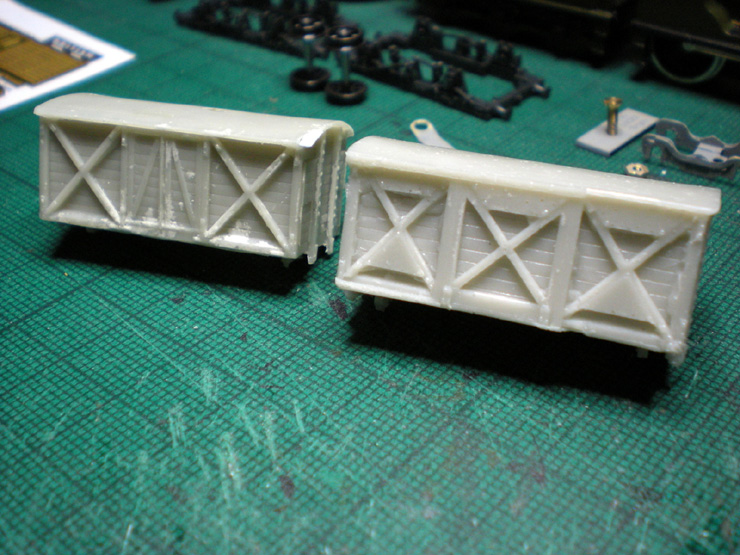
Another recent purchase was from Gramodels when I found Graham's
stand at the
Chatham show in Kent. I bought one of each of all of
his N Gauge resin wagon
bodies and spent some time soon afterwards
cleaning them up. The open wagons
were all pretty good but the
covered wagons had quite a bit of flash to clean up.
They should be
quite decent when they're painted up though.
Meanwhile, the Ultima brake vans have been undercoated. The roofs
won't be
secured until later.
The Baltic Tank's working rear bogie could now be painted and
varnished. The paint
will help to insulate it and avoid those short
circuit problems.
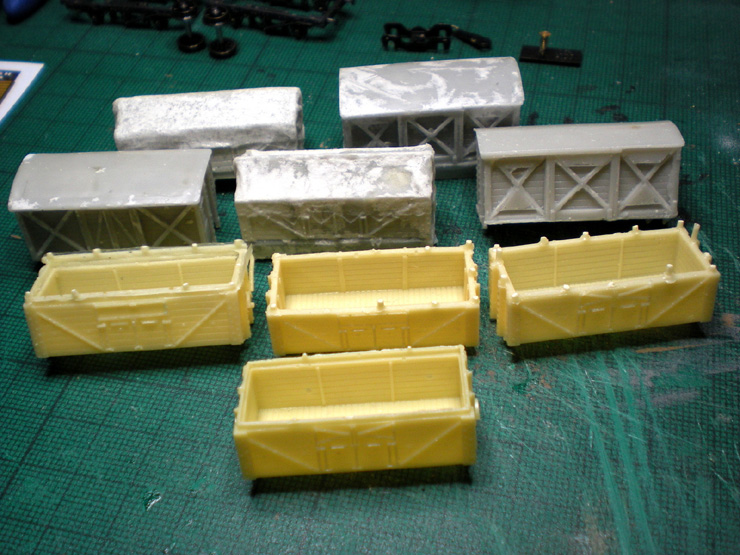
Here's the full set of Gramodels wagon bodies:
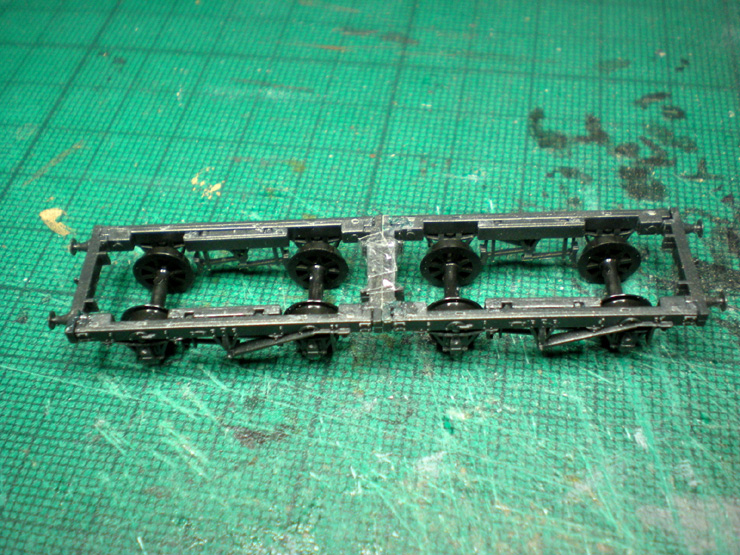
And here are the two Peco chassis for the Ultima brake vans, joined
together as a
test. Note that the buffers on the inside have all
been removed.
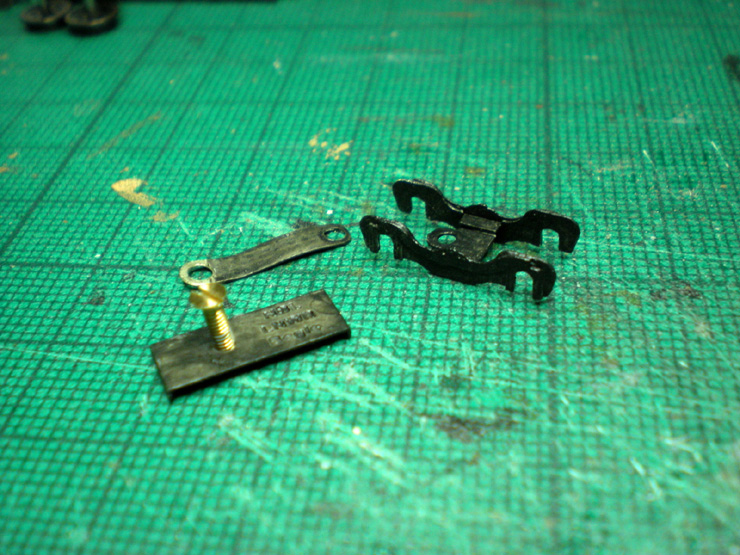
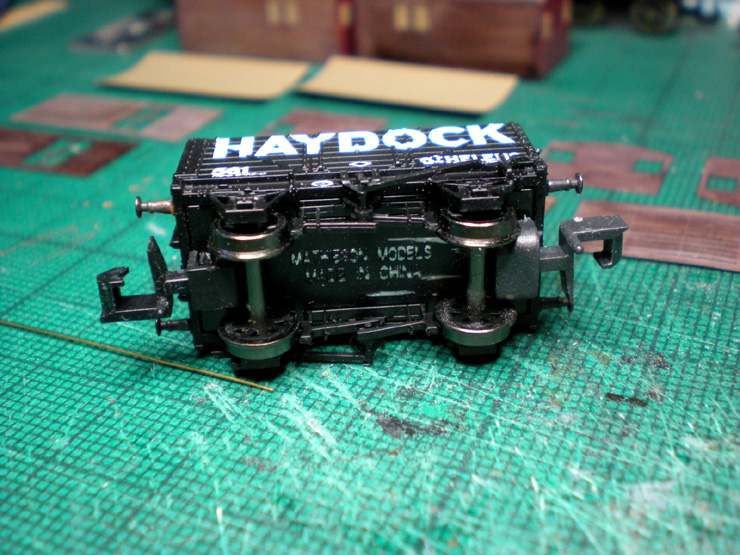
Finally for now, an eBay purchase had a coupler and coupling box
both missing at one end and the coupler only missing from the other.
These Mathieson wagons usually come with clear couplers that look
very distinctive, but for now all I have are black replacements,
including one (on the right) that was left spare from the Ultima
doubled brake van kit. So that's one wagon fixed up and ready to
run.
|