|
31 December 2015
After a bit of a delay in getting around to it, the
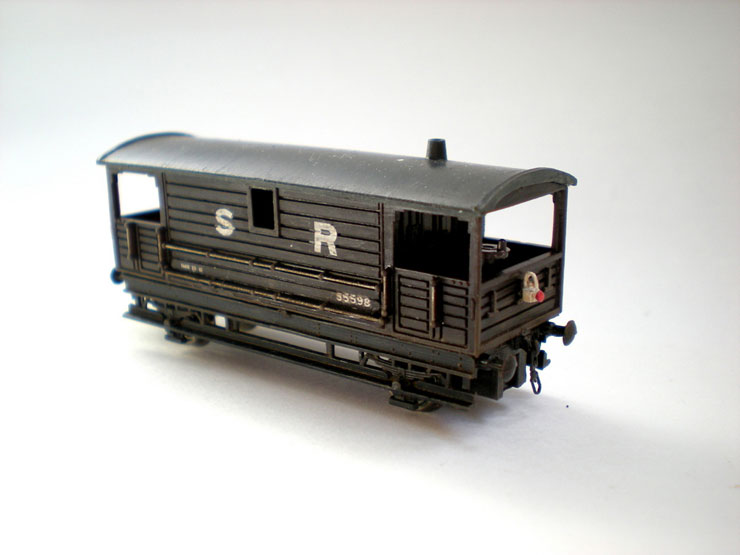
SR guards van was weathered and 'lamped', along with two others. This
didn't take long at all, although removing one coupling on each of
them did take a while. The older vans don't like releasing their
couplers, so you have to use quite a bit of stubborn but gentle
persuasion. They look much better without the coupling and with
chains added.
Once the couplings were removed, the rest of the
work was merely a matter of washing the body with diluted black
paint and then frame dirt, and also dry-brushing with more
frame dirt and a hint of brown. The roofs were washed over in
several layers using Railmatch 'roof dirt', appropriately. Taking
away the shiny plastic look of the roofs makes a big difference.
The tail lamps are from Springside Models, although
the red light had to be painted on for a couple of them, and then
gloss varnished afterwards.
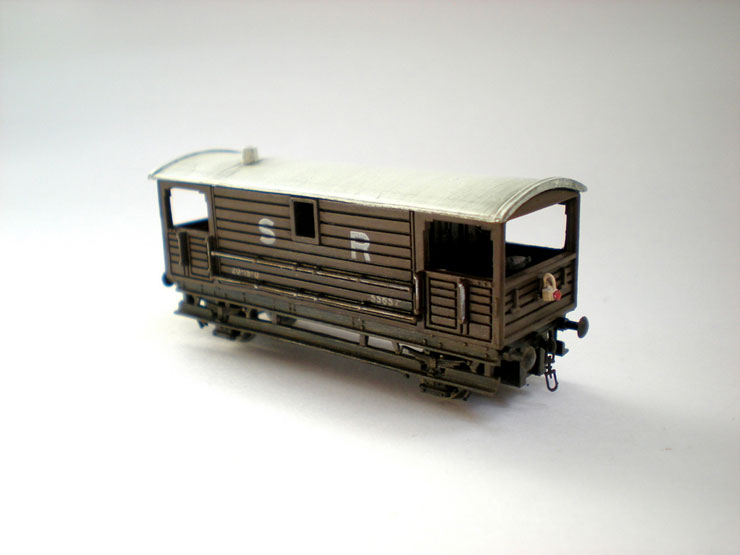
The first of the brake vans had a very dark and
shiny plastic roof, one of the worst I've seen. This was painted
over several times and stained, but it doesn't come across very
well in this slightly over-exposed photo. The second one in the
photos below is the best of the bunch.
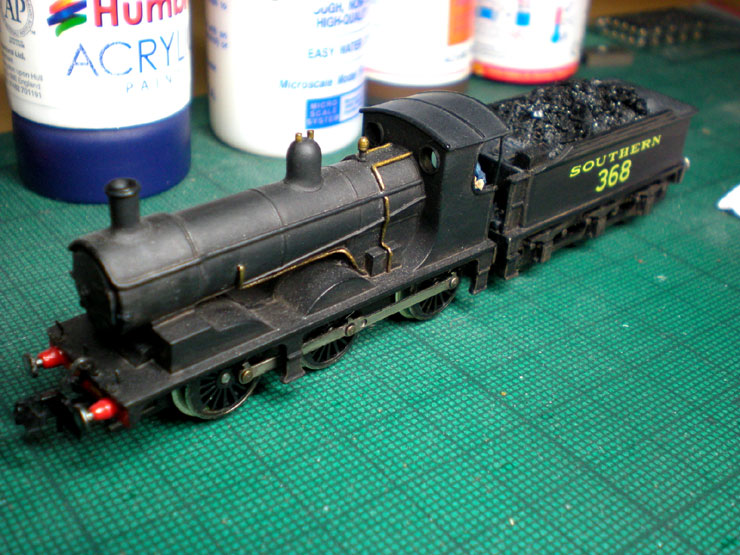
Next up was a bit of work on a Union Mills loco
that's been in trouble ever since someone replaced the 'official'
tender wire with something very thin that may not be able to handle
the job. I had to replace the original wire.
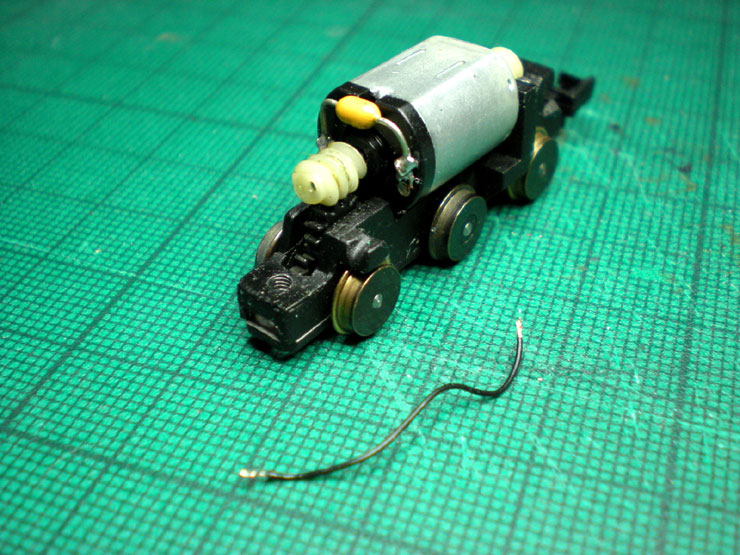
That almost did the trick. It works much better now
but every once in a while it will sit there when the power is
applied and simply cause a short. Still, 'every once in a while'
isn't necessarily that often...
17 January 2016
The next job on the workbench is to create the
beginnings of a 1930 permanent way train.
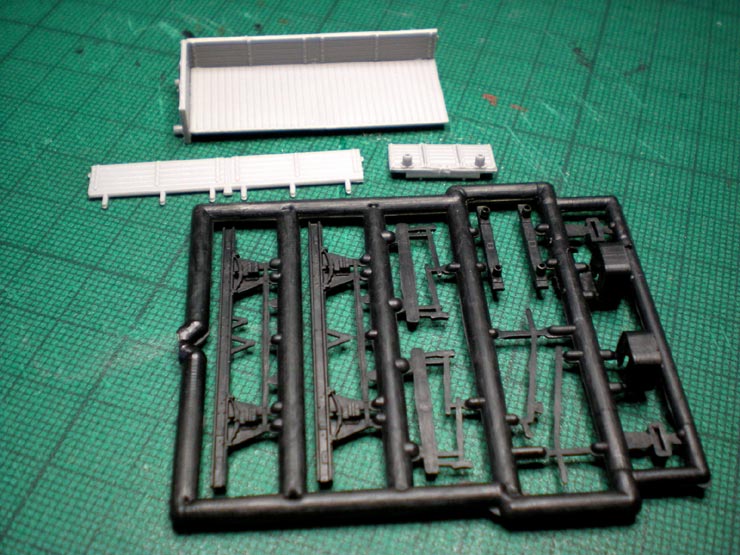
A Parkside Dundas 20T sleeper wagon kit comes
first. The original was built in 1928, so it'll be a modern vehicle
for this train.
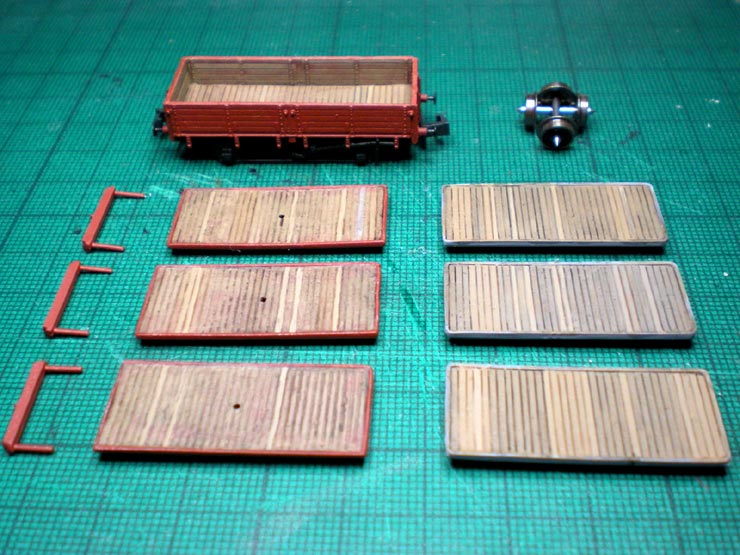
The kit parts:
Body assembled (although the instructions are
confusing):
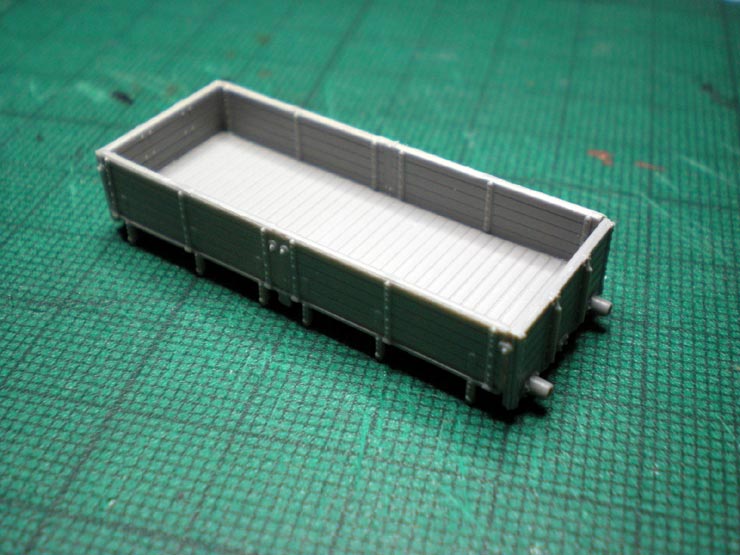
Sprayed in an undercoat grey and a topcoat bauxite:
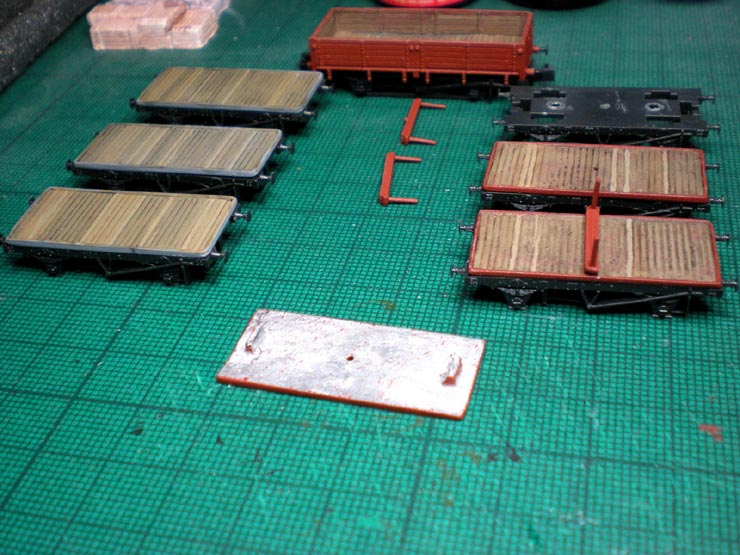
Now it has been added to its chassis, and work
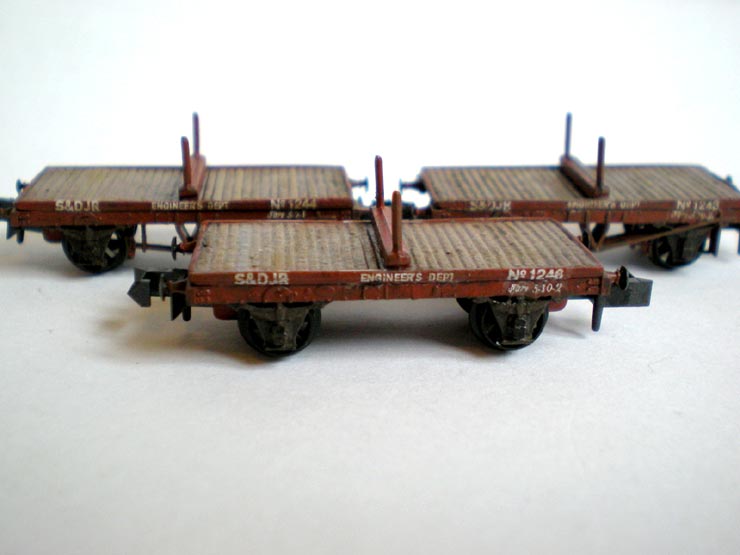
begins on three single bolster wagons (on the left in the photo
below), which will also be in bauxite but will carry S&DJR
lettering (they were absorbed into the LMS and SR fleets in
1930).
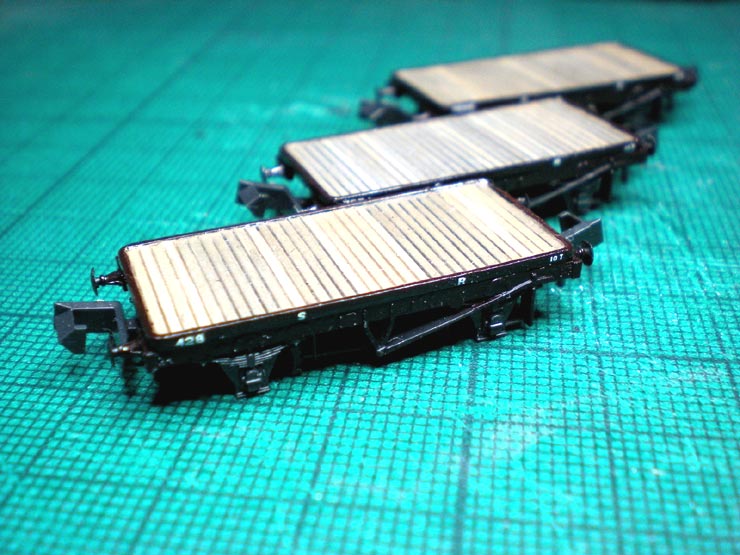
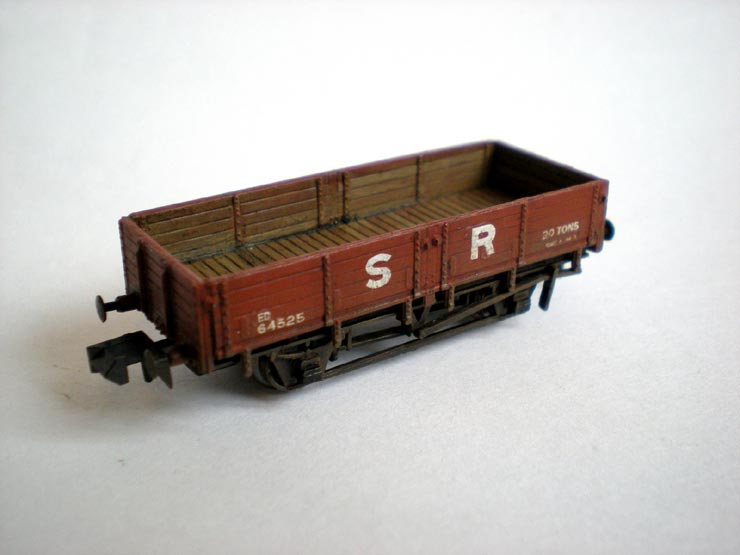
On the right are three 1-plank fixed-side stone
trucks, which will carry SR lettering and brown livery. All six of
these are P&D Marsh metal kits that need Peco chassis, all of which
are wooden solebar types in this case.
The 1-plank wagons are very well detailed (plankwise)
and paint up well, but the bolster wagons are rougher and the detail
harder to pick out.
SR decals are Modelmaster, and are very good -
robust and easy to apply.
S&D decals are from Railtec, but they're fairly
fragile.
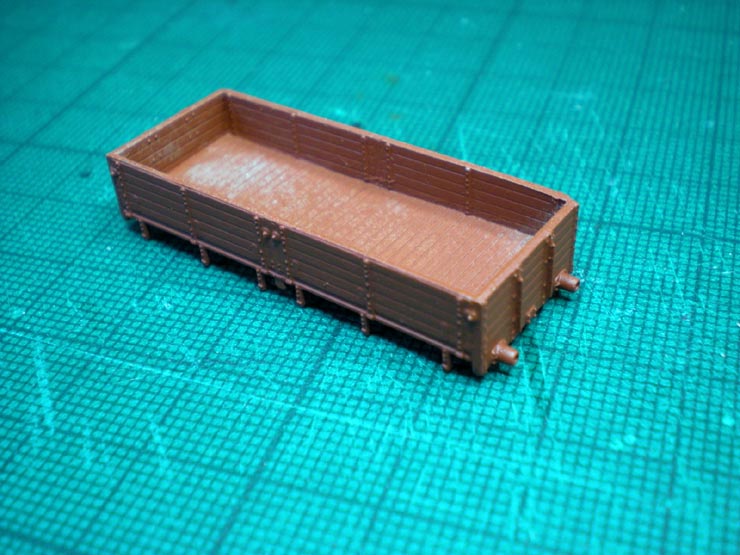
And here's the lettered and lightly weathered
sleeper wagon.
24 January 2014
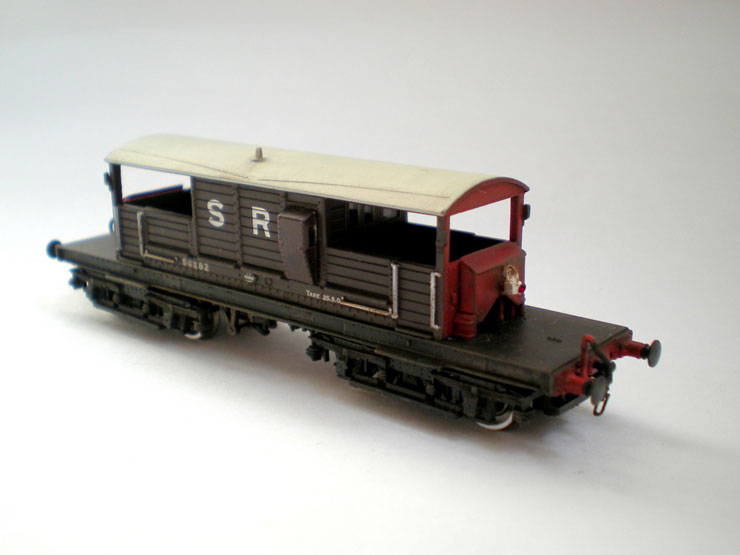
Another project just finished is a brake van
conversion. I've had this second-hand LNER brake van without a
roof for quite a while, keeping it in case the chassis was needed.
Instead, I realised that it bears a good similarity to some models
of S&DJR brake vans of the 1870s and 1880s after they were
converted and upgraded around the turn of the century.
The van I've selected is No 782A, in existence in
1930 but with no known photographic record of it in the twentieth
century. A fuzzy photo of it before the upgrade shows enough
similarities to make me confident that I'm on the right path. That
gives me room to get it wrong without any rivet counters threatening
to burn me at the stake.
The first step was to remove the side lookouts, as
the S&D short wheelbase models don't seem to have had these.
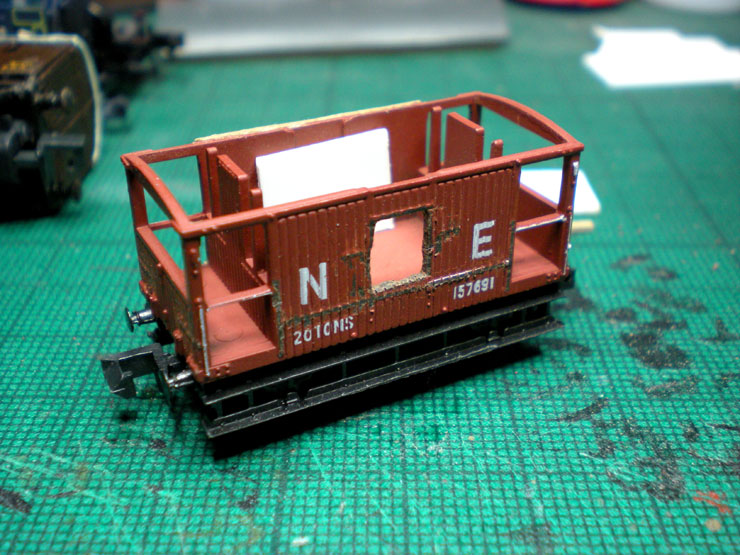
Then start building up the outside framing and add filler panels for
the lost lookouts:
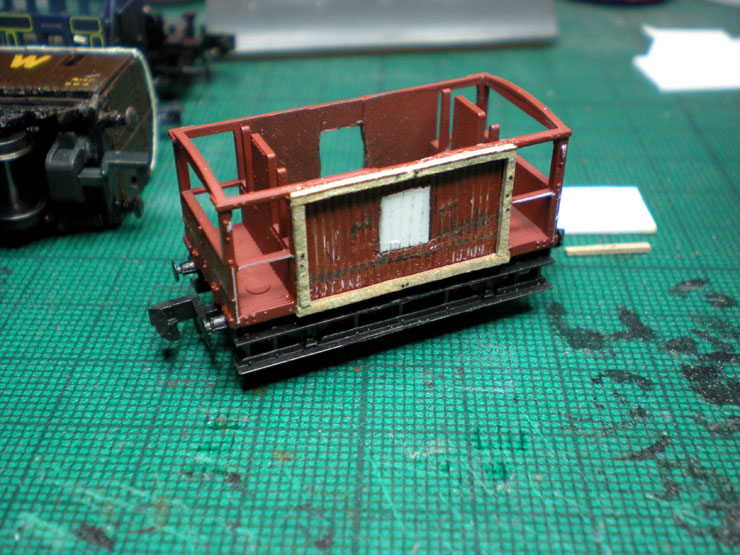

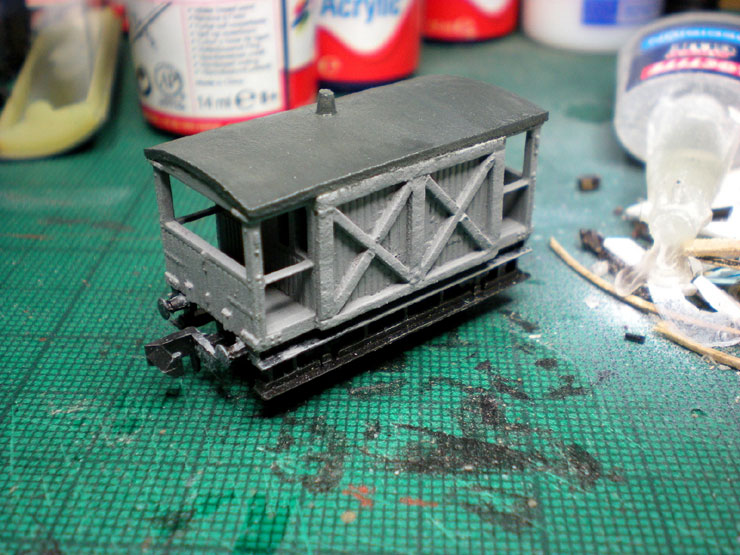
A thin card roof and a scrap of plastic from the top of a congealed
superglue bottle
for a vent.

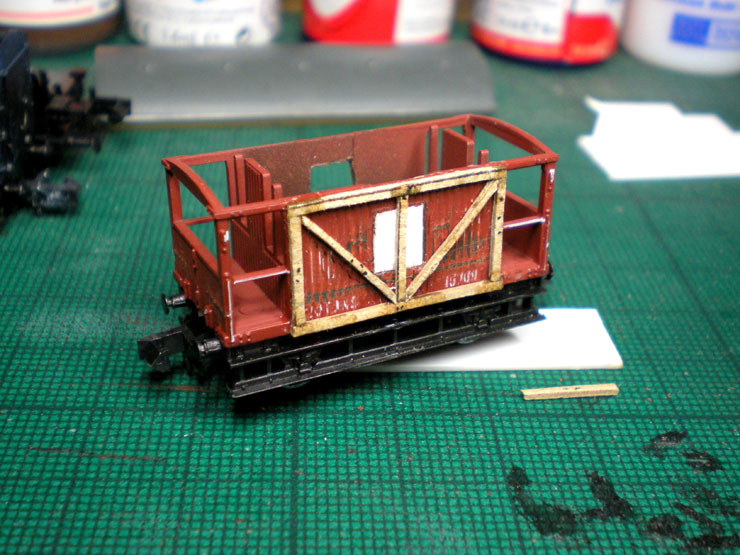
Then a couple of coats of grey paint:
Plus appropriate lettering and a tail lamp, with handrails painted
black and a side
rail added across the outside framing.
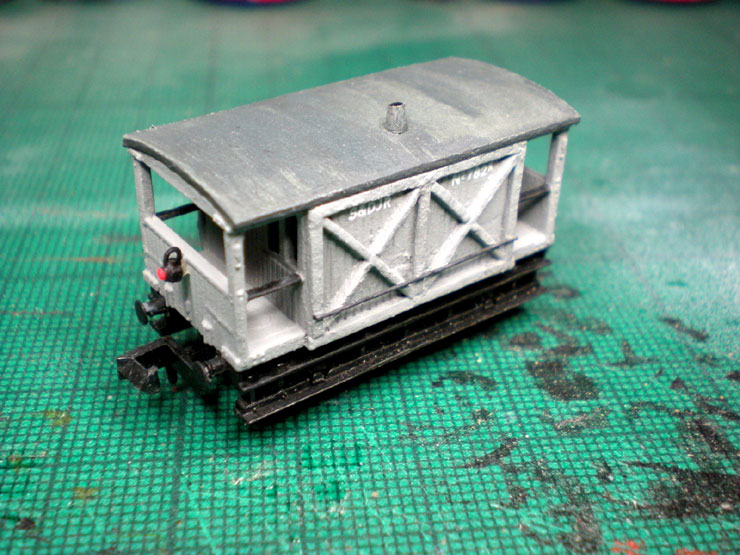
Various washes of paint across the roof to show its great age, and
there will also
be a little weathering done later. Not bad.
|