|
25 February 2016
Something I've been wanting to do for quite some
time is upgrade work on a Poole-era Graham Farish 4-wheel coach.
They may not be entirely accurate but I'm hoping they'll look a lot
better with some detailing.
After having pioneered the upgrade work on a 57'
suburban coach (see the
LSWR Farish
Carriage Conversions thread for details), this project would
be easier, especially as there were far fewer door handles to
insert and the old roof would be retained.
I had one carriage to upgrade and no more because
S&D 4-wheelers tend to be rather expensive on the second-hand
market. The plus side is that, apart from its unique bodywork,
there wasn't much to risk in this project.
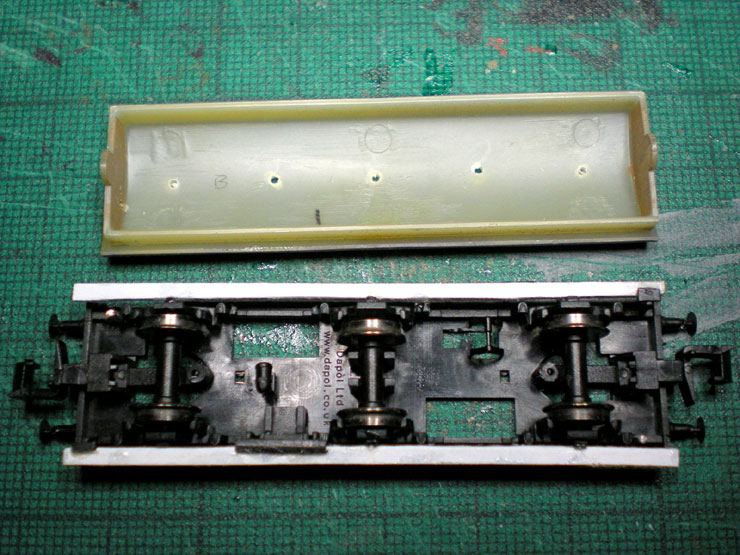
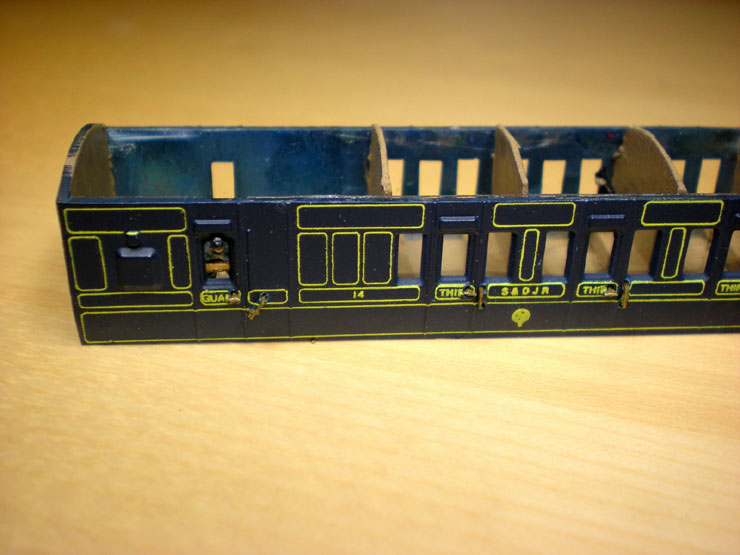
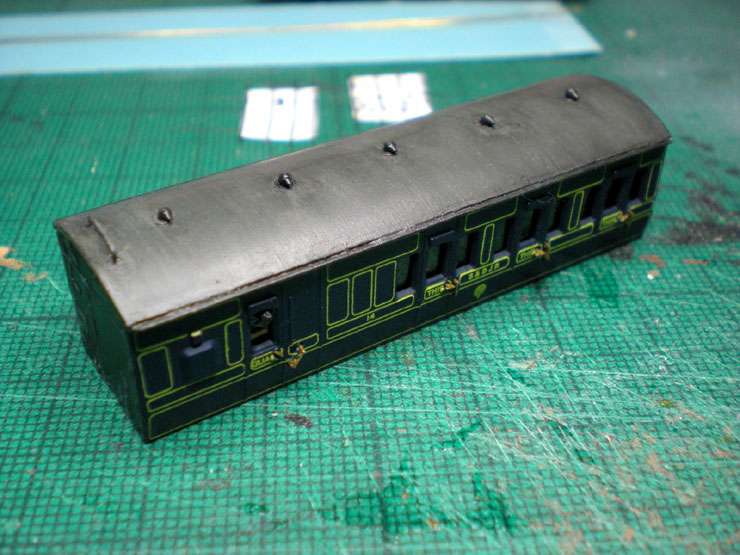
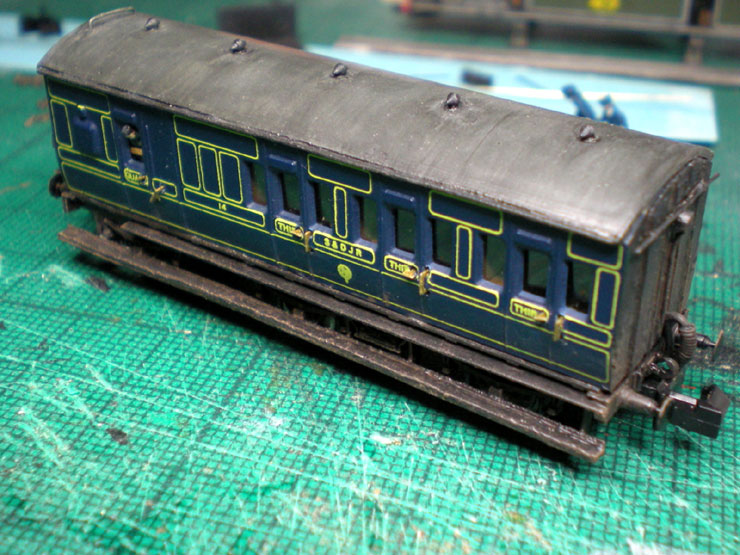
So the first step was to pull the coach apart, this
one being an S&DJR 4-wheel brake third that would be converted into
a 6-wheel brake third. A craft knife had to be slid between chassis
and body to cut through the securing pins, visible here just behind
the couplers.
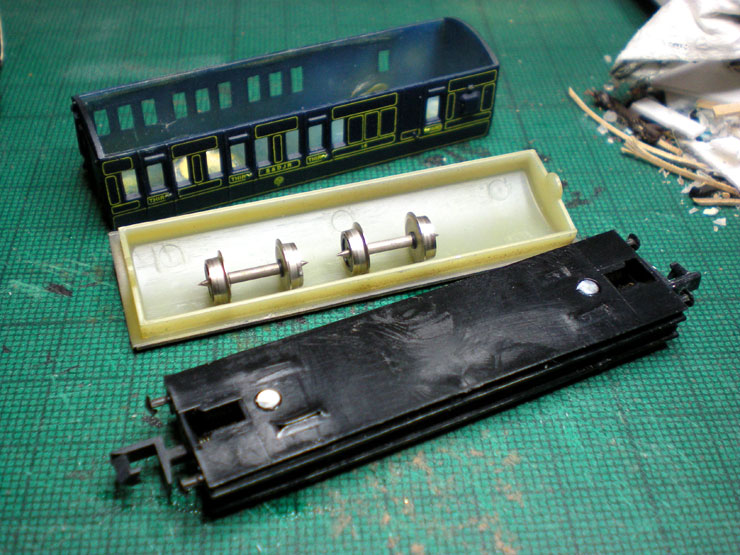
Despite being tempted to retain the 4-wheel chassis and somehow add
a middle
axle and wheels, instead the NGS 6-wheel Stove R chassis
was selected for the
task.
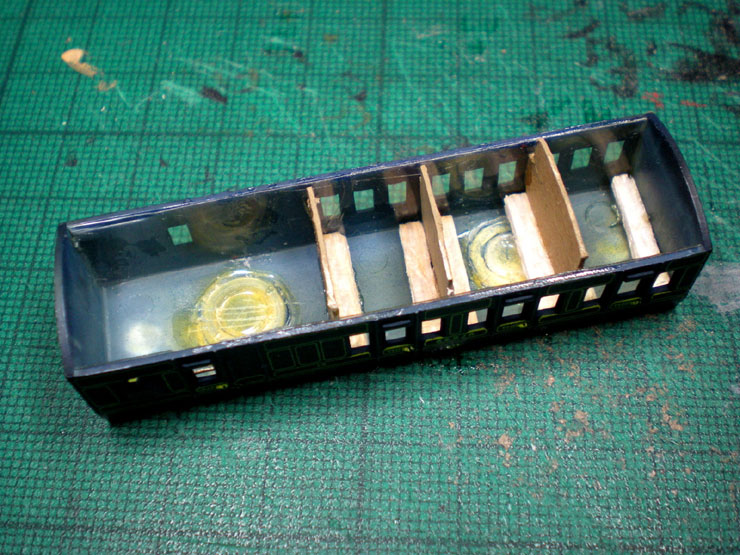
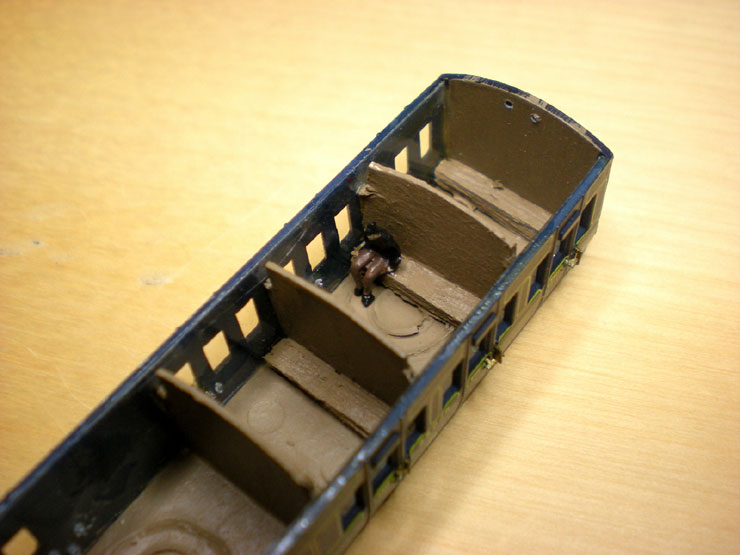
This S&D carriage would have been a good 40-50 years old by 1930, so
it can look
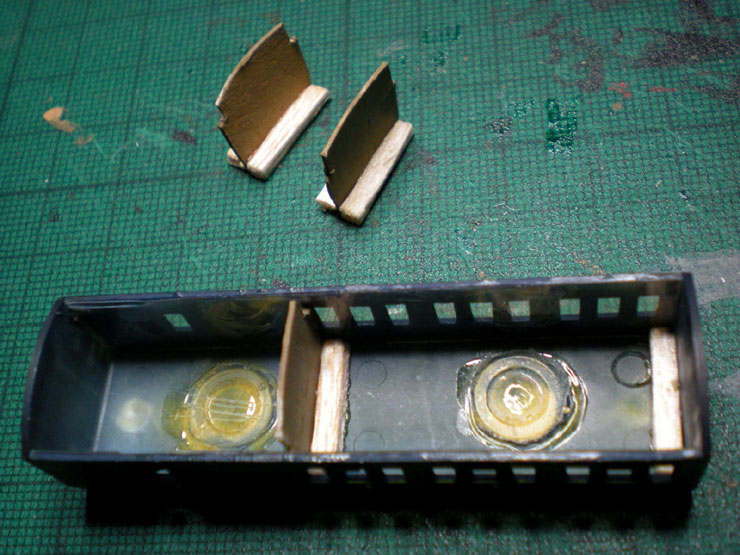
a little rough and ready in places. It needed benches
(wooden) and partitions, so a
quick bit of cutting of card and
matchsticks was done.
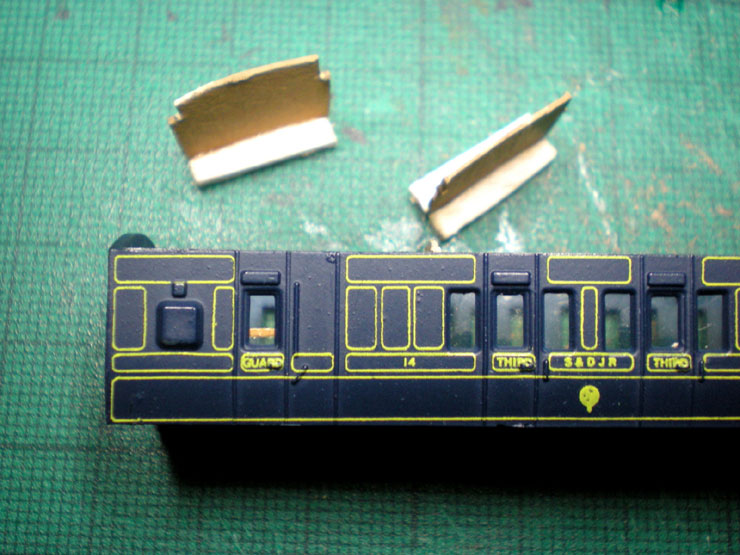
Then a small gap was cut into the glazing for the windows and a bit
of brown card
glued in place to mimic a mostly-open drop window in
the guard's compartment.
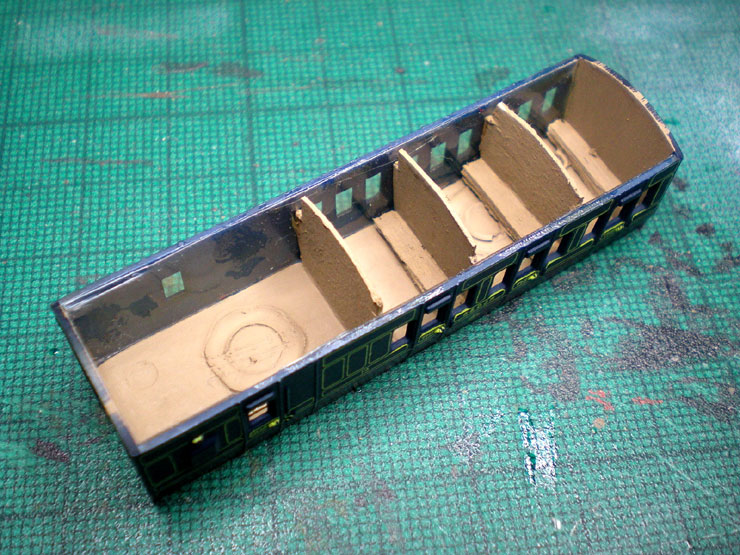
Three partitions in place and six seats:
Paint it all a mid-brown, which also helps to mask the stubs of the
chassis
connectors.
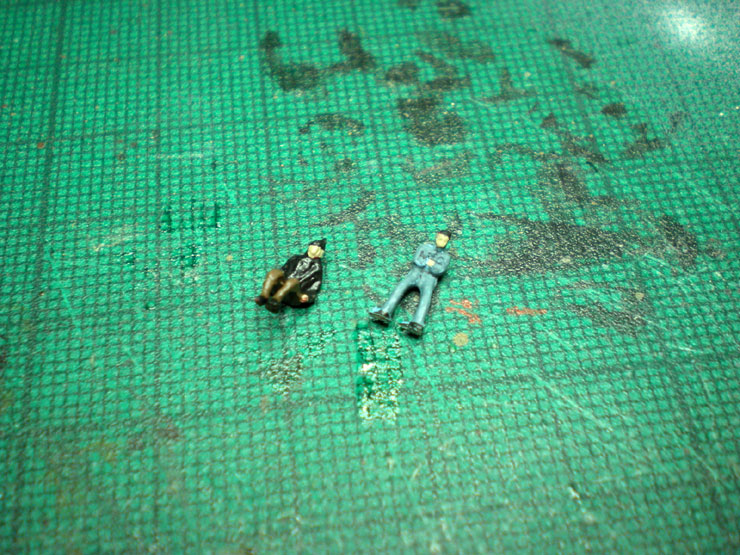
One passenger needed (the branch line services were never very busy
after the
Great War) and one guard.
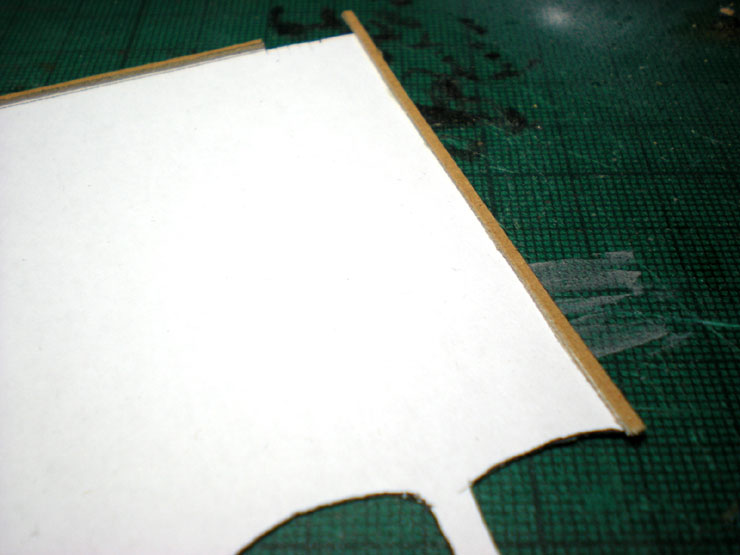
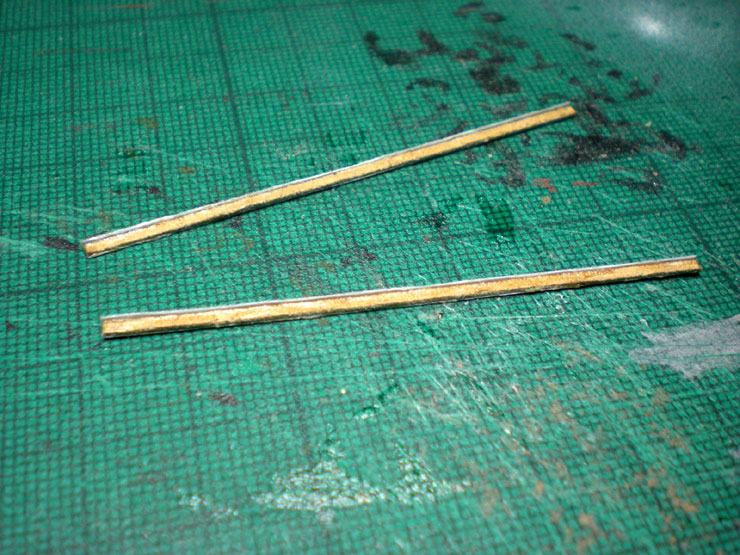
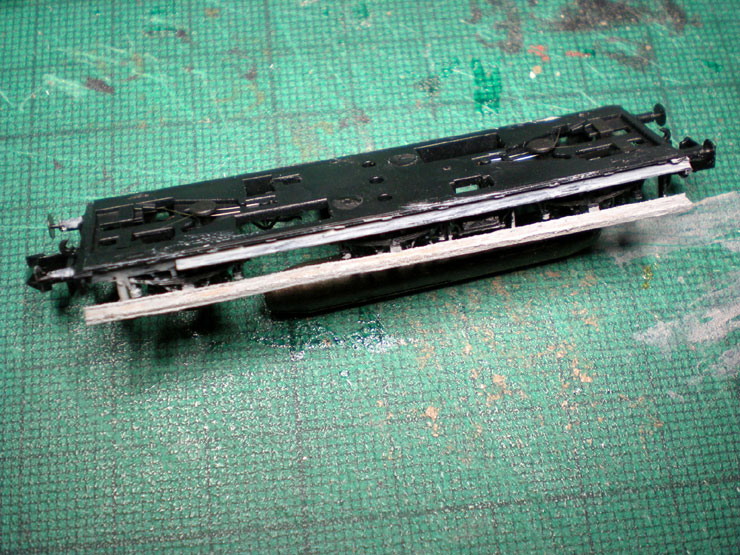
Running boards also needed, using card for the boards and paper
wrapped around
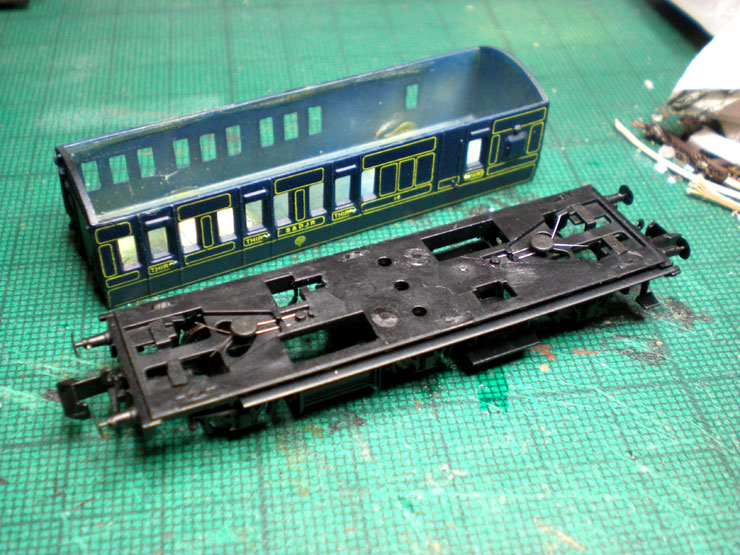
them to serve as the inner lip. The Stove R chassis
isn't entirely suitable as it's a
little industrial. I might choose
differently next time.
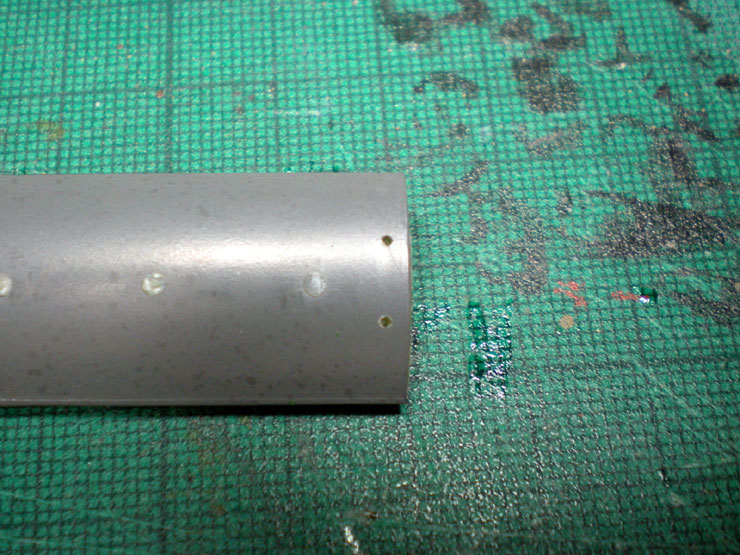
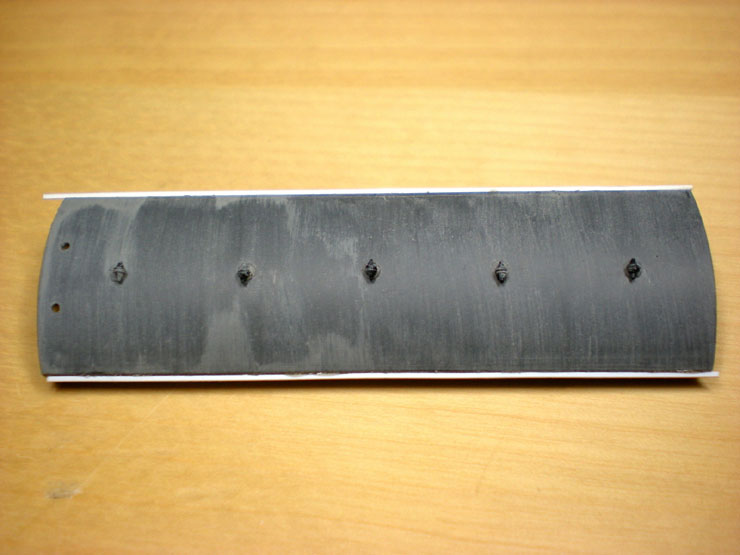
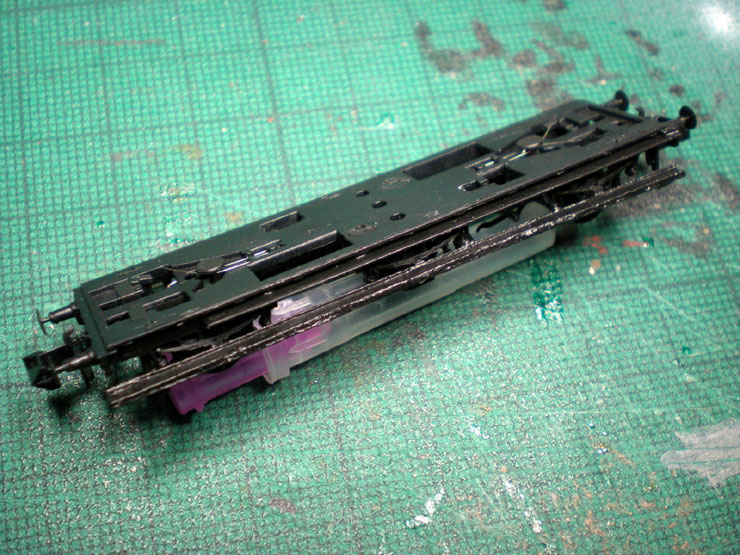
The Stove R chassis, without a couple of extra vertical support
posts added for the
running boards.

Running boards assembled. They would have looked better if I'd had
the right
thickness of plasticard:
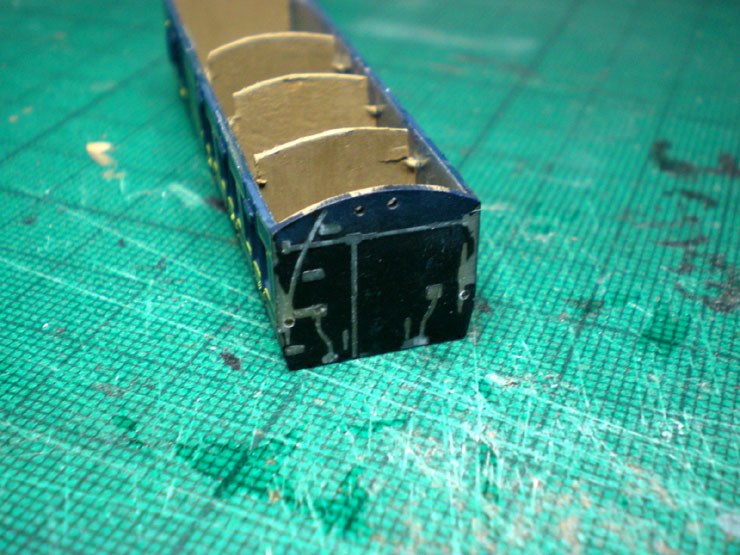
Carriage end details carved off with a craft knife. It comes off
pretty easily. Holes
also drilled for handrails
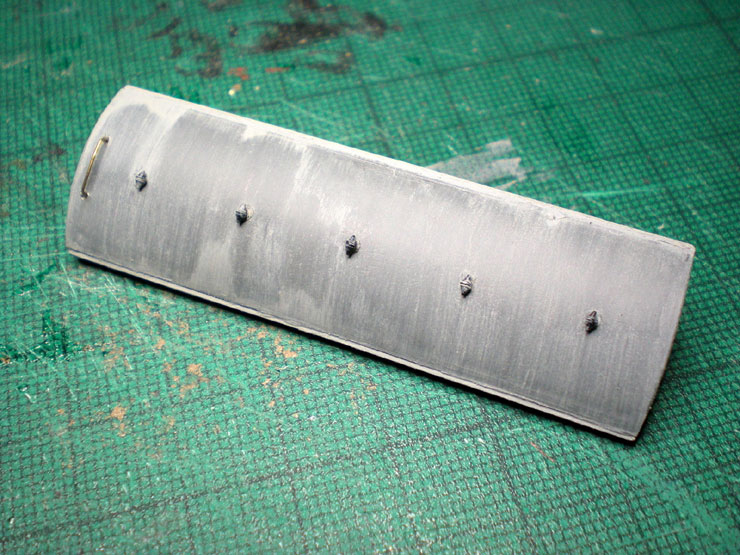
Running boards attached. The little lip at the back is actually an
upright that was
designed to prevent the feet of alighting
passengers slipping off and landing them
under the train:

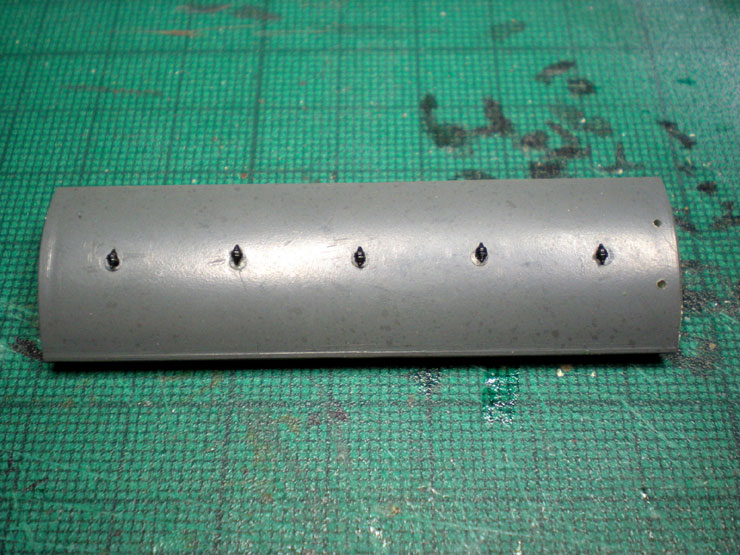
Holes drilled in the roof for a handrail and the moulded roof vents
cut off:
Holes drilled for torpedo vents from Etched Pixels and running
boards given a bit of
extra securing, and then soaked in superglue.
Torpedo vents in place:
Holes drilled for door handles and grab handles:
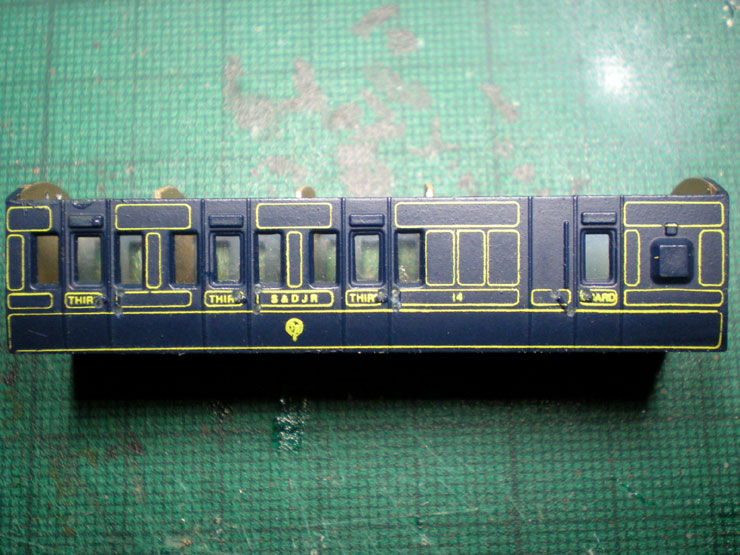
Door handles and grab handles in place:
Bored guard in place admiring the passing countryside (or a siding
if the carriage is
parked!):
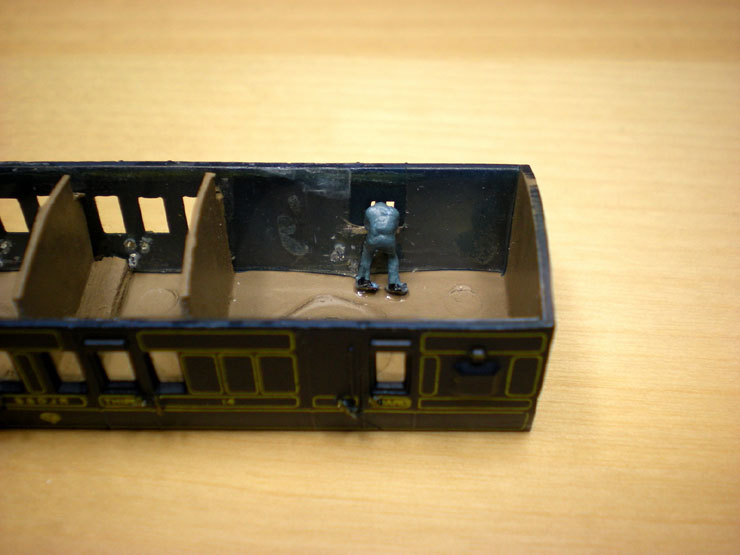
The passenger in place:
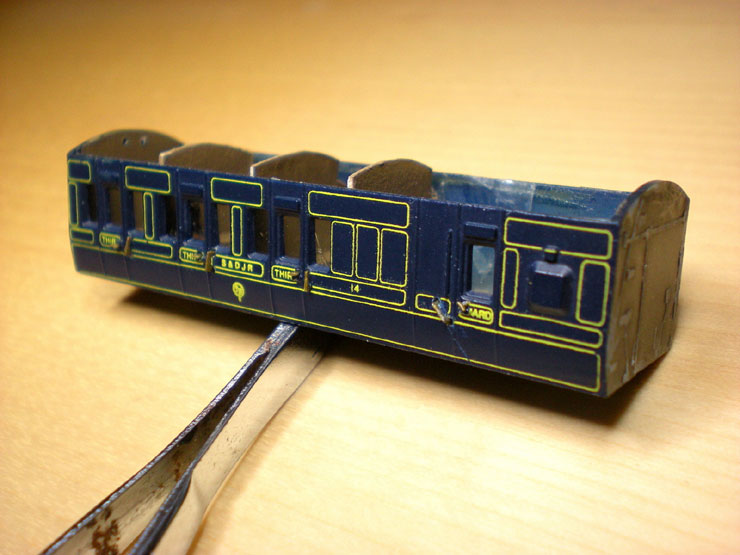
An external view of the guard:
Cantrails glued into place along the roof edges:
The lower running boards have been undercoated, the upper running
boards have
been added, and also undercoated:
Now the roof has received its first couple of washes of shades of
grey (but not fifty
of them). The handrail has been fitted. This
part is always trickier than you think it
will be:
Overcoating done on the running boards:
Now the cantrails are looking a lot better, as is the roof:

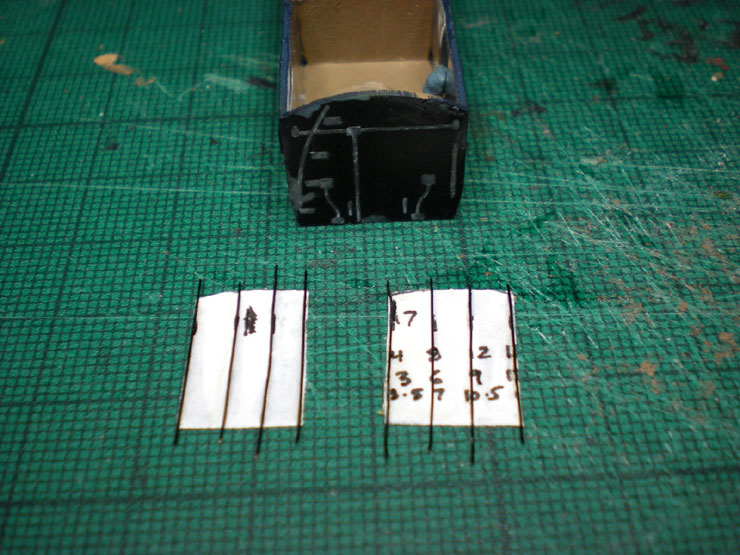
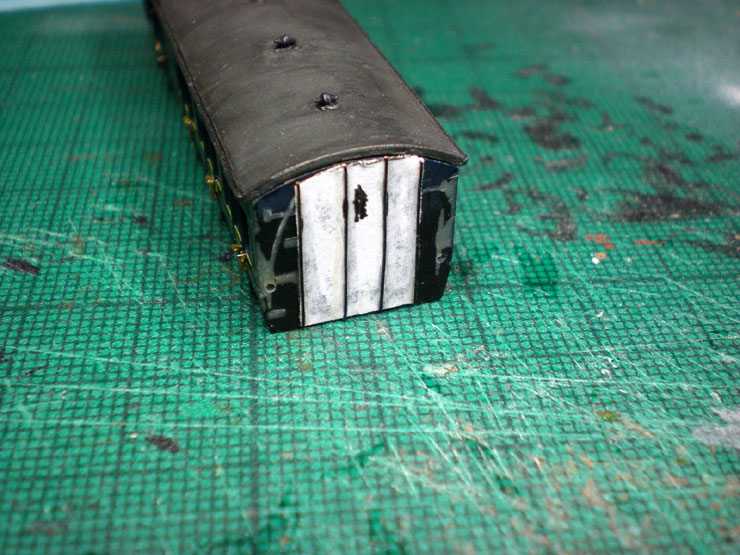
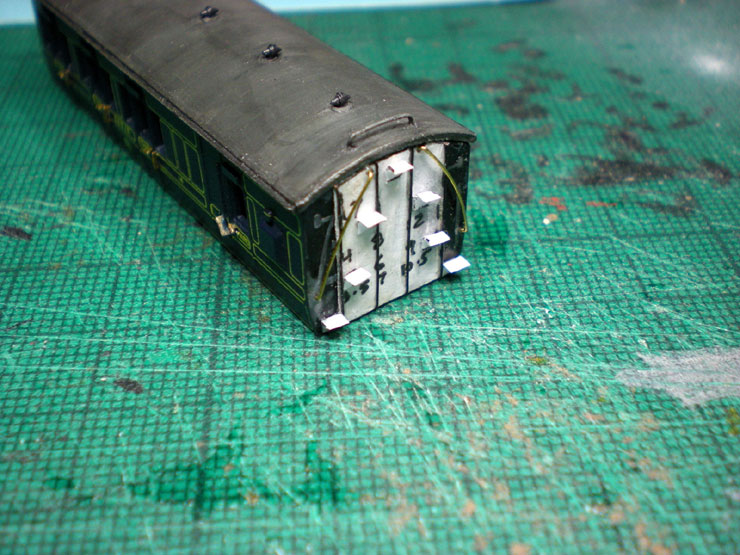
Now for the end panels. Four bands are required for this coach type,
so a few
calculations are needed to work out where to place them:
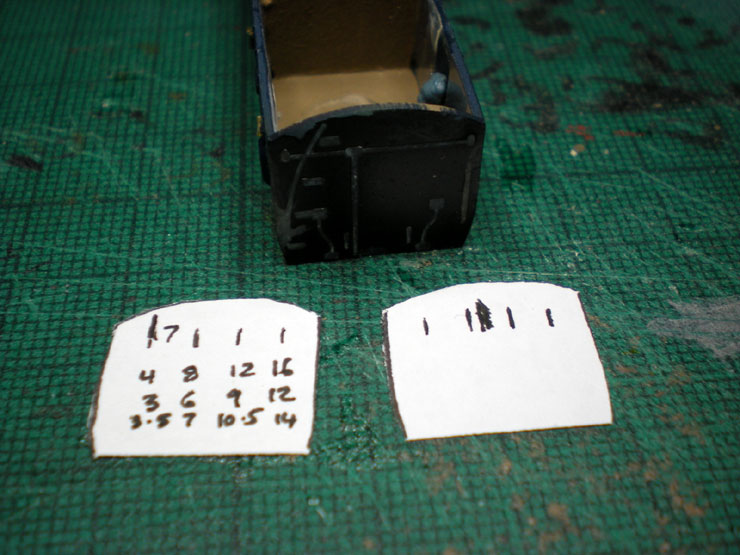
Calculations done, and vertical beading added:
Finished roof glued in place:
First end panel glued in place:
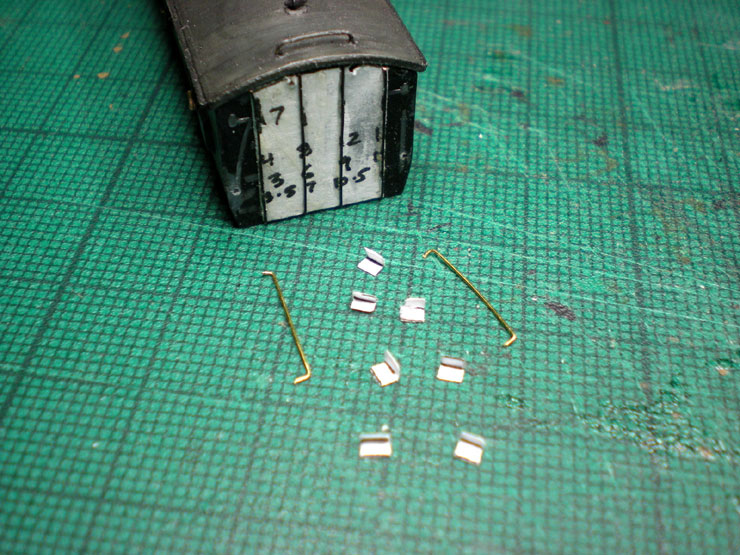
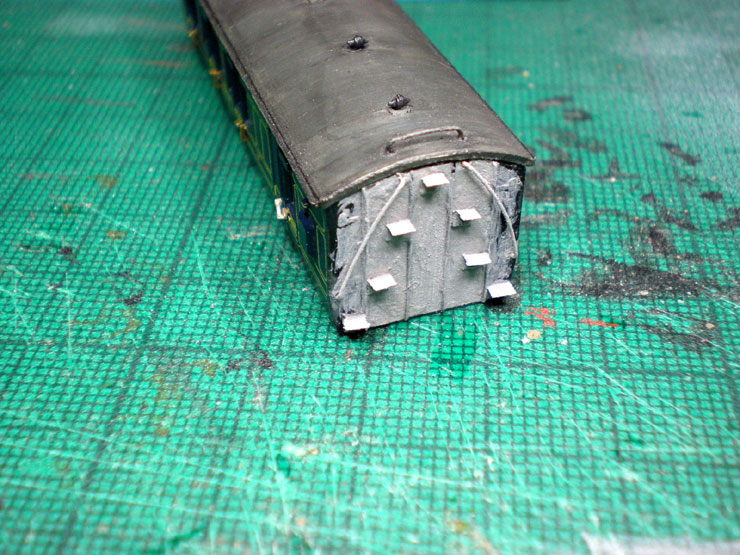
Second end panel put in place and the handrails for this end
prepared, along with
seven steps:
The other end needs a few bits and pieces too:
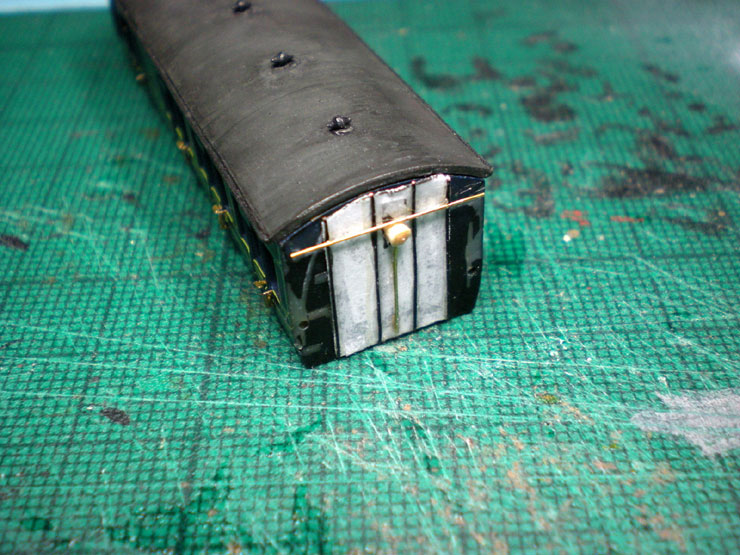
Steps and handrails in place:
Undercoating both ends:
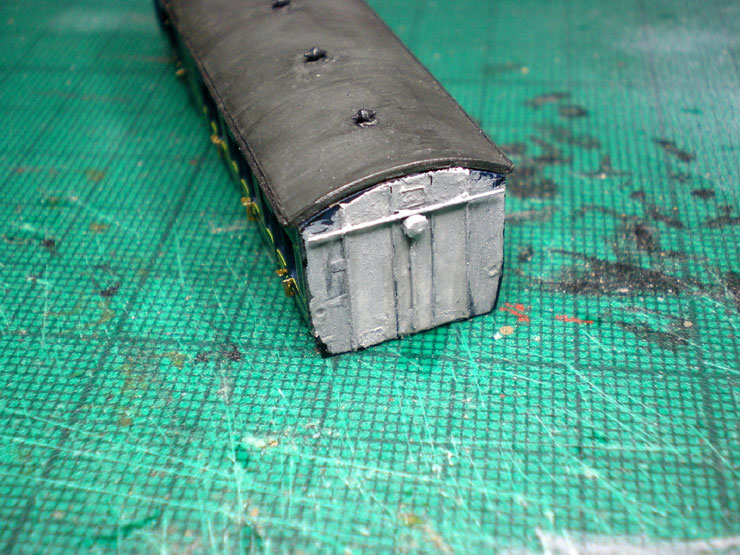
They look a bit rough and ready at the moment, even with vacuum
pipes added:

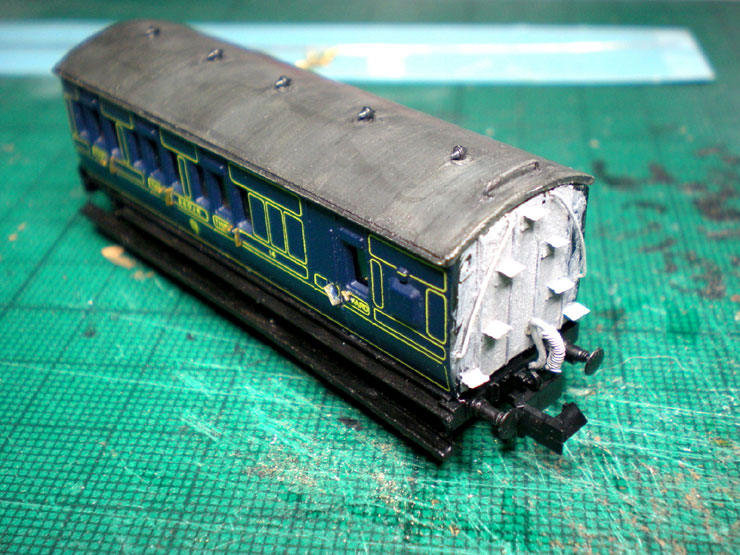
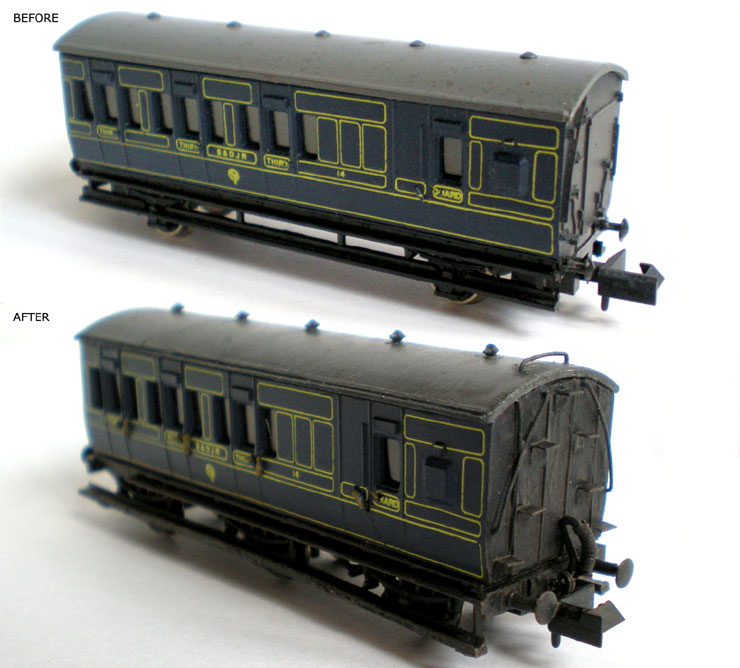
The finishing touches include painting the ends black, touching up
scratches and
nicks on the blue bodywork (Railmatch paints), and
adding a wash of dirt around
the base.
Here's the comparison shot. The six wheel chassis really makes a
difference, as
does the end detailing, roof vents, handrail, and
even the sometimes barely-visible
door handles.
|